We all have our own dream kitchens in our head – but I am lucky enough that I was able to build mine! I’m going to go through the process of building and designing our dream kitchen today.
So, let’s start with this question that I had to answer: What would YOU do if you could build your dream kitchen?
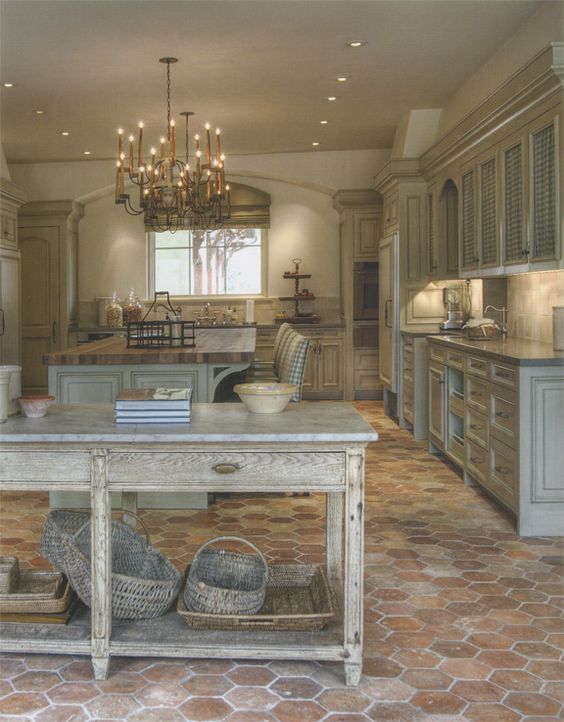
Image from Segreto Secrets
First, my husband and I made a list of what we wanted in a kitchen. Then we asked friends and family of what they would want.
We studied design magazines. We studied Pinterest. We studied Houzz. We went and toured the brand new expensive houses being built in Southern California. We took pictures, and more pictures, and more pictures! Tons of Pinterest boards and Houzz boards. Hours of studying. Years of planning! Seriously, years!
We decided on an eventual layout after we were inspired by this kitchen that we toured in SoCal.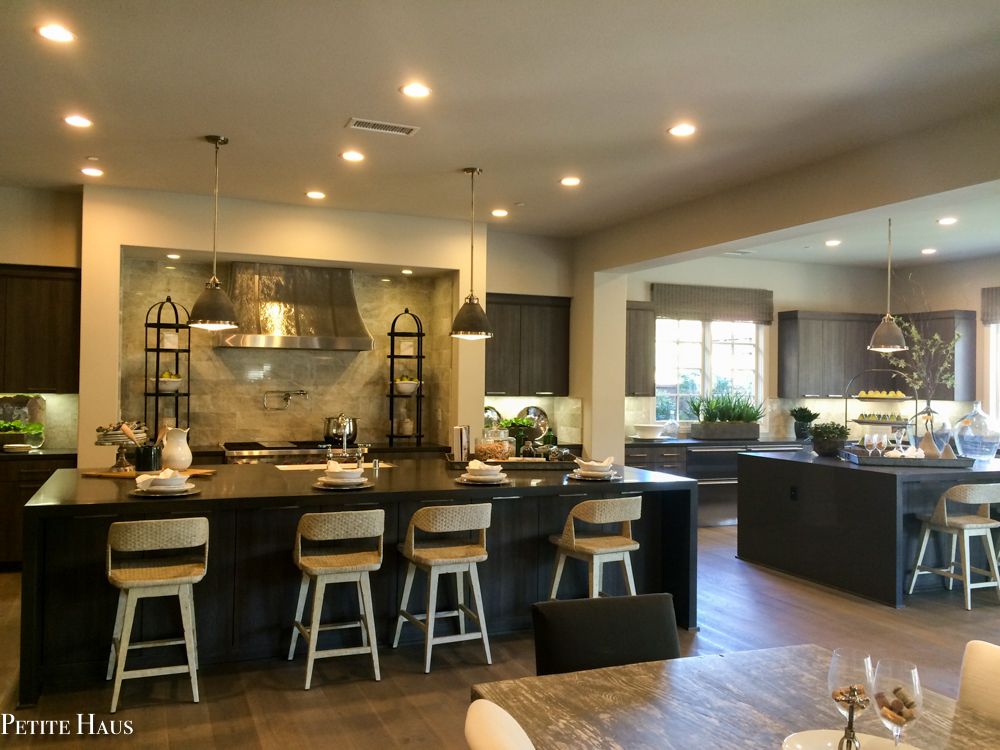
We walked through this kitchen and loved the feel of it. Loved the two huge islands. Now this is dreaming, we thought!
We did not do a huge refrigerator wall, but you get the idea.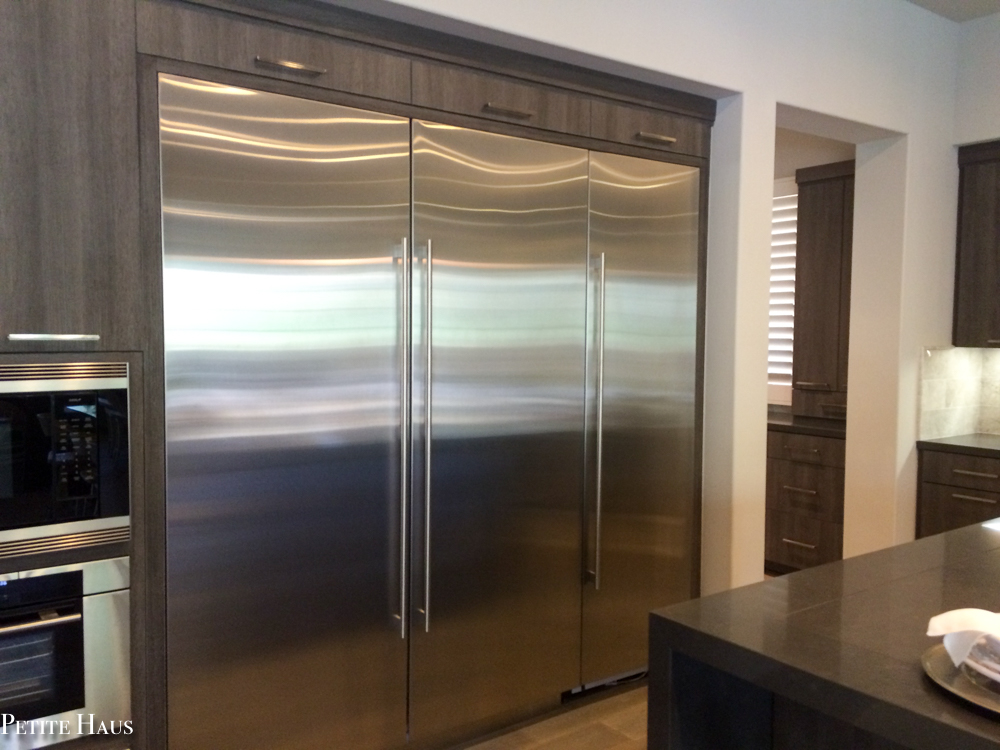
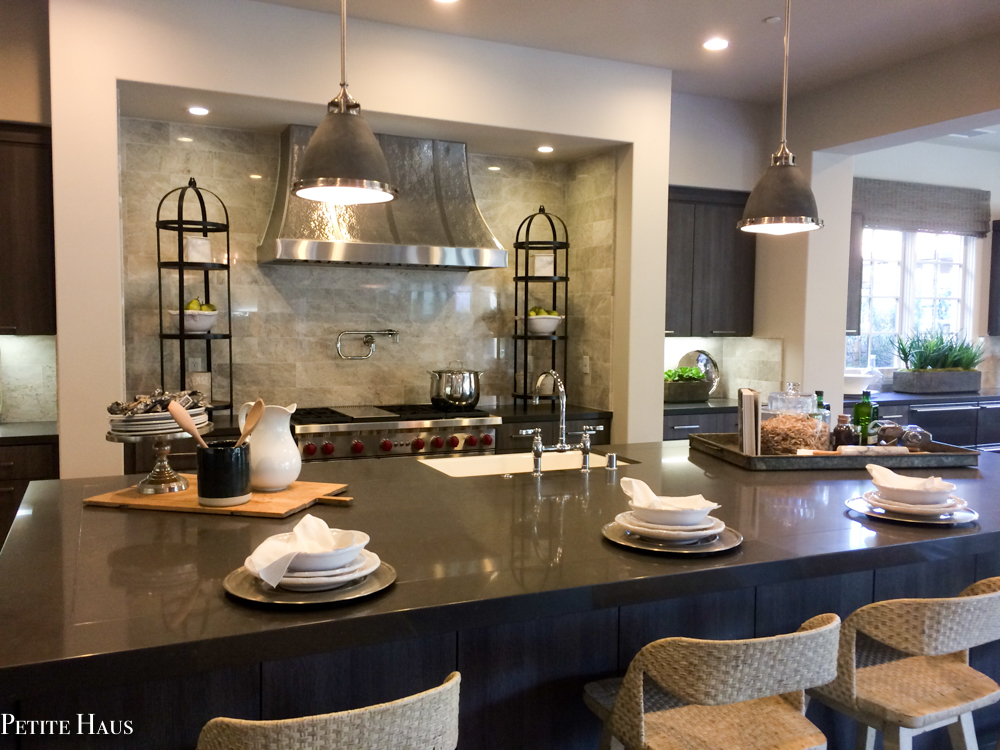
The other cool part about this kitchen was the right wall opened up with Nano doors. Total California living!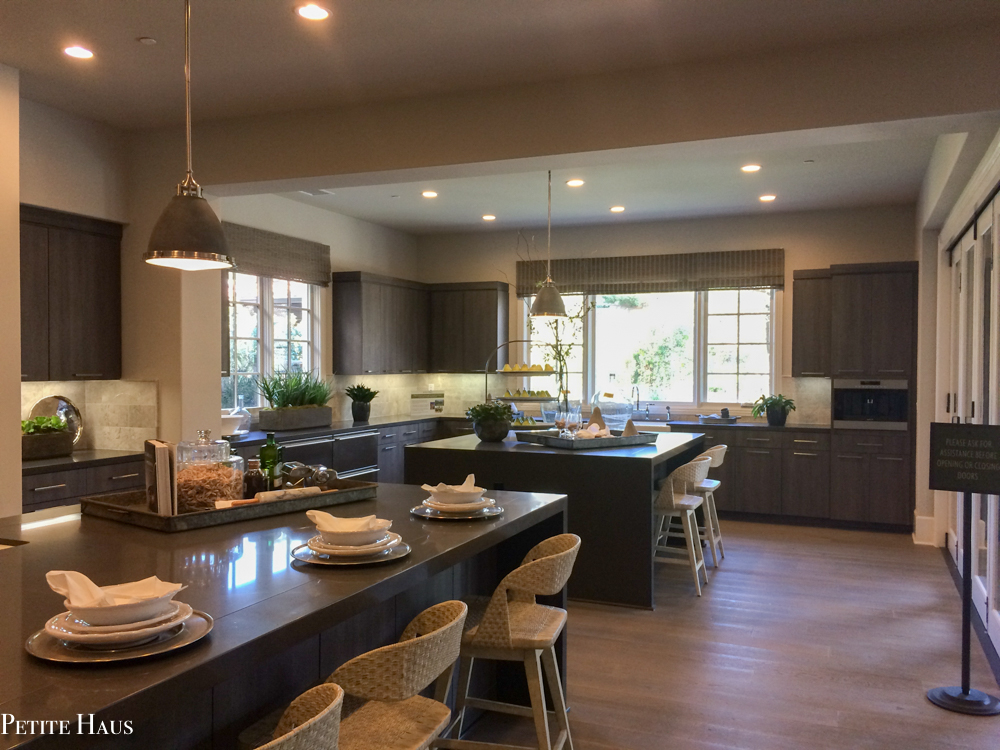
One of the first things we did when designing our house was to actually pick our kitchen appliances first. This was one of the smartest things we did – that way we knew exactly what our electrical and gas requirements were from the get go.
We then built the kitchen around exactly which appliances we were picking.
Even though it is our dream kitchen, you can’t have *everything* you dream about. You have to make compromises.
I will say, I am not in any way complaining about my kitchen. But I was dying over having this range. Um, but it is the price of a small luxury car! Okay, never mind!
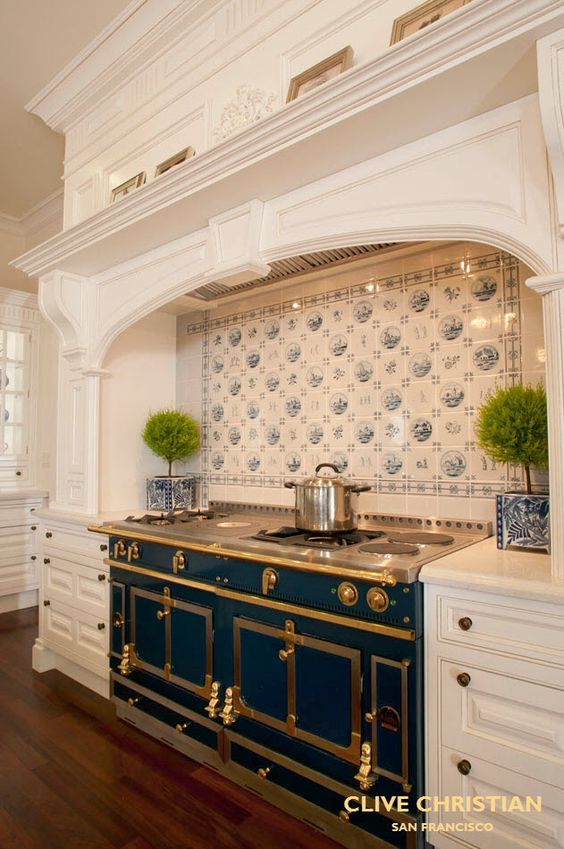
Image from Clive Christian Interiors
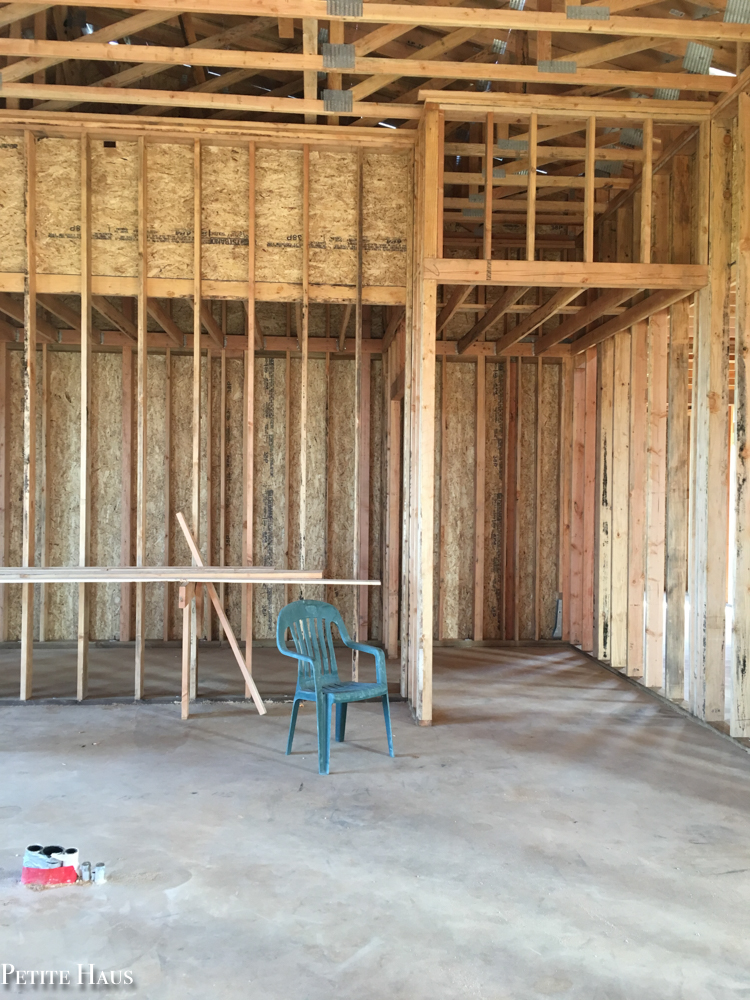
Sharing a few progress pictures from last year. Below is what will become the wall with the range. This was taken about a year ago.
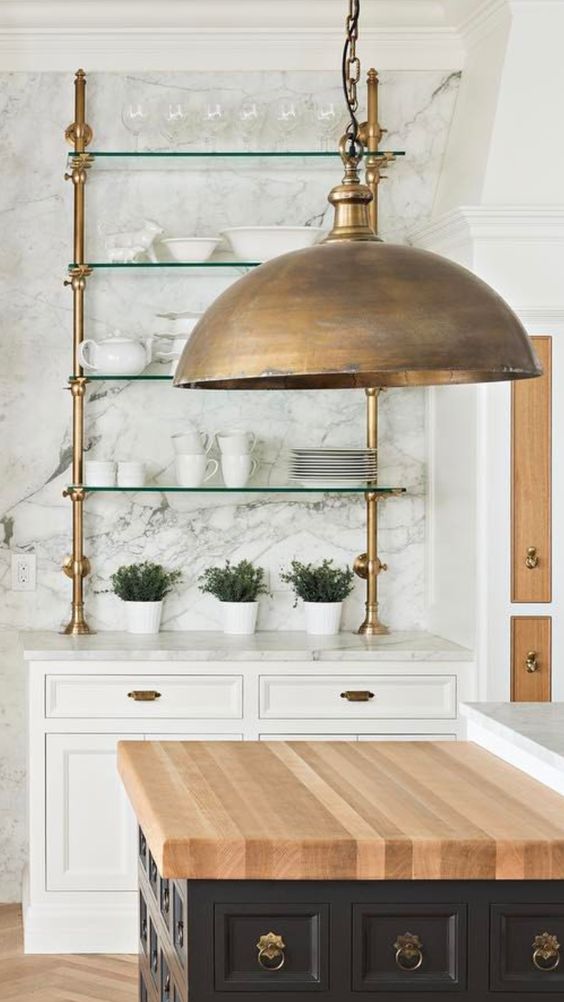
Next was choosing what type of cabinets. The shaker cabinets are so incredibly popular right now, but I thought they were too boring for this big of a kitchen. Open shelving vs not? I almost went with open shelving in some parts of the kitchen, but then remembered that I hate dusting so went with some glass cabinets instead.
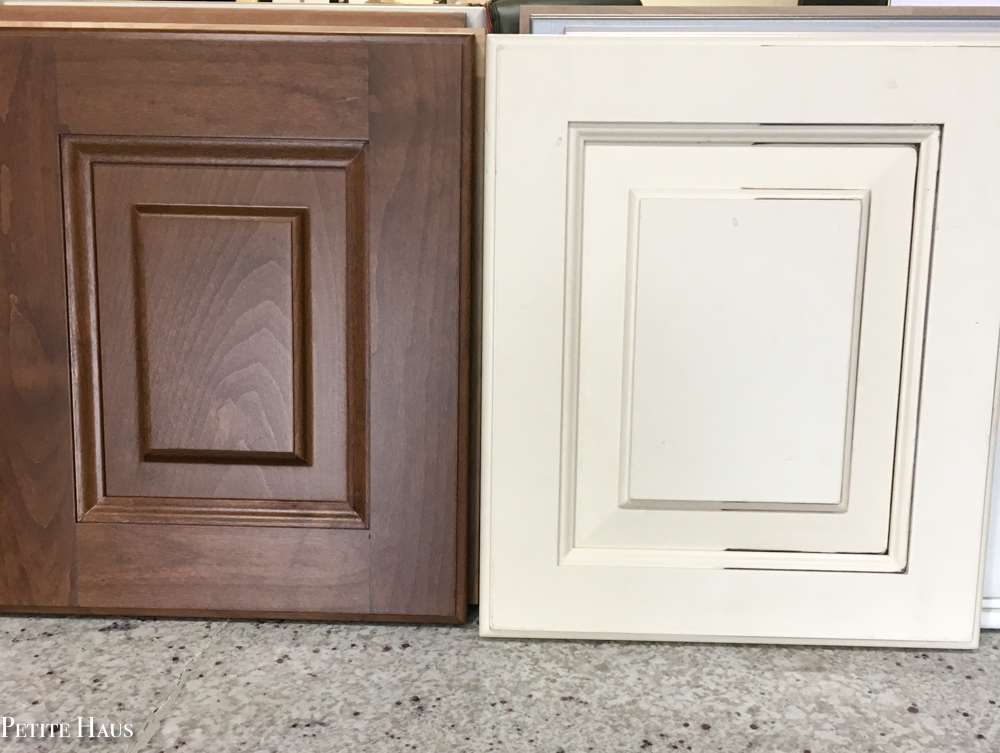
I went with a raised panel door on the right. The right one we were playing with staining but decided against it.
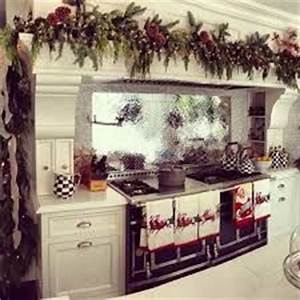
Next came the actual cabinet design, as to where do you want your trash, where do you want to put your spices? Hours and hours were spent thinking about this. I knew I wanted a mantel over the range a la Kris Jenner of the Kardashians so I could put a pretty garland on it below! I see my teapot on her range!
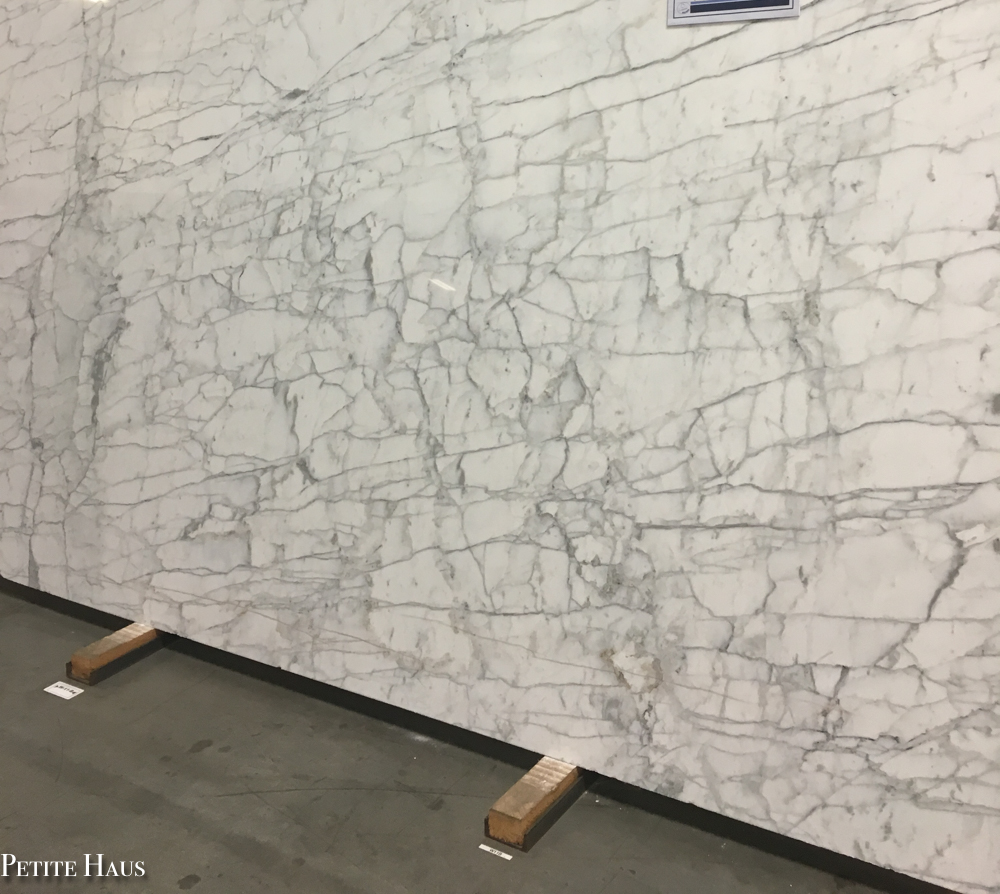
Now as for the countertops – I always knew I wanted marble, just like pastry counters in Europe! Calacatta marble was our initial thought – then we saw the price. So we went with an extra white Carrara. Got the look for the fraction of the price. Considered some marble alternatives also, but I knew I would always know it wasn’t the marble I dreamed of. Below, one of the many marble slabs we looked at. It is a Statuary marble.
I had heard about all of the negatives of marble – yeah yeah, don’t care. Most of the problems with marble occur with the polished marble. We went with a honed marble. Yes, we have had a few scratches and citrus etching since we moved in. The first mark bothered me. Now it doesn’t. The house is supposed to feel French Country… uh, have you seen the patina in French country kitchens?
Next up, paint colors for the cabinets. What an angst producing dilemma. Eventually settled on white (ha, now what shade of white? THAT is the question!) An extra bright, one that would not make the Carrara look grey! Went with a French grey/blue for the islands. All white would feel too sterile in here. Below, one of my inspirational kitchens.
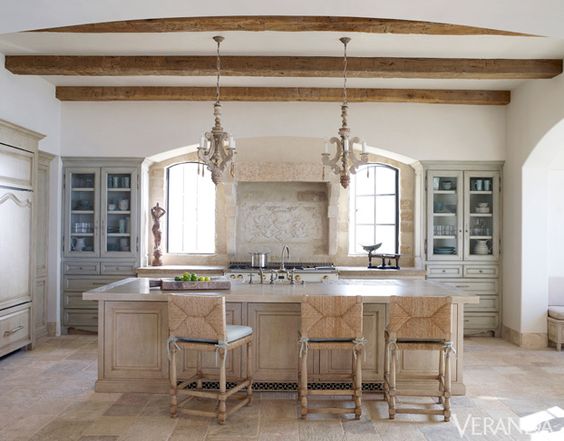
I like the white because we are out on the country – adds to the classic the farmhouse feel. Did consider Martha Stewart green, other greiges, even black (briefly!), wood colored. Really wanted Cerused oak like below, but no one in the area could figure out how to make it.
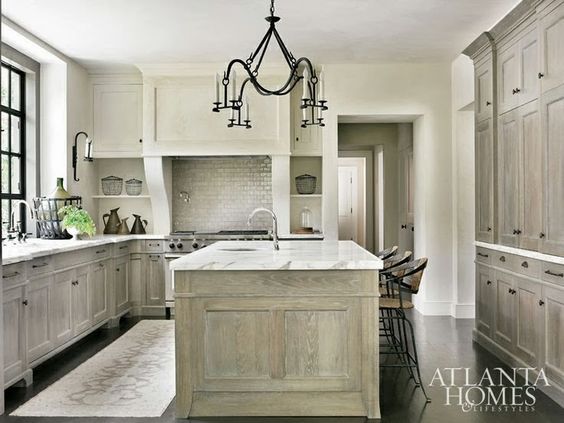
Below, the “main” part of our kitchen in progress.
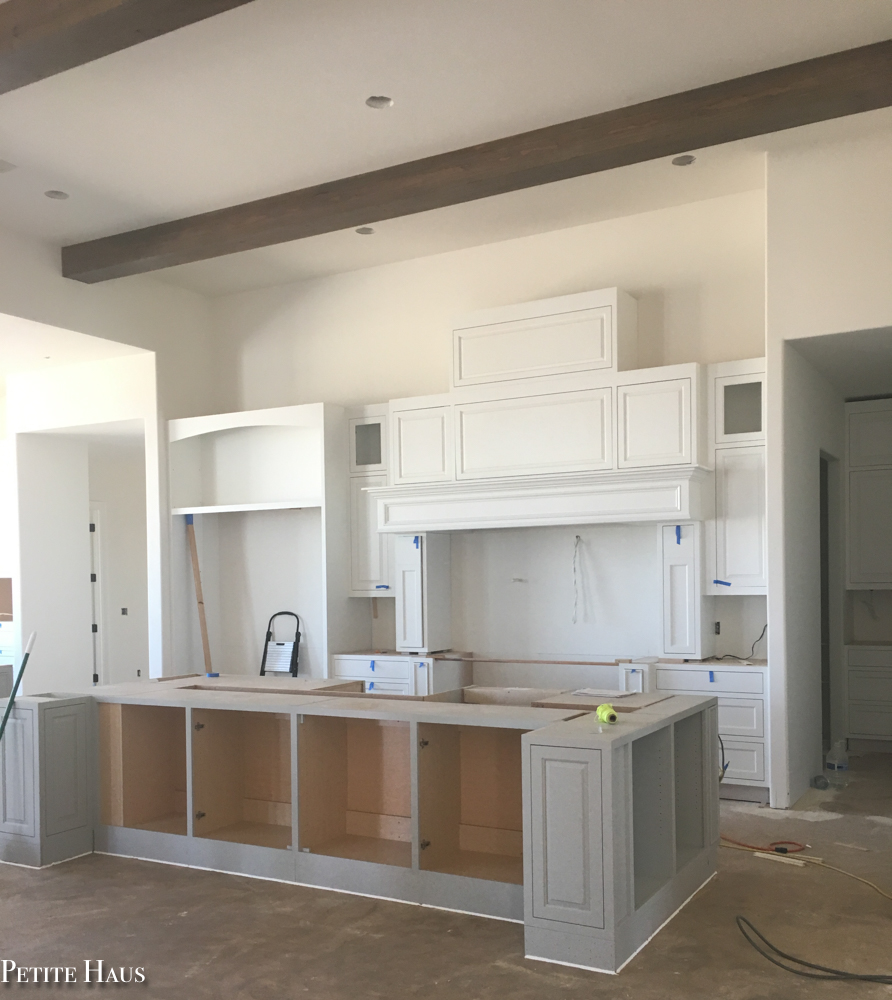
Below, the “baking” part of the kitchen aka my side of the kitchen. I can’t scramble an egg but I can whip up a meringue!
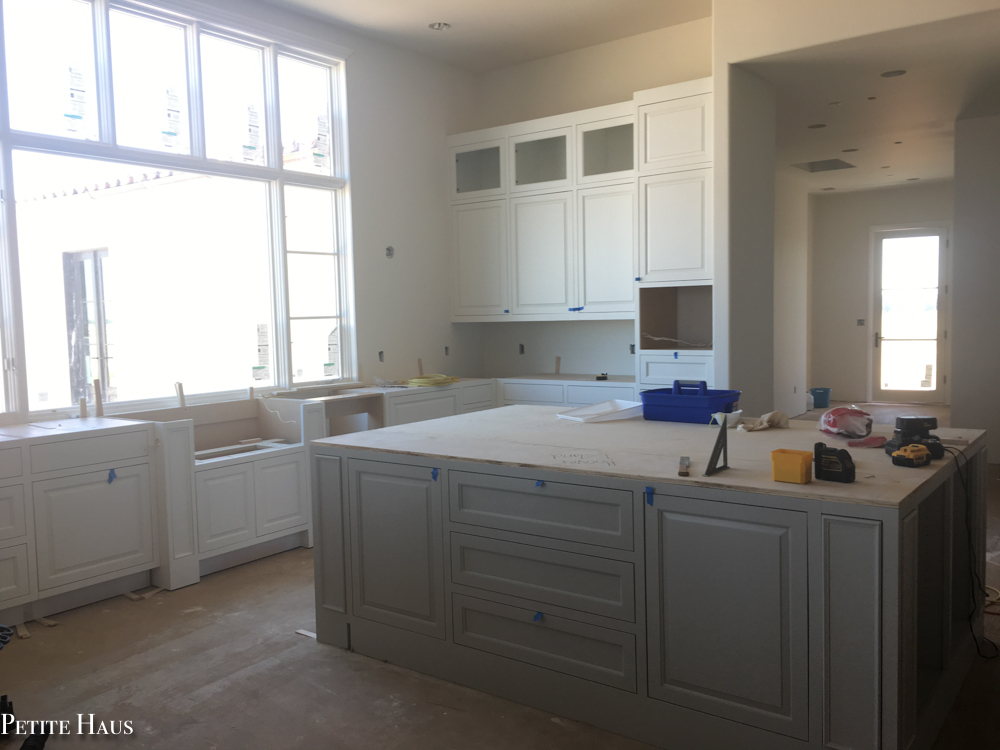
Tired of this post yet? Should I make a second post? Nah, let’s power through.
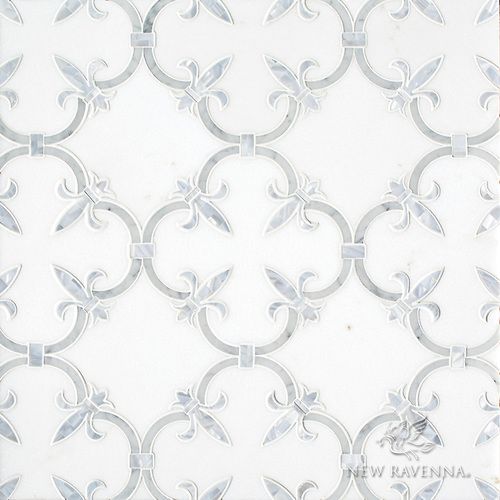
Some of the backsplash ideas… This is more of the fun parts of the design process, in my opinion!
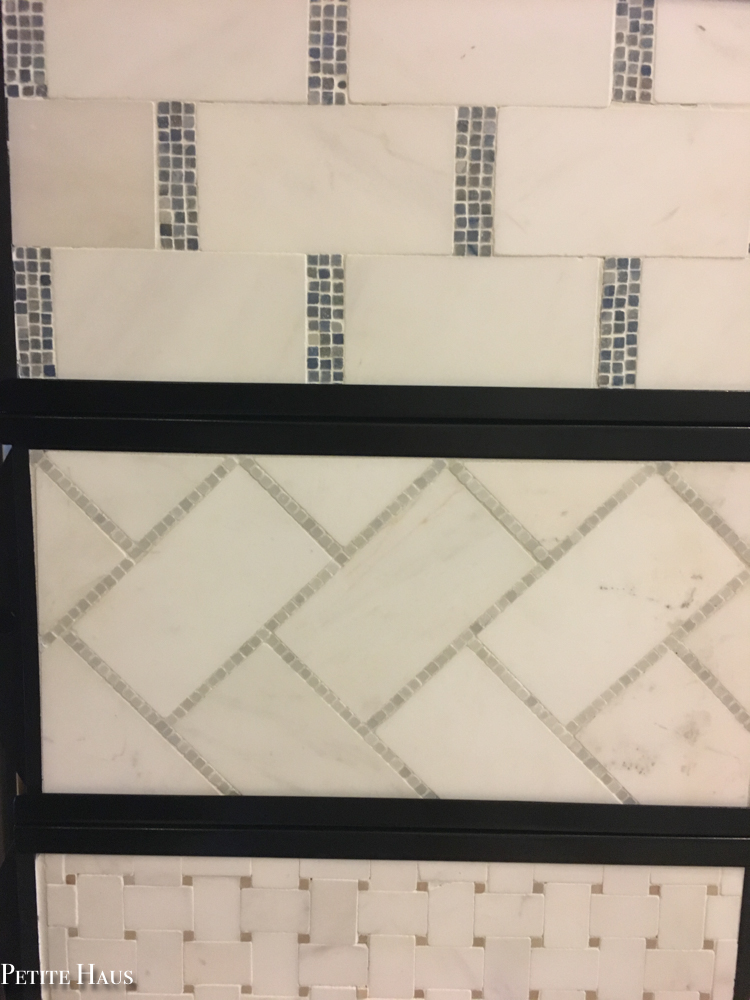
Waterjet is so beautiful.
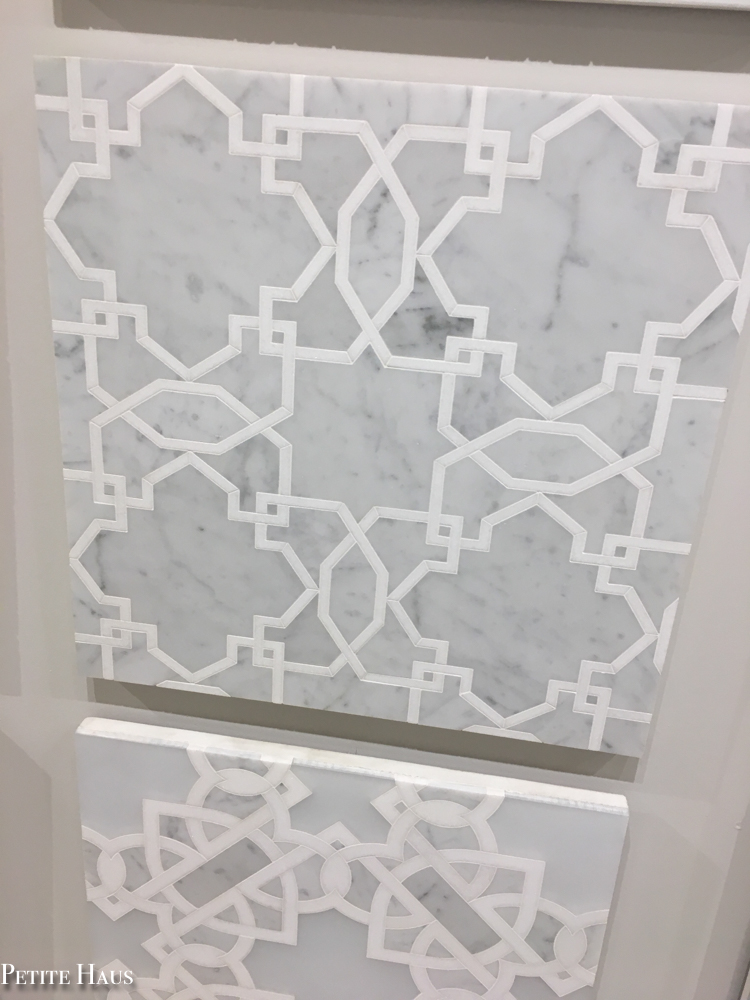
My DREAM backsplash… you would die at the price per sq ft. But it is beautiful!
Ultimately went with the wavy marble one below behind the range which I love! Subway marble tiles went on the rest of the backsplash areas.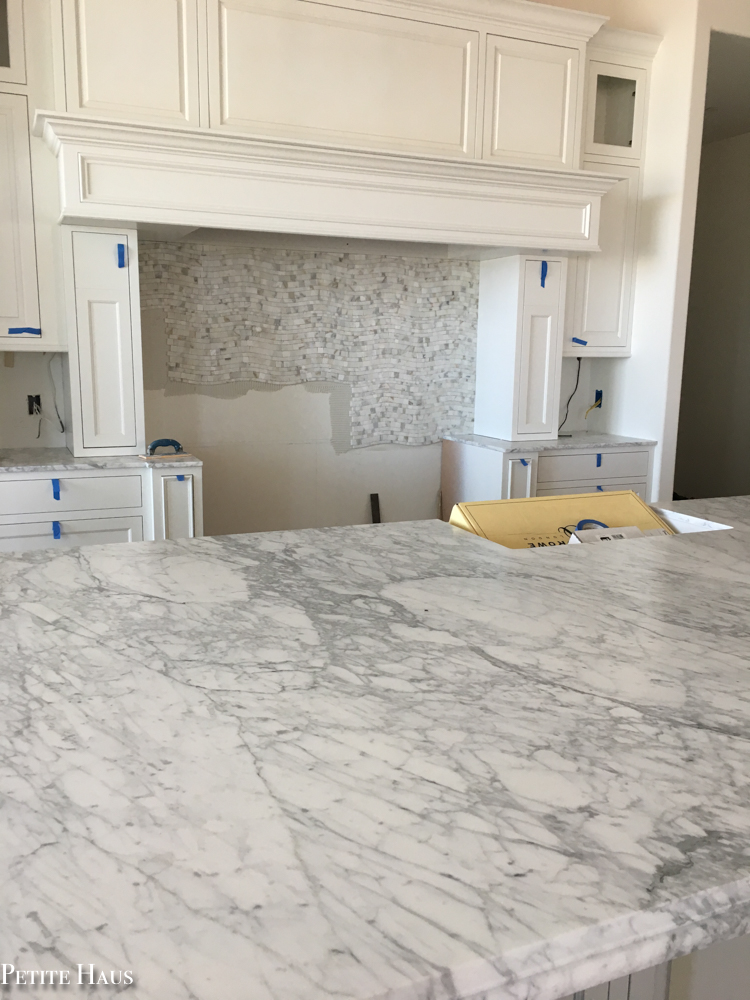
Ok, choosing our finishes.
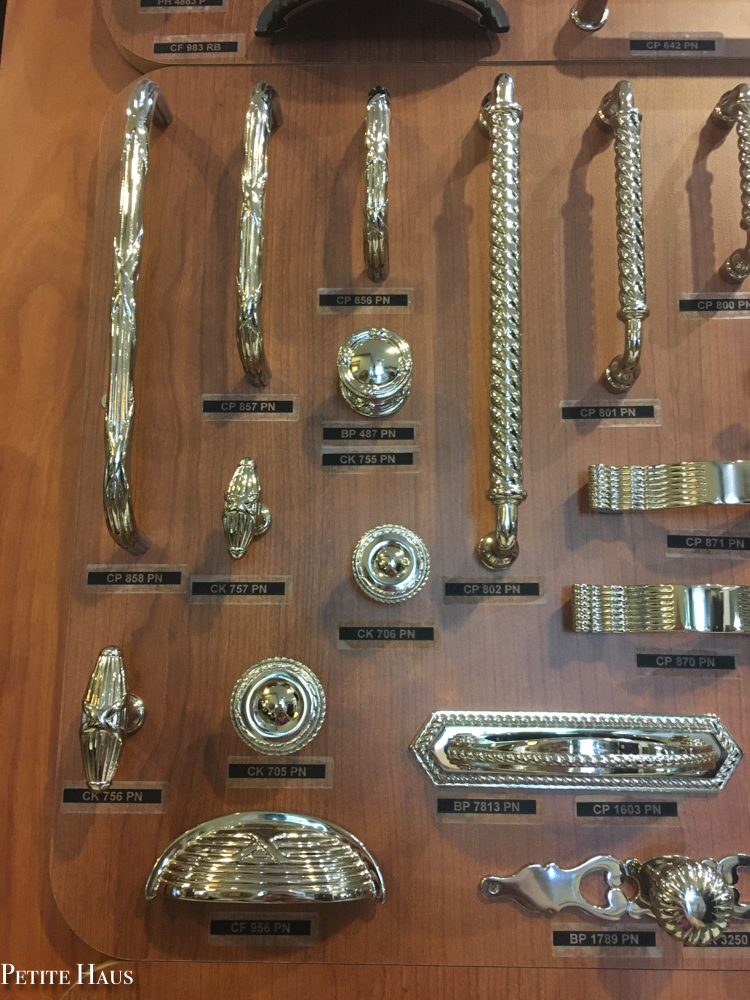
I love the warm look of the unpolished brass right now. However, in the back of my mind, I kind of cringe when I think of the brass of the 80s. So we went with polished nickel. But I did love this kitchen from Christopher Peacock that I wrote about here.
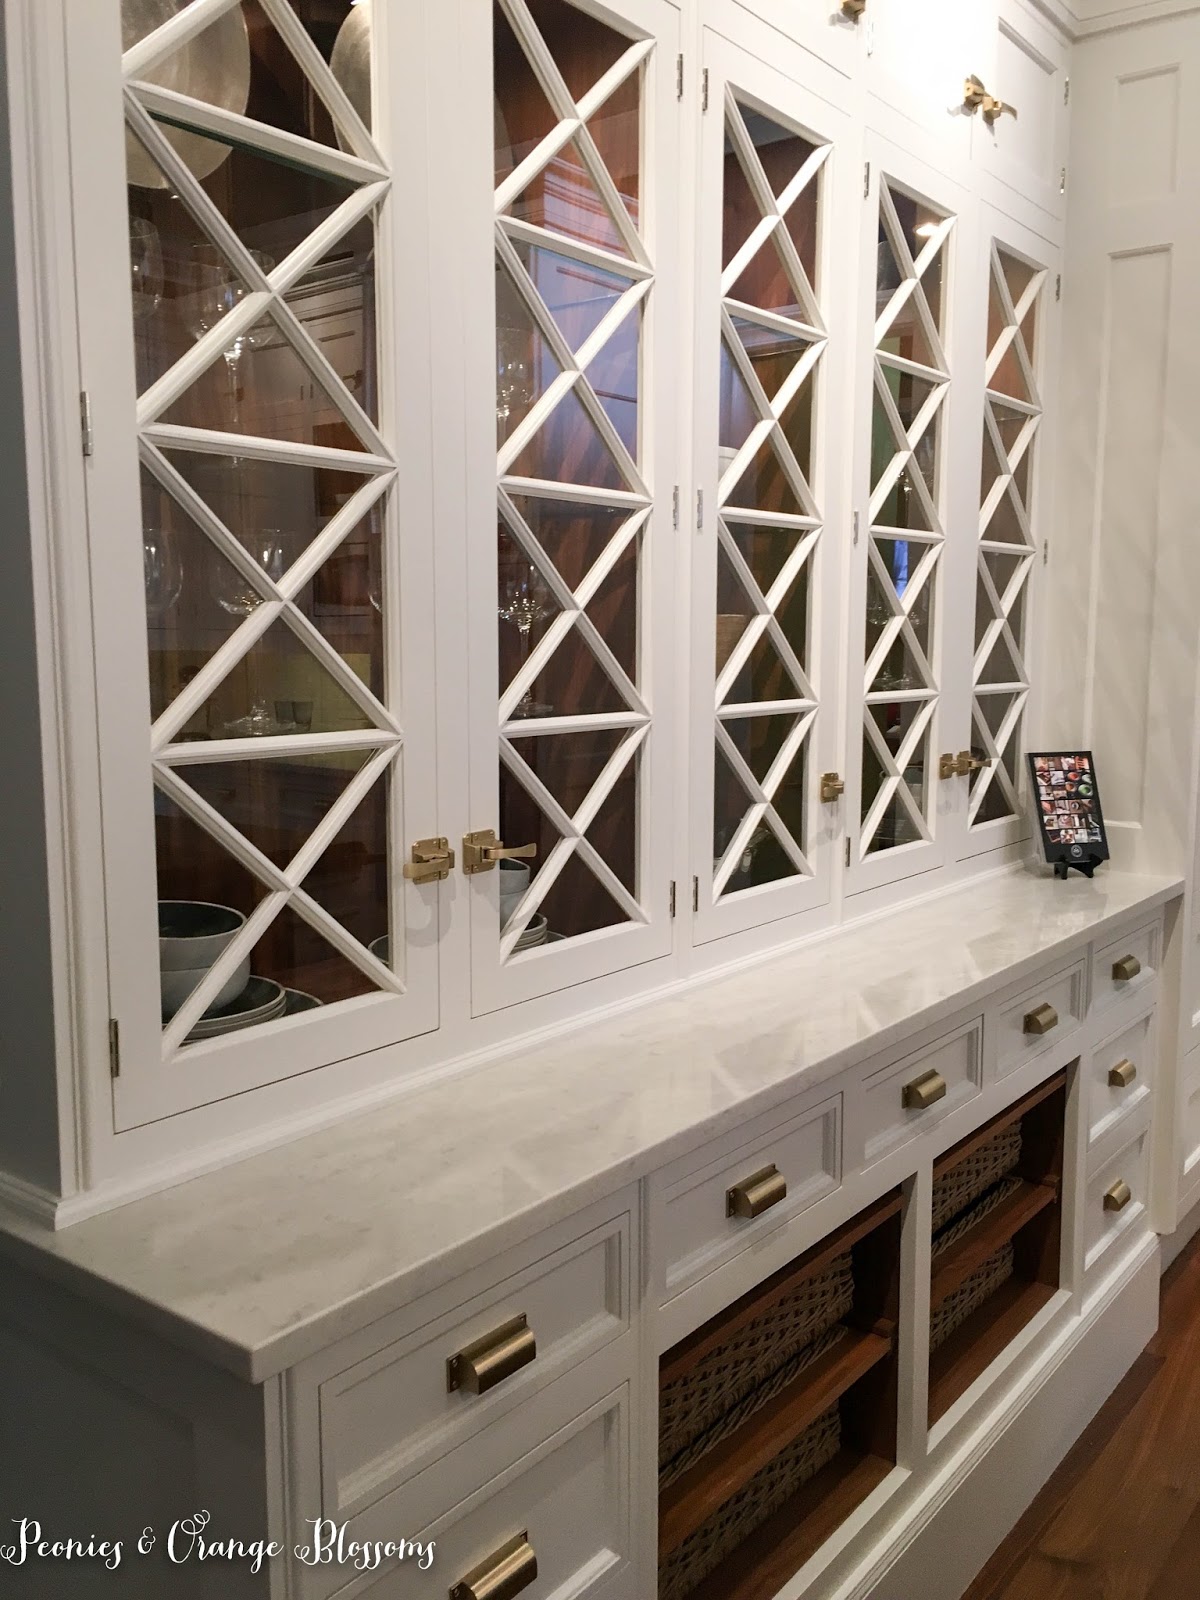
I was considering the ribbon and reed pulls and knobs, but ultimately chose something else. I recommend going into the hardware store and actually feeling the pulls and knobs. Don’t just buy it online without feeling it first as you may end up disappointed!
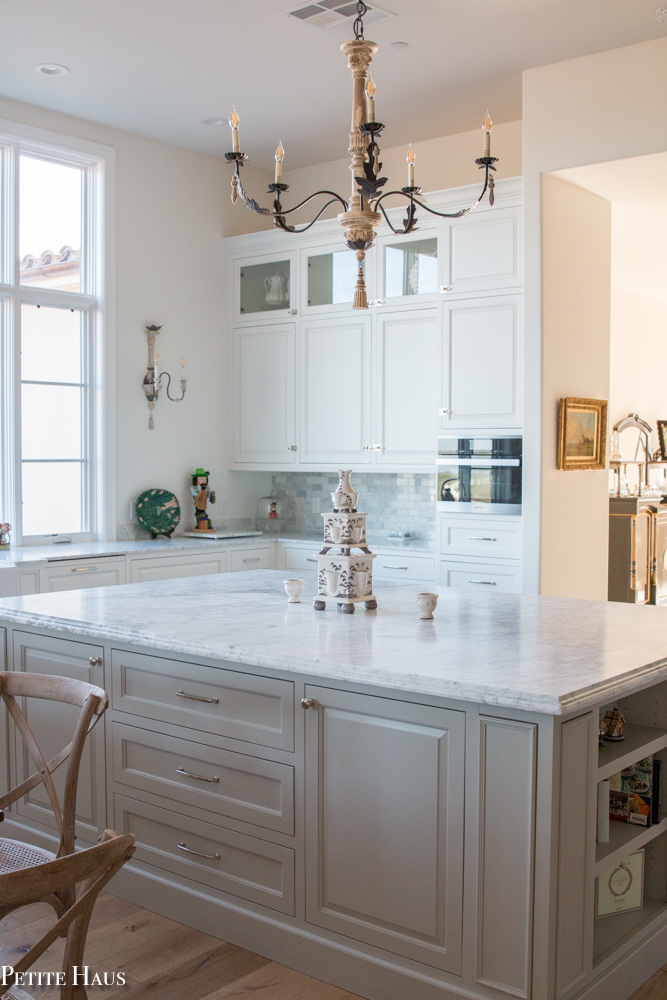
Okay, so what does our kitchen look like now??
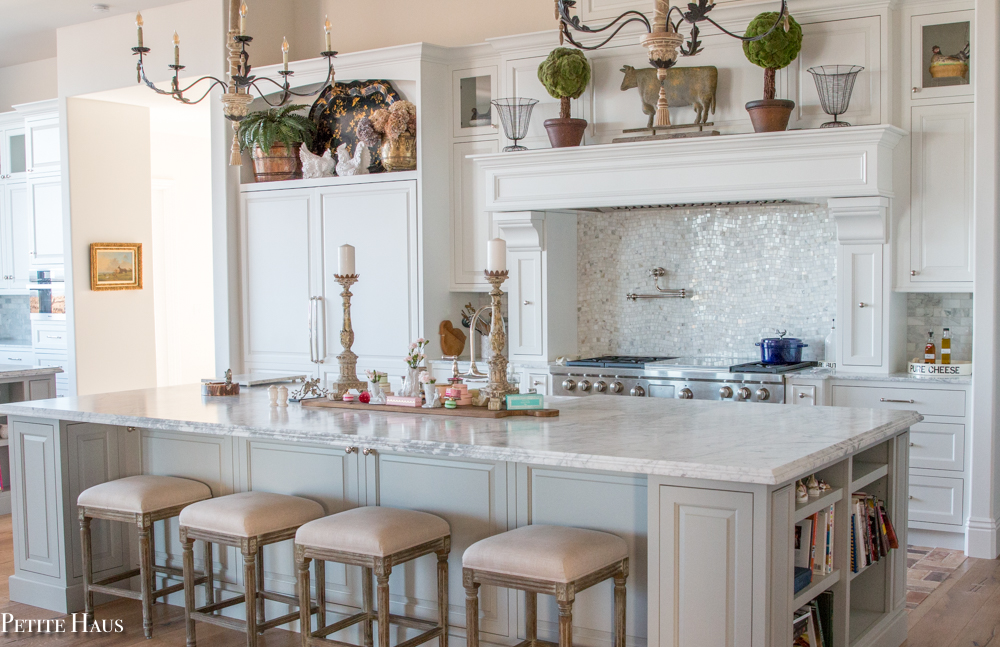
Yes, it’s big. A bit of an understatement. However, we host parties and are able to cook for and accommodate a lot of people! 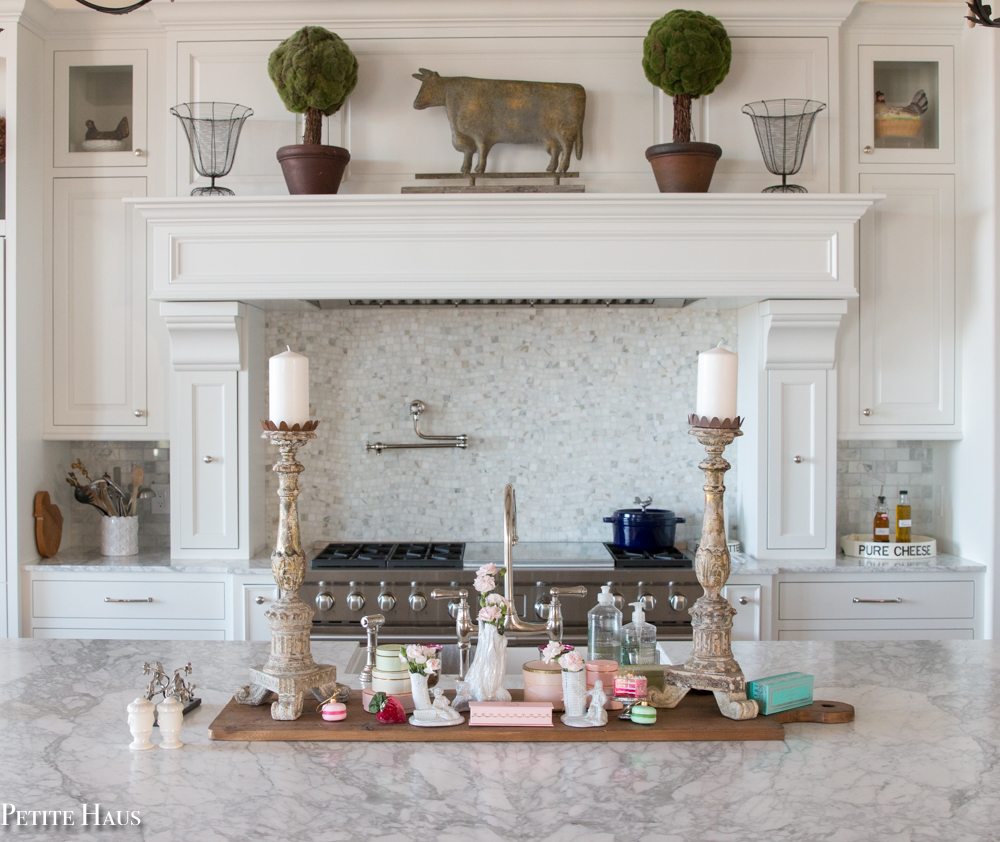
Below you can see a better look at our baking kitchen and the “regular” kitchen. We joke – his and hers!
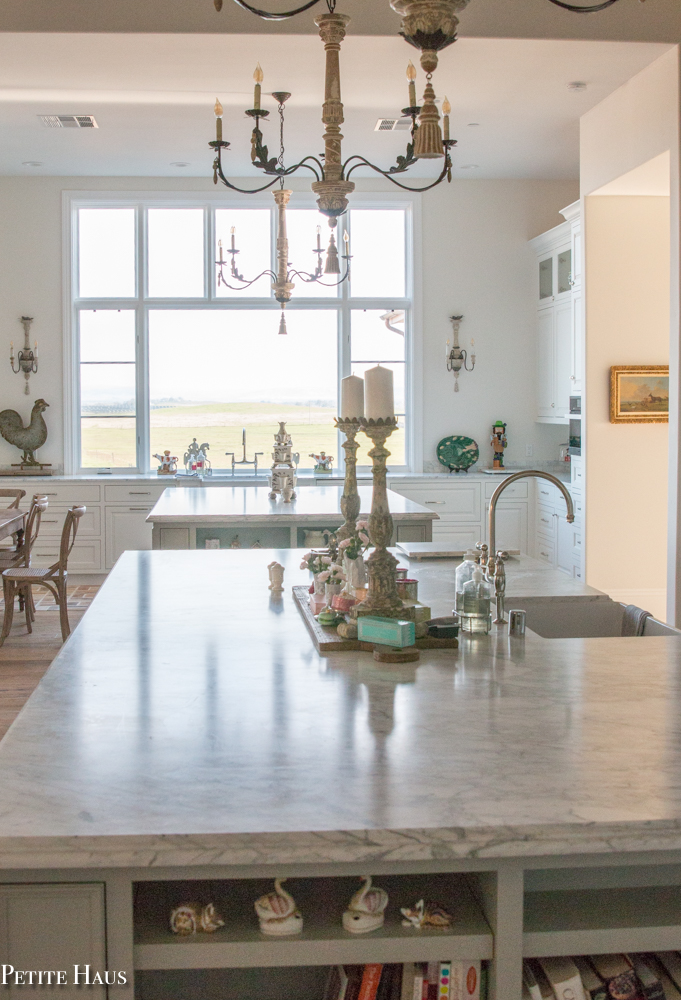
The baking kitchen below. The marble is fantastic for rolling the dough on!
And that is the shortened story behind our dream kitchen. We love our kitchen and couldn’t be happier. Thank you all for following along.
UPDATE – You can now check out our Farmhouse Kitchen Reveal here.














Your kitchen is gorgeous! You are so fortunate! I’m saving up for my dream kitchen. Hopefully, one day it will become a reality. Enjoy your day!!!
Author
Thank you! When there is a will there’s a way!
I’m in love!!
Author
Kim thank you!
Love all the photos, Angelina and your kitchen. It’s truly dreamy!
oxo
Olivia
Author
Olivia, thank you!!
Oh my goodness. I love the back splash tile with the flour-de-lis design and would have fought to get it too. Two islands, and one just for backing. Yes! I also want a pantry just for baking supplies next to the baking island. Also an area just for coffee lovers away from the islands. For myself I want a walk in cooler, no fridge and freezer. Yes yes yes on the marble. Nothing else in the kitchen compares. Also no dark wood cabinets because I would spend half my days trying to wipe the floured finger prints off them. Must have a spacious spice cabinet so that I can alphabetize them so they can be found quickly. And on and on. I adore your kitchen and would have much fun cooking in it.
Author
I enjoyed reading your wonderful ideas. We actually did toy with a walk in cooler!
So beautiful, Angelina! Thank you so much for sharing! I think in previous posts, you shared that the walls are BM White Dove and the cabinets are BM Chantilly Lace. Is that correct? What color did you use for your trim and ceiling? The whole space is just stunning!
Author
You are correct! I have a whole post coming up on Sunday with all the details!
Oh, Angelina! Your kitchen is absolutely fabulous! Love the marbled islands, back splash, all that room etc! I really, really, really love that outside view! It sure makes doing dishes a lot easier watching out that gorgeous window! Congratulations on your new house! I would love to see more posts and pictures on your other rooms!
Author
Pat, thank you very much! Yes the view is quite relaxing and I enjoy watching the cows graze in the field. I’m slowly working on sharing pictures of the house, just have to be in the right mood (with a clean room and good lighting etc!)
This is so fabulous!!!
Author
Thank you!
Absolutely stunning!!
Author
Thank you, Stacey!
Your kitchen turned out amazing. I really appreciate how you have outlined all of the steps you took and I certainly understand all of the agonizing over all of the details and elements going into your home. Since this is something we will be going through in the next couple of years, I soak up all of the stories of others who have gone through this before me! Thanks so much for sharing at Celebrate Your Story! I will be sharing this on my Facebook page, I hope it helps some others discover Petite Haus!
Author
I am glad you found my story useful! I also read through as many posts as I could about designing a kitchen! Thank you for sharing!
Now your kitchen will be many other people’s dream kitchen! I especially like the mantle over the cooktop.
Author
oh, you make me blush! Thank you! I love the mantle too!
It is perfection!!
Author
Thank you very much, Becky!
This couldn’t be more timely. I’m picking out my Dream kitchen now. My cabinets are creamier than stark white (mostly because it will look better with furniture I already have. I also incorporated some beadboard. I love your light fixture as well and i haven’t done that yet.
It’s absolutely GORGEOUS.
Author
Thank you, Jan. I love bead board!! Sounds like it will be fabulous!
Spectacular, Angelina! If I were re-doing my kitchen I’d look to yours for inspiration! Thanks for sharing at BOTW!
Author
Amy, thank you for your kind words!
Hi, Angelina—Your kitchen is just wonderful! No doubt baking in this kitchen will make you happy every day–gosh, just LOOKING at this stunning kitchen made ME happy!
Now on to my question: I have been thinking about a pot filler over my stove. Now that you have had yours for a while, do you find it to be as useful as you thought it would be? I ask only because filling it at the stove (avoiding carrying a full pot) would definitely be handy, but then I would still have to carry the full pot to the sink to empty it. It seems to cancel out the benefit even though the sink near is the stove. I appreciate your thoughts and your help with this!
Author
Marie, I find that I use the potfiller more than I thought! So, as for taking the full pot and emptying it in the sink – we actually have been filling our big stock pot with the water on the stove. In the stock pot sits the strainer – so when the pasta/potatoes whatever is done, we just lift the strainer out of the hot water and leave the stock pot on the stove. Then we let the hot water in the stock pot cool down. We then drain the pot in the sink when the water is cool – no more splashing hot water onto our hands!