DIY Christmas Card Holder

We use affiliate links in our posts and our site. This means if you make a purchase using these links, we may earn a small commission. You don’t pay a cent more than you would otherwise! Our full disclosure is available under About.


DIY Christmas Card Holder

Today I am sharing with you my easy DIY holder for Christmas cards!  I love displaying Christmas cards, but the fancy displays cost quite a bit of money.  I came up with a cost-effective way to display them on my own!

Total project cost: $1 (I already had clothespins and scissors)

Supplies

  • Christmas ribbon
  • clothespins
  • scissors

Instructions

  1. Measure out ribbon, I used about 1 yard.
  2. Attach clothespin at the bottom to use as a weight
  3. Hang on the wall (you may either nail straight into the wall, or I used a folded paperclip and stapled it to the ribbon, then hung on a nail).
  4. Clip Christmas cards onto ribbon with clothespins

Finished product:

As you get more cards, you can make more ribbon strands.

I used a ribbon at the bottom to hide the ugly clothespin.   I think maybe tying a ribbon at the top would help make it look a little better.

ribbon I used has a reindeer pattern, I think it is from Michael’s.

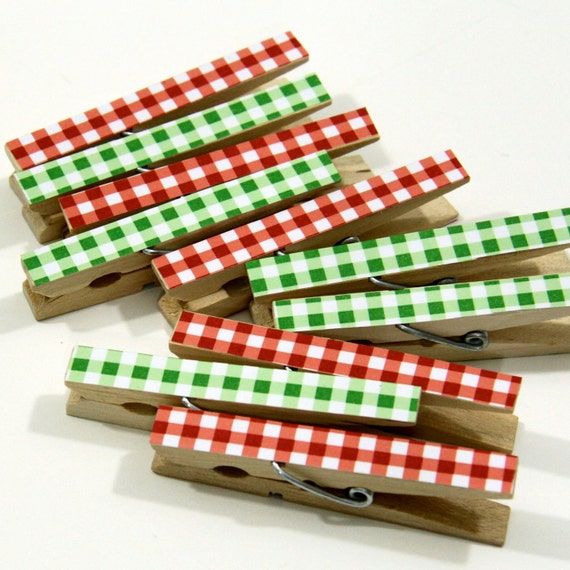
Another way to make this look more festive is to decorate the clothespins.  You can also purchase some on etsy.  A quick look through etsy, I found myself eyeing these:
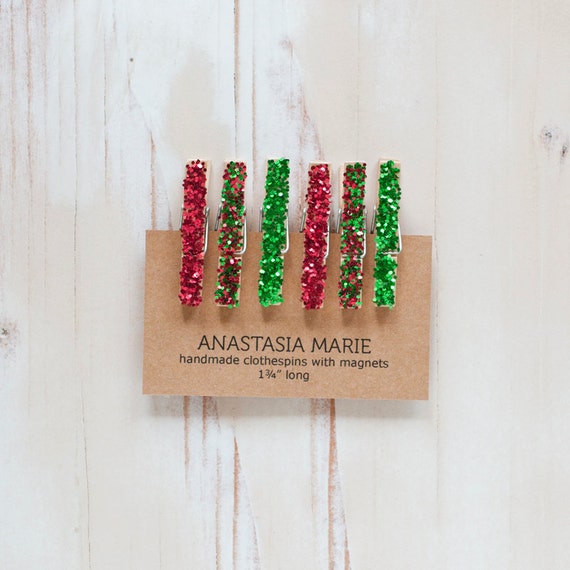
6 - Mini Holiday Metallic Red + Green Glitter Clothespins with Magnets
May purchase here

Clothespins.  Set of Ten.  Red and Green Gingham
May purchase here

It wouldn’t take much to replicate these, just some glue with either paper or glitter.

But, I wanted to keep this project simple and cheap.  So this will do for now!

Hopefully this has inspired you to go display your Christmas cards!

Be sure to check out my other 25 Days of Christmas posts!

I’ve linked up with The Scoop! Visit Confessions of a Plate Addict blog,Tablescape Thursday at ‘Between Naps on the Porch’, Wow us Wednesdays! at Savvy Southern Style, Open House Party at no minimalist here,Feathered Nest Friday at French Country Cottage, Seasonal Sundays & Oh the places I have been at The Tablescaper, and a stroll through life inspire me tuesday’s. 
Follow:

Mackenzie-Childs DIY napkin rings

We use affiliate links in our posts and our site. This means if you make a purchase using these links, we may earn a small commission. You don’t pay a cent more than you would otherwise! Our full disclosure is available under About.

Mackenzie-Childs DIY Napkin Rings!

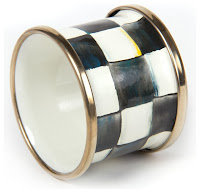
I love Mackenzie-Childs.  But my budget does not.  So, I came up with an idea to get the look for less.  I have been wanting these napkin rings below for a while:

Mackenzie-Childs Courtly Check Napkin Ring

But at $16 each they are a little out of my price range right now.  So I came up with the idea of making my own.

Materials

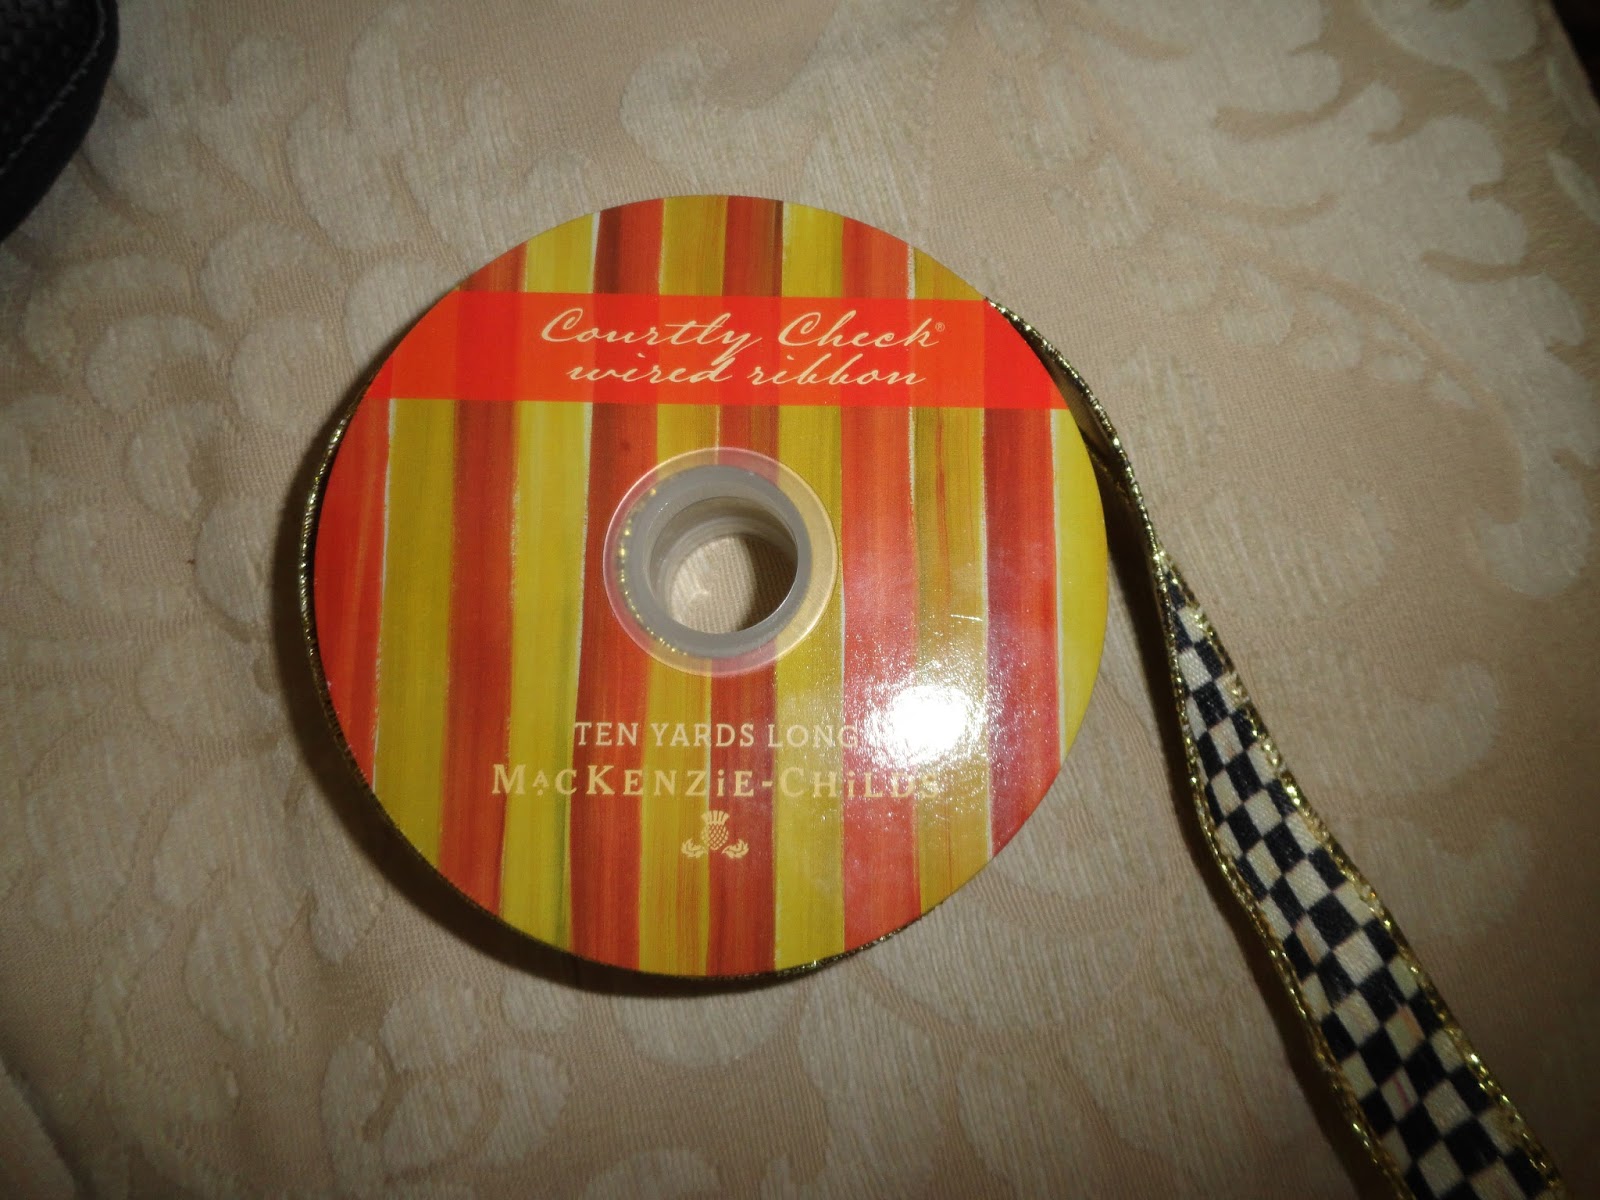
  • Mackenzie-Childs Ribbon (you may it purchase here).  I purchased the 1″ ribbon for $28 for 10 yards.  There are larger sizes if you would like to use that instead.
  • Another napking ring for size
  • scissors
  • needle and thread
1″ Courtly Check ribbon

 STEP 1:
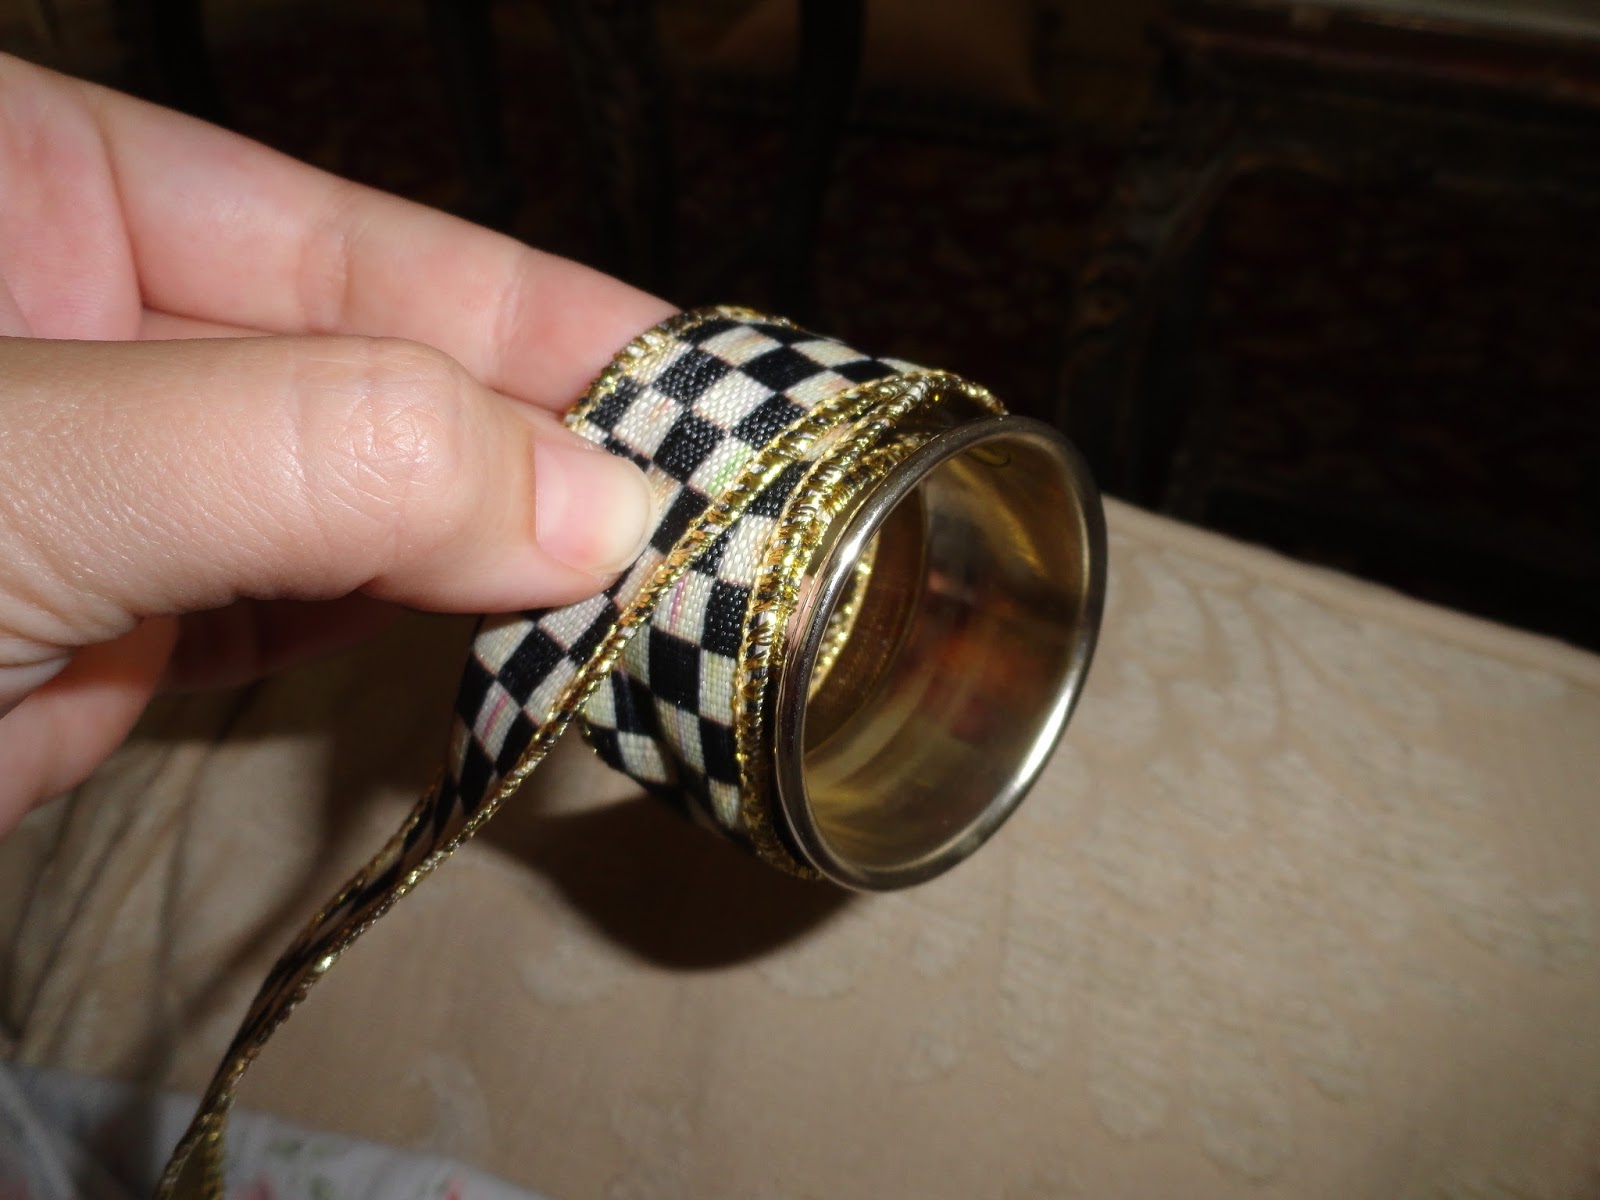
Wrap the ribbon around another napking ring for proper sizing.

step 1.

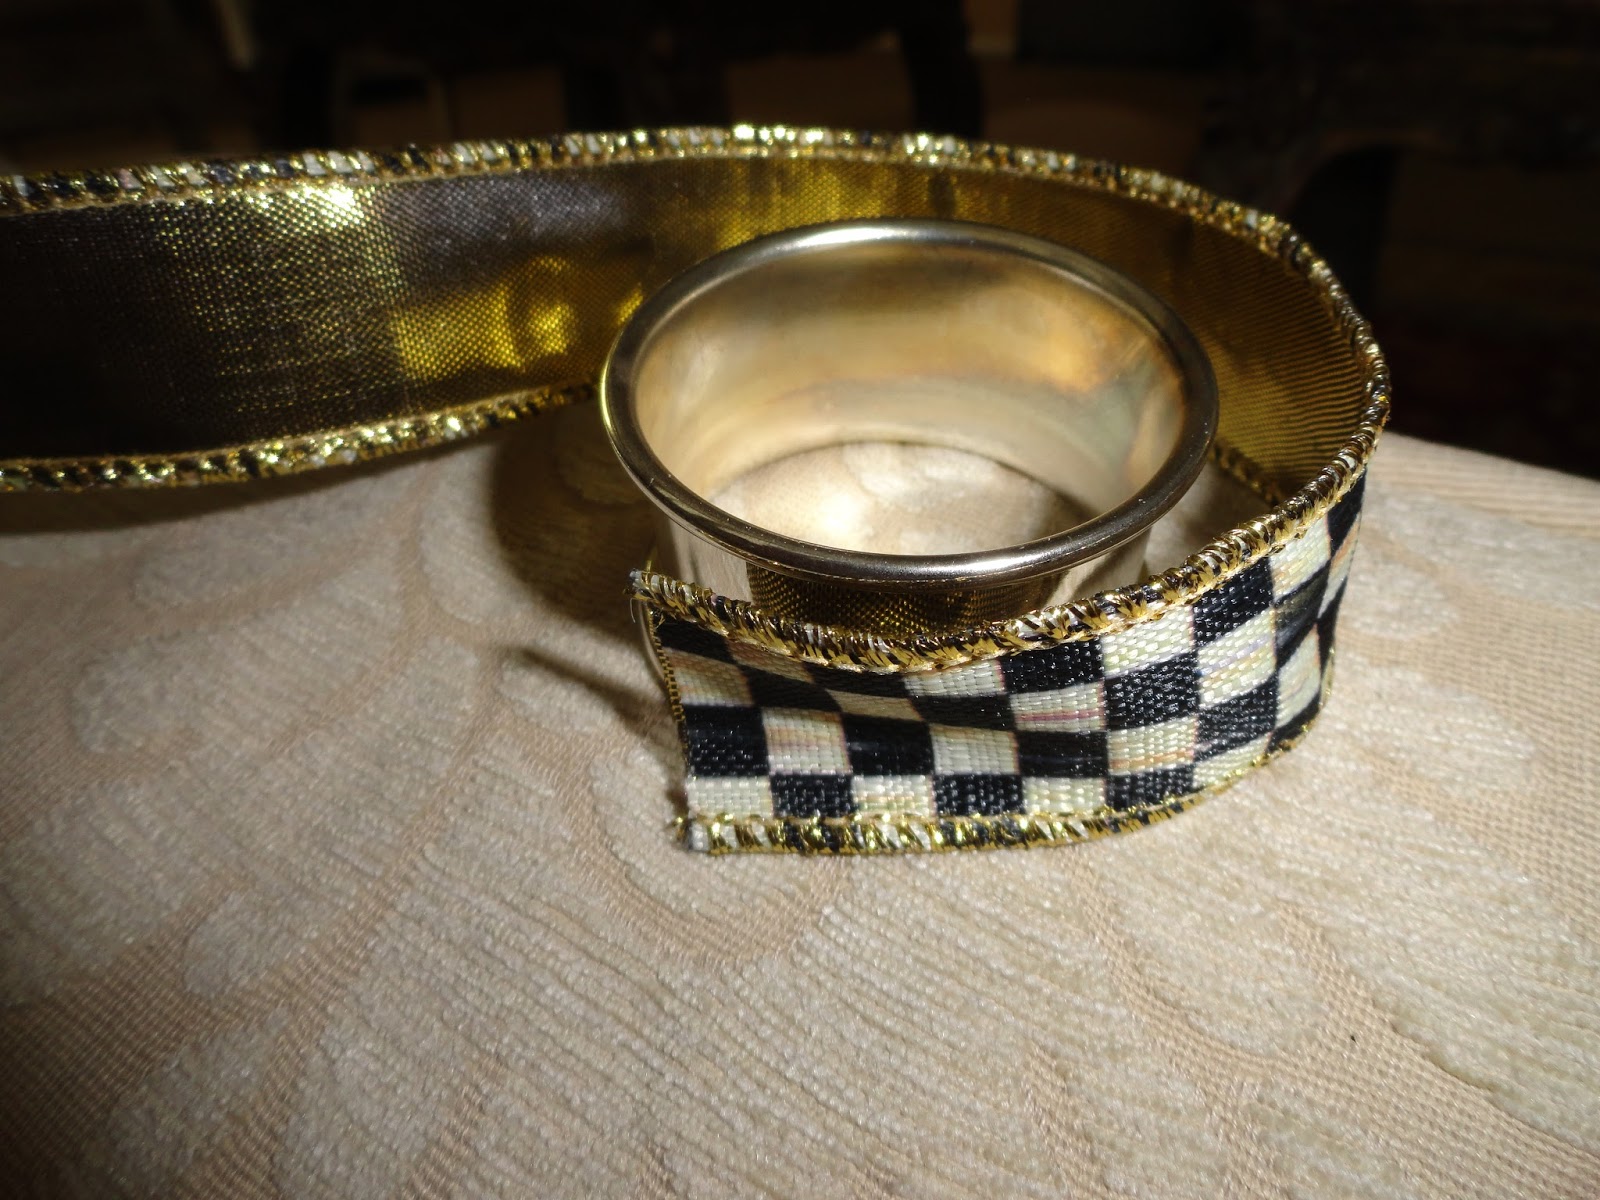
 STEP 2:  Give yourself extra overlap so the ribbon will not unravel.  Then bend back the ribbon ends so a nice seam is left.

STEP 3:
Sew the overlapping edges over each other with a simple running stitch by hand.  Then VOILA! done!

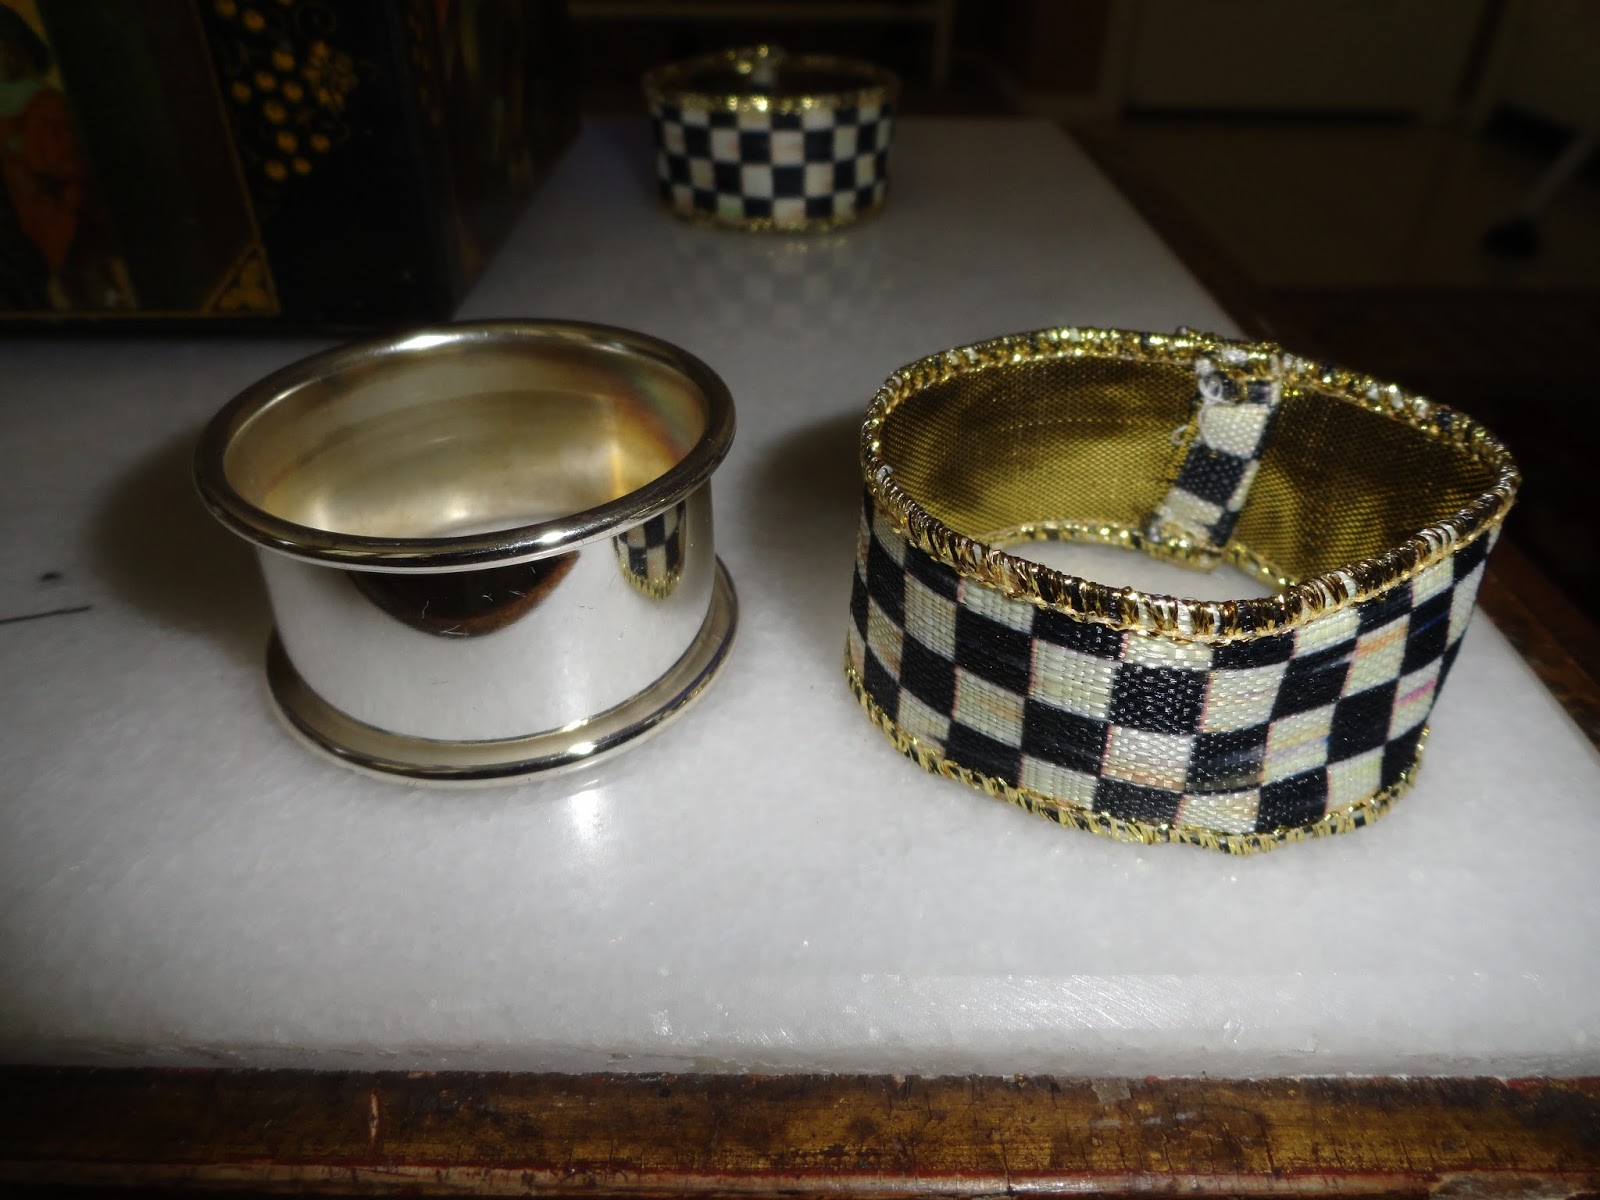
Finished product next to the old napkin ring for size.  Notice how the ribbon edge on the inside of the napkin ring is folded over so the ribbon will not unravel.

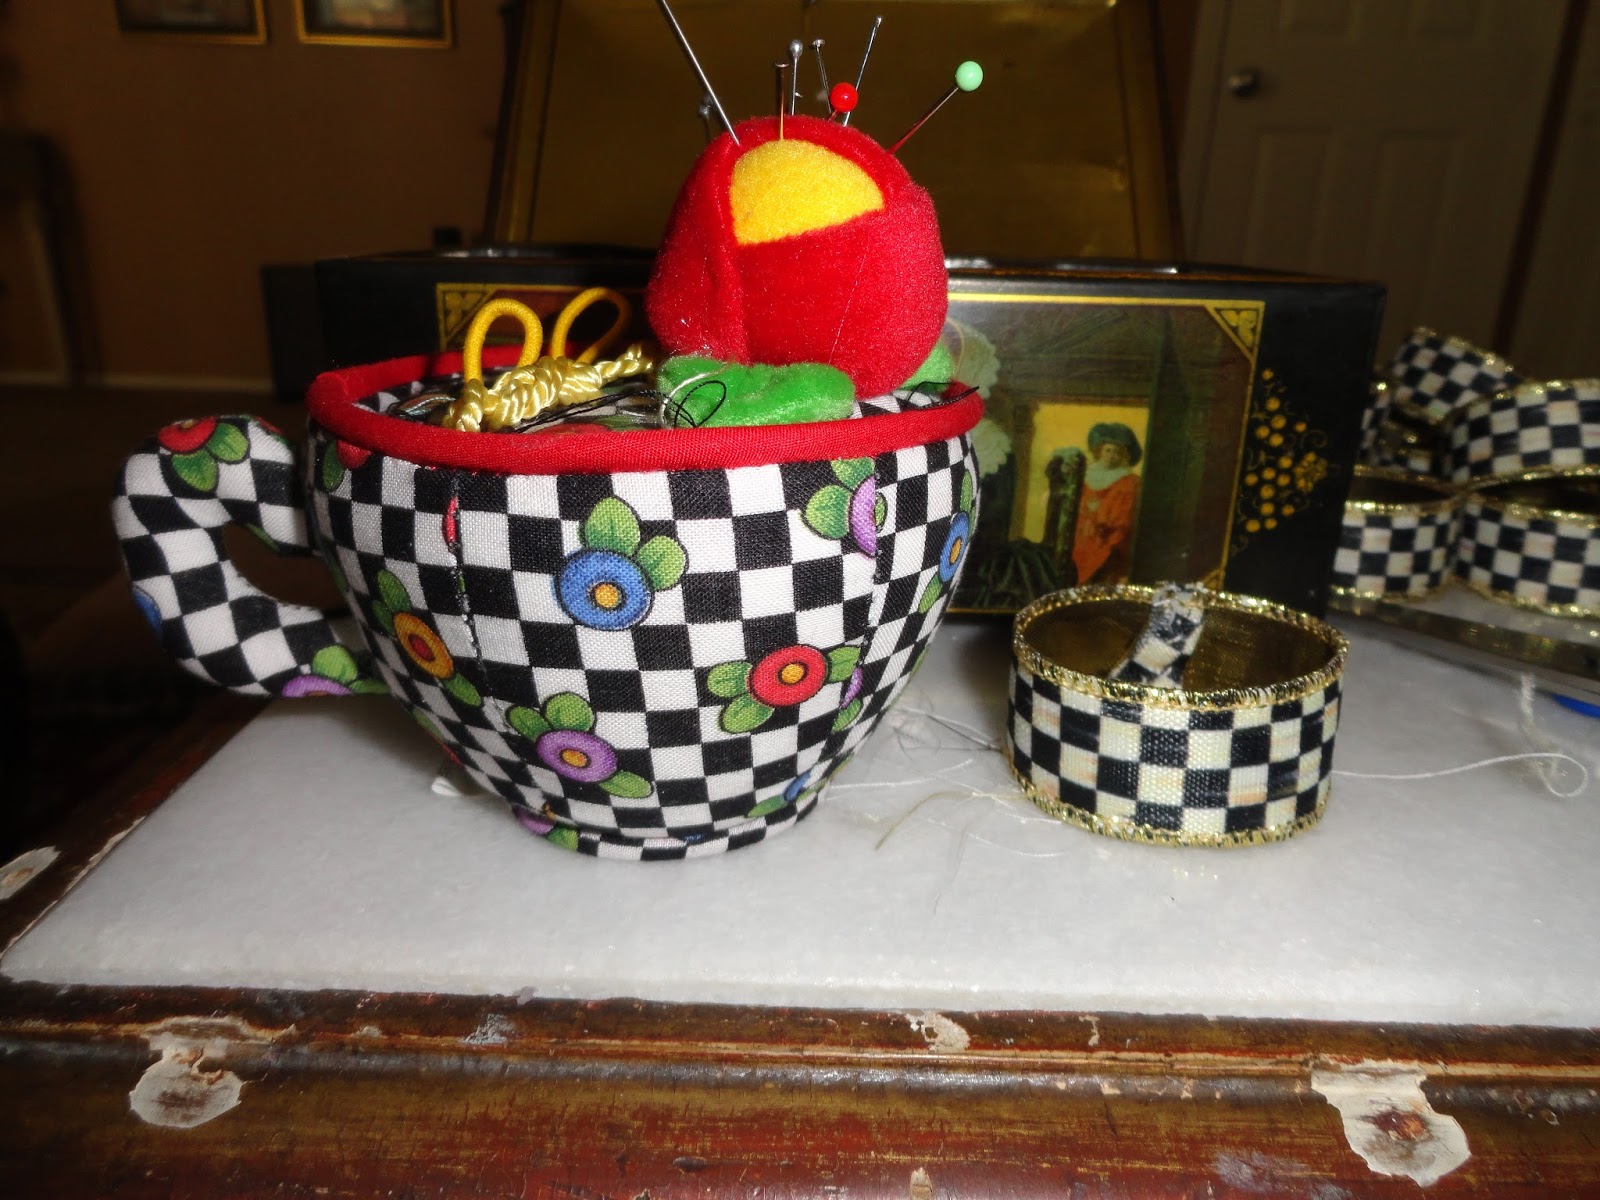
 Coincidentally, the Courtly Check napkin rings match my old Mary Engelbreit pin cushion!

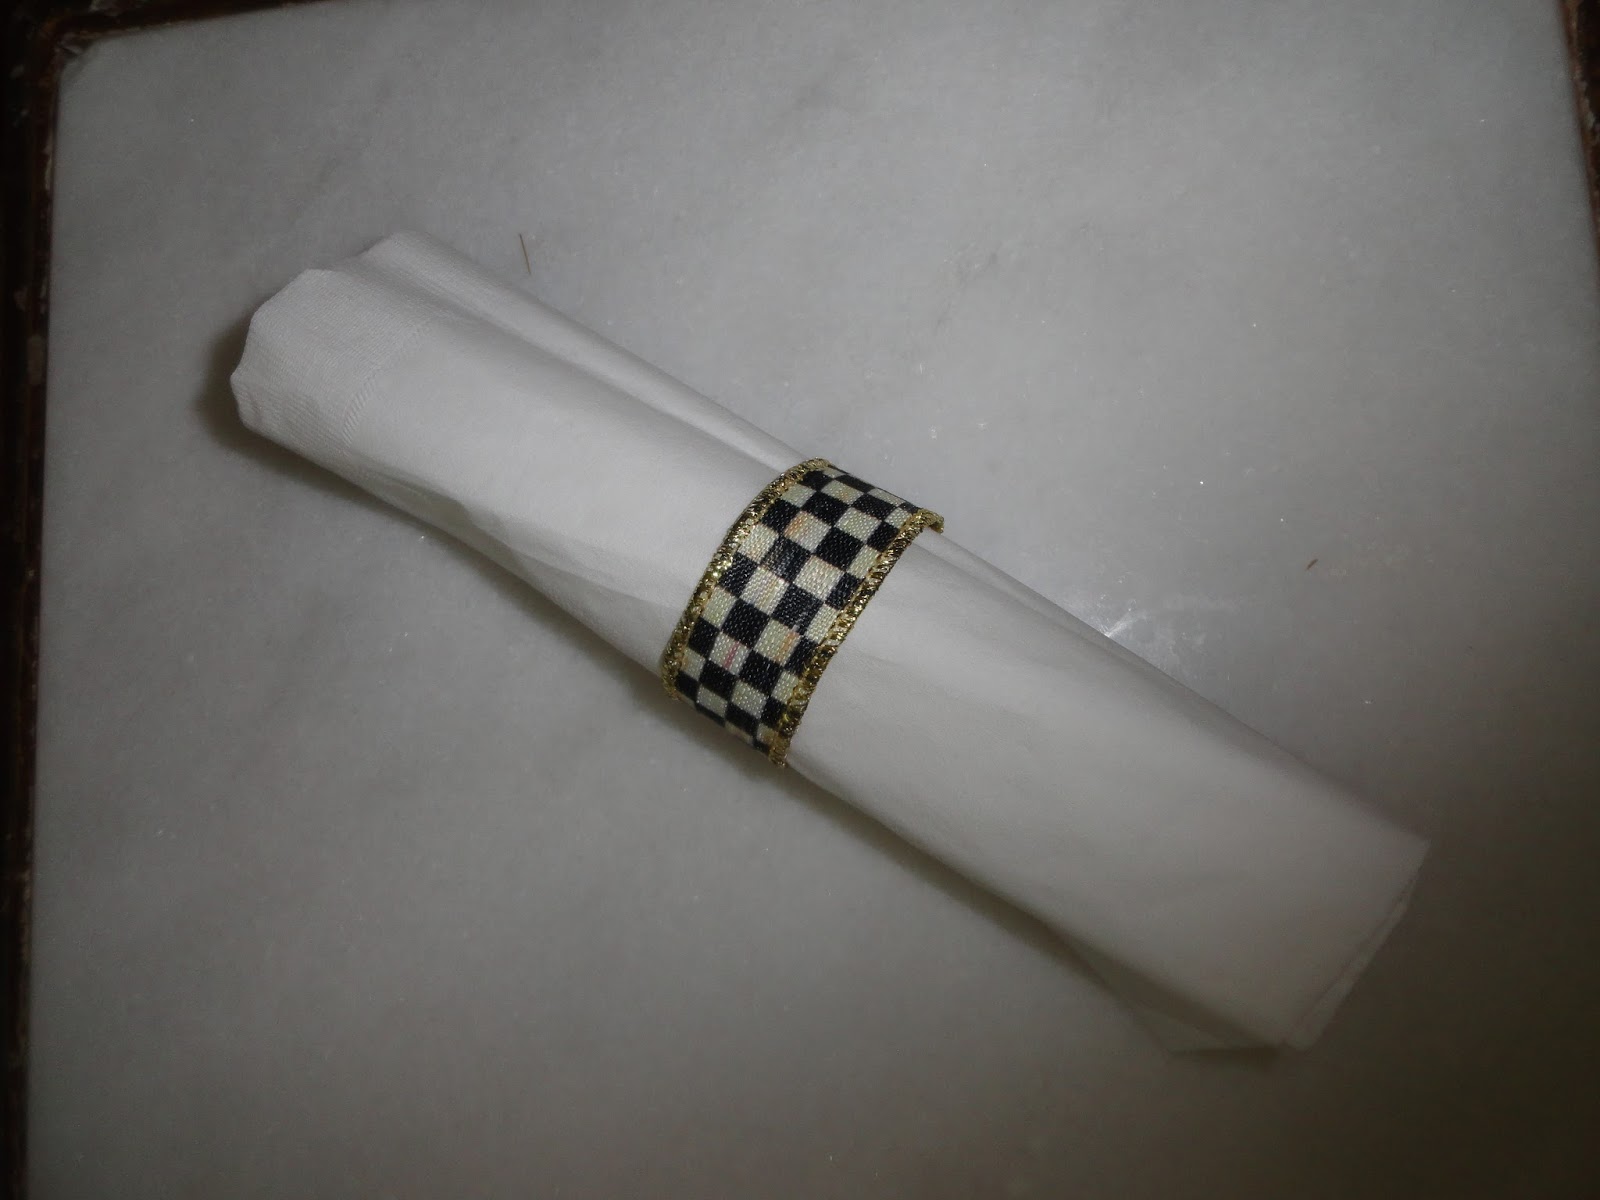
The finished product! Not too shabby!

While the normal napkin rings would be nicer, the project cost was $28 (I made only eight of the napkin rings, but you could make a whole bunch more) vs at least $128 for eight real napkin rings.  I get the look, for 80% off the price, which is what I wanted.  Plus I have at least 9 yards of Mackenzie Childs ribbon to play with!  Now what to do with the extra ribbon… I’m sure I’ll think of something!

I’ve linked up with The Scoop! Visit Confessions of a Plate Addict blog, it’s a good one!
I’ve also linked up with Wow us Wednesdays! at Savvy Southern Style, Open House Party at no minimalist here, and Feathered Nest Friday at French Country Cottage!

Follow:

From the Shop

I may earn a small commission if you purchase with these links

Caning Natural Tote Handbag - Universal Thread™
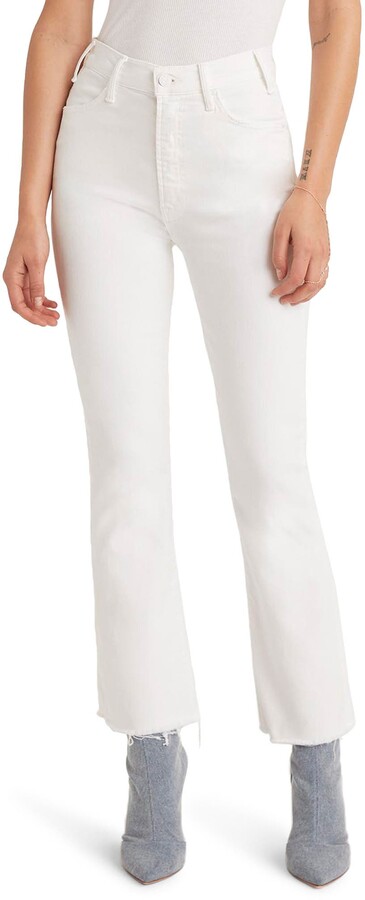
The Hustler High Waist Fray Hem Ankle Bootcut Jeans
Le Panier Pliage Raffia Crossbody Bag
Extra Large Le Pliage Panier Tresse Straw Tote
The Bennet Buttondown Shirt by Maeve
T Monogram Perforated Leather Bucket Bag
Mellow Stud Mule
Le Pliage Marinière Recycled Nylon Canvas Travel Bag
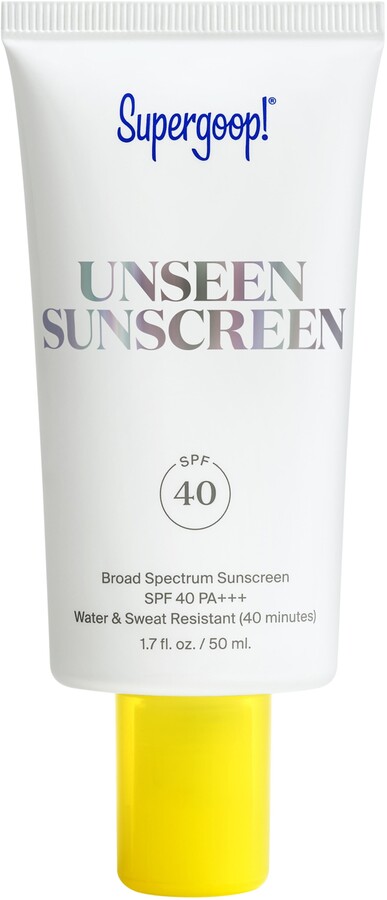
Unseen Sunscreen Broad Spectrum SPF 40 PA+++
Maxine Stripe Cotton Button-Up Shirt
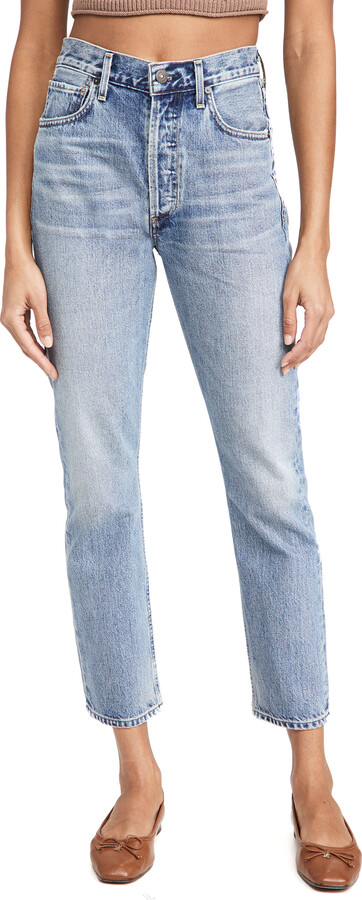
Citizens of Humanity Charlotte High Rise Straight Jeans
Navy Equestrian Traversee M Linen Tote
Cream Carrie Blouse
Ellison Natural
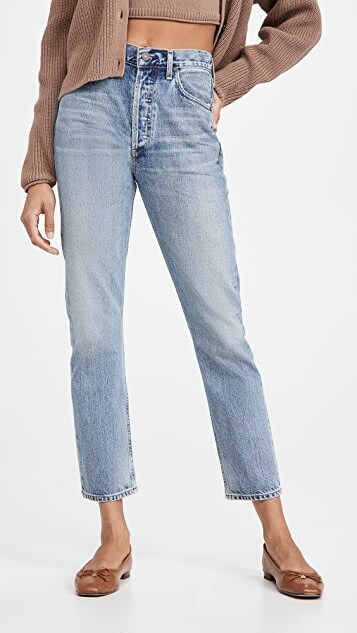
Jolene High Rise Vintage Slim
Citizens of Humanity Blue Jolene Jeans
Charlotte High Rise Straight Jeans
Women's Le Pliage Filet Top Handle Bag - Ecru
Vintage cotton crewneck T-shirt
Air Heart Sunglasses
Le Pliage Torchon XS Top Handle Bag With Strap
Santorini Raffia Basket Bag
Chuck Taylor® All Star® Lift High Top Platform Sneaker
Please note that I use ShopSense, LIKETOKNOW.it, Shareasale and Amazon affiliate links on this site. This means using them for purchases won’t cost you extra but may earn me a small commission.  Our full disclosure is available for viewing under About in the disclosure policy.
All rights reserved. Our graphics, images and text are all subject to copyright protection.