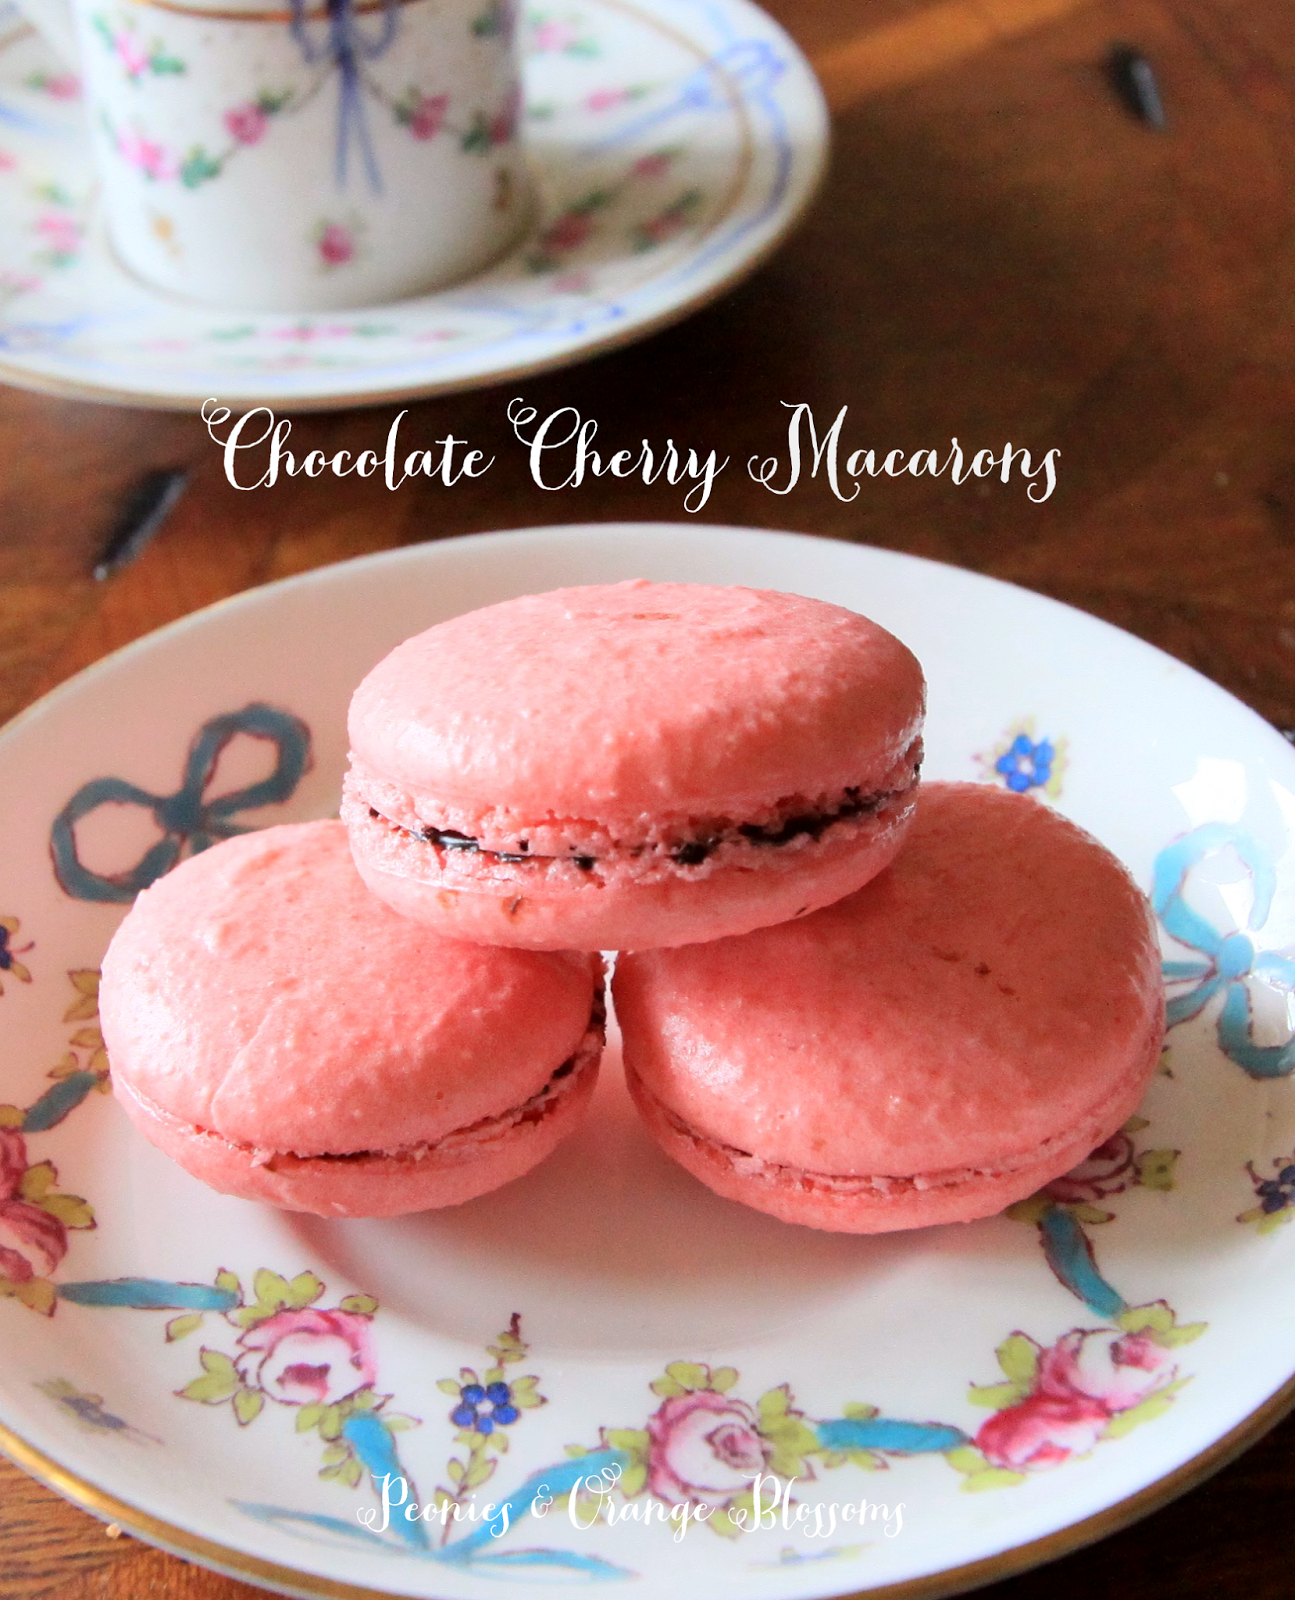
Chocolate Cherry Macarons

We use affiliate links in our posts and our site. This means if you make a purchase using these links, we may earn a small commission. You don’t pay a cent more than you would otherwise! Our full disclosure is available under About.

Cherries are my favorite fruit and I love chocolate and macarons, so I thought, why not make a chocolate cherry macaron??? So the Chocolate cherry macaron was made and quickly gobbled up!
This post may contain affiliate links. 
Chocolate Cherry Macaron Recipe

Materials needed: (affiliate links are used for your convenience)

    • a food scale (yes, you need this. I use this one)
    • a piping tip and piping bag (I like the ateco #806, I use these tips and piping bag)
    • Food coloring (the gels or dry powder works best, not the liquid store stuff)
    • A macaron template
    • food processor (I use this one)

Chocolate Cherry Macaron Recipe

Laduree Macaron shell Recipe (from Ladurée Macarons)

275g ground almonds

  250g powdered sugar

210g egg whites

210g granulated sugar

1.  Mix almond meal and the powdered sugar in a food processor. Be careful not to grind too long, otherwise it will form a paste.

2. Sift the almonds and powdered sugar. Set aside.

3. Weigh out granulated sugar.

4. Weigh the egg whites.  Beat them slowly on a low speed until foamy. SLOWLY add the granulated sugar to the egg whites as you beat.  Once all mixed, increase speed to medium and beat until a firm meringue forms.  You want a firm meringue with glossy peaks but not stiff peaks.  They should defy gravity and remain in the bowl if you turn it upside down.  If you tilt your bowl to the side and they are sliding out, keep beating.

5. Add the food coloring gel and mix.
6. Then fold in 1/3rd of the almond/sugar mixture into the meringue with a silicone spatula.  Once combined, add another third of the almond mixture. Add last bit.  This batter requires more deflation during this step since it creates such a poofy meringue.

7. Add the batter to a piping bag. . Pipe in rows using your template onto parchment paper.

8. Pick up the pan and beat until the counter.  The cookies need to rest on the counter between 30-60 minutes.  They are ready to go in the oven when they are dry to touch (the shell shouldn’t stick to your finger)

9.  Set the oven to 300F.

10. Bake the cookies for 13-15 minutes one sheet at a time. They are done when they look kind of matte and seem firm when you lightly tap on them.  You can always rescue a slightly overcooked one with the maturation process that comes later, but you cannot rescue an undercooked one!!

11.  Remove from paper once completely cool. If they stick they stick to the paper, they aren’t cool yet. Or you undercooked them.

Chocolate Cherry Filling

8 oz. semi-sweet chocolate, either finely chopped or chips.

8 oz. heavy cream

3 tbsp kirsch

1. In a medium bowl place the chopped chocolate. Bring heavy cream to a boil; pour over the chocolate and let sit for about 1 minute.  Then slowly whisk to combine, trying not to incorporate a lot of air when whisking.

2. Stir in the kirsch syrup.

3. Let ganache chill in refrigerator until set.

To fill the macarons, spread a little bit of ganache on one side of the shell, then gently press the second shell together.  Allow to sit overnight in an airtight container in the refrigerator.  This is a key part!!  I promise if you wait to eat them until the next day they will taste fabulous!

Want to know a secret, I confess, I did *not* make the filling in this recipe.  I was actually shopping in a trip to Napa and went to one of my favorite gourmet food stores, Olivier, and bought this wonderful Chocolate Cherry sauce.  Yes, I cheated, I know.  It made this process so much easier though!

Chocolate Cherry Macaron Recipe

SaveSave

Follow:

Raspberry Rose French Tart

We use affiliate links in our posts and our site. This means if you make a purchase using these links, we may earn a small commission. You don’t pay a cent more than you would otherwise! Our full disclosure is available under About.

I have made mini tarts before but I have never made a big tart before!  I received a 9″ tart pan with a removable bottom and it is fantastic!  This was actually a pretty easy recipe to make.  I combined a few recipes and came up with this creation!

Raspberry Rose French Tart Recipe

Rose Tarte aux Framboises 

makes one 8-9″ tart

printable recipe is here

Tart dough (recipe from David Leibovitz, I recommend reading his recipe on his site – it’s funny)

90 g (3 ounces) unsalted butter, cut into pieces

1 tablespoon vegetable oil

3 tablespoons water

1 tablespoon sugar

1/8 teaspoon salt

150 g (5oz, or 1 slightly-rounded cup) flour

  1. Preheat the oven to 410º F
  2. In a medium-sized ovenproof bowl, combine the butter, oil, water, sugar, and salt.
  3. Place the bowl in the oven for 15 minutes, until the butter is bubbling and starts to brown just around the edges.
  4. When done, remove the bowl from oven (and be careful, since the bowl will be hot and the mixture might sputter a bit), dump in the flour and stir it in quickly, until it comes together and forms a ball which pulls away from the sides of the bowl.
  5. Transfer the dough to a 9-inch (23 cm) tart mold with a removable bottom and spread it a bit with a spatula OR transfer the dough to your mini tart pans. It doesn’t matter the size of your tart pans. Save a raspberry size piece of dough and set it aside.
  6. Once the dough is cool enough to handle, pat it into the shell with the heel of your and, and use your fingers to press it up the sides of the tart mold.
  7. Prick the dough all over with the tines of a fork about ten times, then bake the tart shell in the oven at 410F for 15 minutes, or until the dough is golden brown.
  8. Remove from the oven and if there are any sizable cracks, use the bit of reserved dough to fill in and patch them.
  9. I find it best to pinch off a small amount of the reserved dough, roll it gently between your fingers to soften it, then wedge it into the cracks, smoothing it gently with your pinky.
  10. Let the shell cool before filling.  Next, make the rose cream.

Rose Tart aux Framboises

Rose crème pâtissière (modified from Teatime in Paris book by Jill Colonna)

500g whole milk

6 egg yolks

80g granulated sugar

40g cornstarch

1.5 tbsp rose water

  1. Pour the milk into a saucepan and gradually bring to a boil over medium-low heat.
  2. In a mixing bowl, whisk the yolk and the sugar until pale.  Then wshik in the cornstarch until pale, smooth and creamy. You can hand whisk or use a handheld mixer.
  3. As soon as th milk starts to boil, pour half the milk into the egg yolk mix and whisk until combined. Then pour back into the saucepan and hand whisk continuously over heat until thickened.  Take off the heat as soon as you have a few thick bubbles.
  4. Immediately place plastic wrap directly in contact with the hot pastry cream.  This helps to avoid a film forming on top, otherwise you will have a lumpy cream you will have to strain).
  5. Place in the fridge for an hour (or freezer for 10 minutes 0 until cool).
  6. Once cool, remove the film and whisk the cream again until its nice and smooth.  Add in the 1.5 tbsp rose water.

White chocolate layer (optional)

2 handfuls white chocolate chips

  1. Place the white chocolate chips in the microwave and heat in 30 second intervals at 50% microwave power. Stir in between each interval until melted.

Rose Tarte aux Framboises

Assembly

1 pound raspberries, washed and dried

  1. First, spread a fine layer of white chocolate on the bottom of your cooled tart shell.  This is an optional step.  This helps keep the tart dough from getting soggy.  If you are going to eat this right away, then I recommend skipping this step.  If you are going to serve your tart for later, I recommend doing this step. 
  2. Next, Spread the pastry cream inside the tart until even.
  3. Arrange the raspberries in a circle, starting with the outside and working your way in
  4. Keep in the refrigerator until ready to serve. The tart keeps in the fridge for 2-3 days but is best served immediately!

After baking the tart and letting it cool, we took it outside and had a nice little French Country Evening! 

Raspberry Rose French Tart Recipe


One last look of our evening and the pretty tart!

Raspberry Rose French Tart Recipe

Overall, I thought this tart was pretty easy to bake. Do you think you will give it a go?

I may earn a small commission if you purchase with these links

no products

SaveSave

Follow:

Le Fraisier – a French Strawberry Cake

We use affiliate links in our posts and our site. This means if you make a purchase using these links, we may earn a small commission. You don’t pay a cent more than you would otherwise! Our full disclosure is available under About.

My absolute *favorite* French dessert is Le Fraisier.  You might have all thought it would be macarons by the way I talk about them, but it is actually Le Fraisier.  You just haven’t heard about it because it’s very difficult to bake yourself!

Since I’m not headed to Paris anytime soon, I figured I might as well start learning how to make my own.

This post contains affiliate links. If you purchase something using the link I may make a small commission but your price is unaffected.

And here is the result:

Le Fraisier - a French Strawberry Cake with recipe!


This recipe was  challenging such that there were so many different things to make: the cake, the pastry cream, the kirsch syrup, the marzipan.  Then there’s the assembly.

Le Fraisier - a French Strawberry Cake with recipe!


This recipe took about five hours. Everywhere I read says “only two hours” but there’s resting time.  It was not easy to bake and is not for a beginner baker! Next time I will be preparing things in steps.

Le Fraisier - a French Strawberry Cake with recipe!

Oh, it occurred to me that you may not know how to say “Fraisier”.  It’s “Freh-zee-YAY”, or, here’s the link to google and just hit the microphone button.

Le Fraisier - a French Strawberry Cake with recipe!

When we were in Paris last year, the Fraisiers just started arriving in the patisseries.  Everyone was so excited about them as they are a seasonal offering – and now I appreciate them even more since making my own.

Le Fraisier - a French Strawberry Cake with recipe!

On to the recipe – adapted from Laduree and Cakelets and Doilies.

This recipes makes either one 9″ cake or eight 3″ cakes.  This recipe has to chill overnight so you need to make it ahead of time.

Almond Génoise Cake

50 g (3 1/2 tbsp) butter , unsalted

200g (1 2/3 cup) cake flour

  6 eggs

200g (1 cup) granulated sugar

50g (1/2 cup) ground almonds or almond flour

1 1/2 tbsp butter

Making the Génoise cake

  1. Melt the 1 1/2 tbsp butter and using a pastry brush, butter your cake pan.   Place the cake pan in the fridge to allow the butter to harden.(notes – if you are making mini cakes, you will want to bake your cake in a 12×8 rectangular cake pan)
  2. In a small saucepan, melt the 50g of butter over low heat.
  3. In a large heatproof mixing bowl, whisk together the eggs and the sugar.
  4. Preheat oven to 340F.  Place your heatproof mixing bowl over a pan of gently simmering water and whisk until the mixture is warm, thick and pale, and the mixture has tripled in volume (approximately 122F).  Then remove from the heat and keep mixing until the mixture is cool (notes – I could not get this thing to triple over the simmering water. So I just heated it, while stirring constantly, until it was 122F and then attached it to my kitchenaid mixer and let it whisk until it tripled in volume and the mixture was  completely cool).
  5. Once completely cooled down, fold in the sifted flour into the mixture.  Then fold in the ground almonds.  And then the melted butter.
  6. Lightly flour your cake pan and tap out an excess. Then immediately fill with batter and place in the oven. Bake for approximately 30 minutes.


Kirsch Syrup

100mL (1/2 cup – 1tbsp) water

100g (1/2 cup) granulated sugar

40mL (2 1/2 tbsp) kirsch liqueur (see notes below about kirsch)

Making the syrup

Combine the sugar and water into a small saucepan over medium heat.  Stir until the sugar dissolves. Allow to boil for just 5 seconds. Remove from the heat, let it cool, then stir in the kirsch liqueur.

Crème Mousseline

350g whole milk

100g granulated sugar

1/2 a vanilla bean, split lengthwise and scraped for inside beans/seeds

4 egg yolks

35g plain flour

200g unsalted butter, softened

1tbsp cherry liqueur (optional)

Making the creme

  1. Place milk, vanilla bean and scraped seeds into a saucepan and bring to a boil.  Then remove from heat and set aside.
  2. In another bowl, whisk egg yolks and sugar until mixture is pale yellow.  Mix int the flour until well combined.
  3. Remove vanilla bean pod from milk mixture.  Then pour the hot milk into the egg mixture, constantly whisking to combine.
  4. Then pour the whole mixture back into the saucepan and place over high heat.  Whisk constantly until it is thickened, smooth, and glossy.  Then remove from heat and transfer pastry cream to a plate. Immediately cover with plastic cling wrap and place into the freezer to cool but only for 10 minutes.  Do not allow it to freeze (If you don’t put the cling wrap on immediately, the pastry cream will get a film on it that’s lumpy and gross and you will have to strain it out later, so don’t miss this step)
  5. While the cream is in the freezer, beat your butter until creamy.  Then when the pastry cream is about room temperature, add the cream to the butter and mix until while combined.   Add the liqueur.
  6. Spoon the mousseline into a piping bag with 1cm piping tip.


Marzipan Top

store-made marzipan

food coloring (either pink or light green, and don’t use the cheap store bought ones, you need a higher grade version)

Making the marzipan

Working the marzipan with your fingers to warm it up.  Using a rolling pin, spread the marzipan into a thin layer.  Then either place it on top of the 9″ cake pan and take off the sides or you can use an extra cake mold and cut it out. (You may use cornflour on the kitchen worktop to keep it from sticking.  I also recommend wearing some gloves as the food coloring will get all over you)

Assembly

1 pound of strawberries, cut in half and with the green tops removed.  (Save your cutest strawberries for the top and set them aside.  Also, smaller strawberries look cuter in the cake and are more sweet.  When you cut the berries, you want them to all be the same height).

Cake mold(s)

Assembling the cakes

Cut out the sponge cake with your cake rings.  Then, inside the cake ring, place a circle of plastic cake wrap.  Then put the sponge cake.  Brush the cake with the kirsch syrup.  Arrange the strawberries around the edge of the cake ring with the flat edge facing the outside.  Pipe or spread the creme mousseline over the strawberries.  Then place another layer of sponge cake on top.  Put the marzipan on top.  Place in the fridge overnight. The following day, dip a strawberry into the kirsch syrup and put on top just before serving.

Materials I used to bake Le Fraisier (affiliate links)

Stand Mixer

Hand Mixer (I did not use it this time, but I will next time!)

Plastic cake wrap

Scale

Food coloring

Cake Sheet pan

3″x3″ Cake molds

9″ cake mold

Le Fraisier - a French Strawberry Cake with recipe!

Now, making the kirsch syrup was kind of funny. It calls for cherry liqueur.  As I don’t drink, a stroll into the alcohol beverage store was quite the adventure.  After wandering around for quite some time and googling on my phone, I learned this: cherry schnapps is *not* the same thing.  You need to use cherry liqueur and the brand that apparently all the French chefs use is Heering Cherry Liqueur. You’re welcome. I just saved you an hour on the internet and wandering around the market.


Le Fraisier - a French Strawberry Cake with recipe!

As you can see, they are highly photogenic.  I had fun photographing them as well as eating them.

Le Fraisier - a French Strawberry Cake with recipe!

This chef also has a nice picture tutorial with each step.  The recipe is a little different and he uses a rectangular large cake pan, but the idea is the same.

Le Fraisier - a French Strawberry Cake with recipe!

What do you all think? Do you think you’re going to be brave and make the recipe or stick to just eating them??!

Follow:

Raspberry Chocolate Hazelnut Macaron Recipe

We use affiliate links in our posts and our site. This means if you make a purchase using these links, we may earn a small commission. You don’t pay a cent more than you would otherwise! Our full disclosure is available under About.

I’m back with another macaron recipe! These ones were super good!  I like to use the French macaron method, as I think it is easier.

This post may contain affiliate links. 

Raspberry Chocolate Hazelnut macaron recipe!

If you like raspberries and nutella you will like these!!  Yes, the filling has nutella. I didn’t make my own chocolate hazelnut ganache, I got lazy. Sorry.  These cookies are time consuming enough to make!  I love making them though… they are really quite pretty and you can show off to your friends and family!

Materials needed: (affiliate links are used for your convenience)

    • a food scale (yes, you need this. I use this one)
    • a piping tip and piping bag (I like the ateco #806, I use these tips and piping bag)
    • Food coloring (the gels or dry powder works best, not the liquid store stuff)
    • A macaron template
    • food processor (I use this one)

Laduree Macarons Recipe

275g ground almonds

250g powdered sugar

210g egg whites

210g granulated sugar


1.  Mix almond meal and the powdered sugar in a food processor. Be careful not to grind too long, otherwise it will form a paste.


2. Sift the almonds and powdered sugar. Set aside.


3. Weigh out granulated sugar.


4. Weigh the egg whites.  Beat them slowly on a low speed until foamy. SLOWLY add the granulated sugar to the egg whites as you beat.  Once all mixed, increase speed to medium and beat until a firm meringue forms.  You want a firm meringue with glossy peaks but not stiff peaks.  They should defy gravity and remain in the bowl if you turn it upside down.  If you tilt your bowl to the side and they are sliding out, keep beating.


5. Add the food coloring gel and mix.


6. Then fold in 1/3rd of the almond/sugar mixture into the meringue with a silicone spatula.  Once combined, add another third of the almond mixture. Add last bit.  This batter requires more deflation during this step since it creates such a poofy meringue.


7. Add the batter to a piping bag.  Pipe in rows using your template onto parchment paper.


8. Pick up the pan and beat until the counter.  The cookies need to rest on the counter between 30-60 minutes.  They are ready to go in the oven when they are dry to touch (the shell shouldn’t stick to your finger)


9.  Set the oven to 300F.


10. Bake the cookies for 13-15 minutes, one sheet at a time. They are done when they look kind of matte and seem firm when you lightly tap on them.  You can always rescue a slightly overcooked one with the maturation process that comes later, but you cannot rescue an undercooked one!!


11. Remove from paper once completely cool. If they stick to the paper, they aren’t cool yet. Or you undercooked them.


Raspberry Chocolate Hazelnut macaron recipe!

Filling – for Raspberry Chocolate Macarons

Ingredients:

  • Seedless raspberry jam (For these macarons, the easiest way for the filling is to buy seedless raspberry jam.  I know, it’s cheating! If you really wanted to be fancy, you could make your own.)
  • Nutella

1. Once the cookies are cool, add a dollop of your nutella to one cookie and spread with a small knife, spoon, or icing spatula.  Then add a dollop of raspberry jam.  Don’t push too hard when spreading, otherwise you will break them!

2.  Place the other cookie to your filling, press gently, and slightly twist the two together.

3. Once all assembled, put them in an airtight container and let them mature (yes, that’s the scientific word for this process) in the refrigerator for 24-48 hours.

Now, these cookies won’t be bad if you eat them immediately, they will just be amazing if you wait a day.  The theory is that the juices from the filling soak back into the cookie to make an AMAZING cookie.

Raspberry Chocolate Hazelnut macaron recipe!

Have you made macarons?? Let me know about your experience!

SaveSave

Follow:

Easter Chocolates in Paris

We use affiliate links in our posts and our site. This means if you make a purchase using these links, we may earn a small commission. You don’t pay a cent more than you would otherwise! Our full disclosure is available under About.

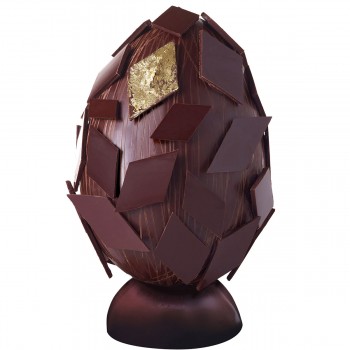
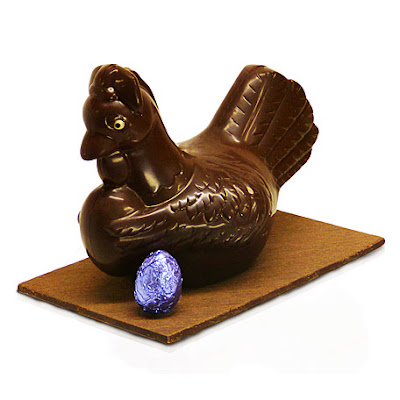
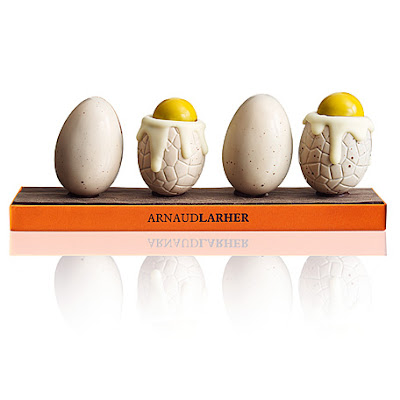
I have some real eye candy for you today in celebration of Easter this weekend! All of the chocolates in this post are from chocolatiers in Paris!

The nice part about this Easter candy is that it is calorie-free!  Isn’t the little chocolate Easter vignette below so cute???

Enjoy the feast for the eyes…

Le Marquis de Laduree

Pierre Herme
Arnaud Lehrer
Jean Paul Hevin

Arnaud Lehrer

Arnaud Lehrer

A la Mere du Famille
Pierre Herme
Alain Ducasse

Anraut Lehrer

I like this Wild West Easter series from Lenotre! The red chicken on the cactus below cracks me up!

Lenotre
La Maison du Chocolat

La Maison du Chocolat

Arnaud Larher

I hope you enjoyed this little Easter chocolate round-up from Paris! Happy Easter!

linking up at: amaze me monday The Scoop!  Metamorphosis Monday’s Inspire Me Tuesday Cooking and Crafting with J&J Wow us Wednesdays! Moonlight and Mason Jars Share Your Style Thursday Favorite ThingsThoughts of Home Home Sweet Home Feathered Nest Fridays Foodie Friday & Everything Else  Best of the Weekend Share it One More Time

Written at http://peoniesandorangeblossoms.blogspot.com

You can also follow me by clicking on these: bloglovin, instagramtwitterpinterest, and google plus

Follow:

A Review of B. Patisserie in San Francisco

We use affiliate links in our posts and our site. This means if you make a purchase using these links, we may earn a small commission. You don’t pay a cent more than you would otherwise! Our full disclosure is available under About.

If you’re a longtime reader of this blog, you’ll know that I *love* croissants.  GOOD croissants. Made-in-France croissants.  I am a croissant snob.  I will say that I’ve never had a perfect croissant outside of Paris… until this past week when I traveled to B. Patisserie in San Francisco.

B. Patisserie in San Francisco
a perfect croissant with a cappuccino at B. Patisserie

The perfect croissant is a million layers, with the perfect flakiness on the outside that has a nice crunch when you bite into it.  Then, the inside is light and airy and soft.  The croissants at B. Patisserie were perfect.  I had been searching for a perfect croissant since going to Paris frequently is not in the itinerary – but I do think I can manage frequent trips to San Francisco since it’s a 2 hour drive to the city center.

So, I did a little research about this bakery and found out the owner trained under Pierre Herme. Never heard of Pierre Herme? He is the grand master at French pastries. He makes the BEST CROISSANT IN THE WHOLE WORLD!! (yes I’m shouting because it’s SO GOOD!). I wrote about it here. Ok, so now it makes sense that this lady knows what she’s doing! She learned from the best!

viennoisseries

Ok, what else did we try besides the plain butter croissant?

Well, we tried the Almond Orange Croissant.  It was even BETTER than the plain croissant. It had almonds on top but then inside was orange zest with an orange syrup. I… forgot to take a picture because it was gobbled right up!

a look inside the pastry case

We also tried the Passion Fruit Almond Bostock.  I was a little iffy about trying this. But guess what?? It was good.I didn’t know what a Bostock even was… but I liked it. I looked it up after the fact.  A Bostock is when almond frangipane tops a brioche.  I would 100% eat it again.

Okay, now let’s talk about what this patisserie is most famous for… it’s Kouign Amman. Say what? “Queen Ah-man “it’s how you say it!  It is essentially a croissant dough but there is sugar added to the dough and then it is baked in a circle.  The bottom of the Kouign Amman was this little caramelized layer of sugar… followed by flakes of buttery goodness.

The Kouign Amman originated from the Breton region in France and literally is “butter cake”.

Kouign Ammans sit in the bottom of this picture!

So, what’d we think of the Kouign Amman? It was GOOD.  We tried plain, chocolate, and an apple cranberry. They were all very good.   There are so many different flavors of this pastry, I’m sure you could find one you like!

The final verdict?

Every. single. thing. was good. Not just good… excellent. I was really impressed with B. Patisserie and I know we will be making a point to go there in the future… perhaps next time we will have to try something out of the refrigerator case (sorry key lime tart wasn’t singing to me at 9am!).

Oh, and yes, parking is bad. But it’s SF. It’s always bad. Please continue to circle until you find a spot – it’s worth it.

There are other bakeries in San Francisco I’ve written about… 

Tartine Bakery (honestly, B. Patisserie is much better).

Craftsman and Wolves in my other favorite bakery – the owner makes very good pastries that have more unique flavors. Very very good. My second favorite bakery in San Francisco!


SaveSave

SaveSave

Follow:

Valentine Heart Macarons – Rose Raspberry Macaron Recipe!

We use affiliate links in our posts and our site. This means if you make a purchase using these links, we may earn a small commission. You don’t pay a cent more than you would otherwise! Our full disclosure is available under About.

I’m really excited about today’s post.  As you know, I LOVE macarons.  I have a wonderful recipe book from Laduree I received as a present one year. The book is seriously so cute but it is full of wonderful recipes.


I wanted to try the Rose Raspberry Macarons!  It took some planning on my part – I ordered rose water from amazon ahead of time.  Let me tell you though – not only do they look cute but they taste good!!

I was a little worried how they would taste with the rose – as sometimes things with rose in them taste too much like I’m eating the flower, but these ones are nice.

Printable recipe here

Materials needed

•silicone spatula

•parchment paper or silpat

•electric mixer (or strong arms!)

•a food scale

•a piping tip and piping bag (I like the tip ateco #806)

•Food coloring (gel or dry powder works best, not the liquid grocery store stuff)

•a macaron template, use the heart one here 


Laduree Macarons Recipe 

275g ground almonds

250g powdered sugar

210g egg whites

210g granulated sugar


1.  Mix almond meal and the powdered sugar in a food processor. Be careful not to grind too long, otherwise it will form a paste.

2. Sift the almonds and powdered sugar. Set aside.

3. Weigh out granulated sugar.

4. Weigh the egg whites.  Beat them slowly on a low speed until foamy. SLOWLY add the granulated sugar to the egg whites as you beat.  Once all mixed, increase speed to medium and beat until a firm meringue forms.  You want a firm meringue with glossy peaks but not stiff peaks.  They should defy gravity and remain in the bowl if you turn it upside down.  If you tilt your bowl to the side and they are sliding out, keep beating.

5. Add the food coloring gel and mix.

6. Then fold in 1/3rd of the almond/sugar mixture into the meringue with a silicone spatula.  Once combined, add another third of the almond mixture. Add last bit.  This batter requires more deflation during this step since it creates such a poofy meringue.

7. Add the batter to a piping bag.  Pipe in rows using your template onto parchment paper. You can download  the heart template I created here.

8. Pick up the pan and beat until the counter.  The cookies need to rest on the counter between 30-60 minutes.  They are ready to go in the oven when they are dry to touch (the shell shouldn’t stick to your finger)

9.  Set the oven to 300F.

10. Bake the cookies for 13-15 minutes, one sheet at a time. They are done when they look kind of matte and seem firm when you lightly tap on them.  You can always rescue a slightly overcooked one with the maturation process that comes later, but you cannot rescue an undercooked one!!

11. Remove from paper once completely cool. If they stick to the paper, they aren’t cool yet. Or you undercooked them.

Rose Cream Filling

Ingredients

  • 1 cup (200g) granulated sugar
  • 3 1/2 tsp (50g) water
  • 3 large (75g) egg yolks
  • 9oz (250g) softened unsalted butter
  • 2 tsp rosewater

Directions

  1. Place the sugar and water in a small saucepan, and stir until sugar dissolves. Then bring to a boil. Cook until temperature of the syrup is 250F.
  2. Fit your mixer with the whisk and whisk the egg yolks.  Then, with the mixer running on low speed, slowly pour the hot sugar mix into the bowl.
  3. Increase the speed and beat vigorously until temp of the next mixture is 104F.
  4. Gradually add the butter in pieces.
  5. Continue beating until the mixture is cool, smooth, and creamy.
  6. Add the rosewater and stir to combine

Raspberry Filling

  • Buy your favorite OTC raspberry jam – seedless tastes much better!  Or you can make your own.

Assembly of the macarons

  1. Spoon a little bit of raspberry jam onto each macaron (or pipe it on if you’re feeling fancy).
  2. On the other side of the macaron, smear some rose cream (or pipe it on, if you’re feeling fancy).
  3. Place each side of the shell together.
  4. Refrigerate the macarons for a minimum of 12 hours before serving in an air-tight container. They taste MUCH better if you do this!

Recipe adapted from Laduree’s Macaron cookbook.

SaveSave

Follow:

Pumpkin Cheesecake aka Pumpkin Pie Macarons

We use affiliate links in our posts and our site. This means if you make a purchase using these links, we may earn a small commission. You don’t pay a cent more than you would otherwise! Our full disclosure is available under About.

It is now NOVEMBER which means… baking time for everyone! I’ve updated the blog a bit to make it more festive for Thanksgiving. On the sidebar on the right are some recipes I’ve used in the past for Thanksgiving!
So, it’s time to go to the kitchen and start creating, we have Thanksgiving coming up!!  I have created a pumpkin cheesecake macaron recipe which I think it is pretty good! If you like macarons and you like pumpkin pie, then try this out! This could pass off as a pumpkin pie macaron recipe too. But since it has cream cheese in it, I’m going with Pumpkin Cheesecake!
This post may contain affiliate links.

After trying a bunch of different filling recipes from various sources, I came up with my own cheesecake pumpkin pie filling.

Pumpkin Pie Macaron Recipeprintable version here

Materials needed: (affiliate links are used for your convenience)

    • a food scale (yes, you need this. I use this one)
    • a piping tip and piping bag (I like the ateco #806, I use these tips and piping bag)
    • Food coloring (the gels or dry powder works best, not the liquid store stuff)
    • A macaron template
    • food processor (I use this one)

Macarons Recipe – adapted from Laduree

275g ground almonds

250g powdered sugar

210g egg whites

210g granulated sugar

1/2 tsp pumpkin pie spice


1.  Mix almond meal and the powdered sugar in a food processor. Be careful not to grind too long, otherwise it will form a paste.

2. Sift the almonds, pumpkin pie spice, and powdered sugar. Set aside.

3. Weigh out granulated sugar.

4. Weigh the egg whites.  Beat them slowly on a low speed until foamy. SLOWLY add the granulated sugar to the egg whites as you beat.  Once all mixed, increase speed to medium and beat until a firm meringue forms.  You want a firm meringue with glossy peaks but not stiff peaks.  They should defy gravity and remain in the bowl if you turn it upside down.  If you tilt your bowl to the side and they are sliding out, keep beating.

5. Add the food coloring gel and mix.

6. Then fold in 1/3rd of the almond/sugar mixture into the meringue with a silicone spatula.  Once combined, add another third of the almond mixture. Add last bit.  This batter requires more deflation during this step since it creates such a poofy meringue.

7. Add the batter to a piping bag.  Pipe in rows using your template onto parchment paper.

8. Pick up the pan and beat until the counter.  The cookies need to rest on the counter between 30-60 minutes.  They are ready to go in the oven when they are dry to touch (the shell shouldn’t stick to your finger)

9.  Set the oven to 300F.

10. Bake the cookies for 13-15 minutes, one sheet at a time. They are done when they look kind of matte and seem firm when you lightly tap on them.  You can always rescue a slightly overcooked one with the maturation process that comes later, but you cannot rescue an undercooked one!!

11. Remove from paper once completely cool. If they stick to the paper, they aren’t cool yet. Or you undercooked them.


Pumpkin Pie Filling

4 ounces cream cheese

1/4 cup pumpkin puree

1/4 tsp (heaping) pumpkin pie spice

1/4 cup granulated sugar


1. In a mixing bowl, add all of the above ingredients together.  Mix together until it is a nice creamy mixture.

2. Pipe or spread the filling onto one macaron shell, then make a sandwich with the other. Done!


Recommend putting them in an airtight container and enjoying the next day… macarons always taste better on day 2! They will keep in the fridge for several days.


SaveSave

Follow:

Pumpkin Spice Macaron Recipe

We use affiliate links in our posts and our site. This means if you make a purchase using these links, we may earn a small commission. You don’t pay a cent more than you would otherwise! Our full disclosure is available under About.

If you are a usual follower on my blog, then you’ll know that I love to bake (and eat) macarons.  If you are just arriving here for pumpkin week, I’ll explain my love for macarons: I discovered that I needed to learn how to bake these treats when I found out the cost of them in the store – normally about $2 each. When you love macarons like I do, it can be quite the costly investment to satiate your hunger for them!

This post may contain affiliate links. 

pumpkin spice macarons

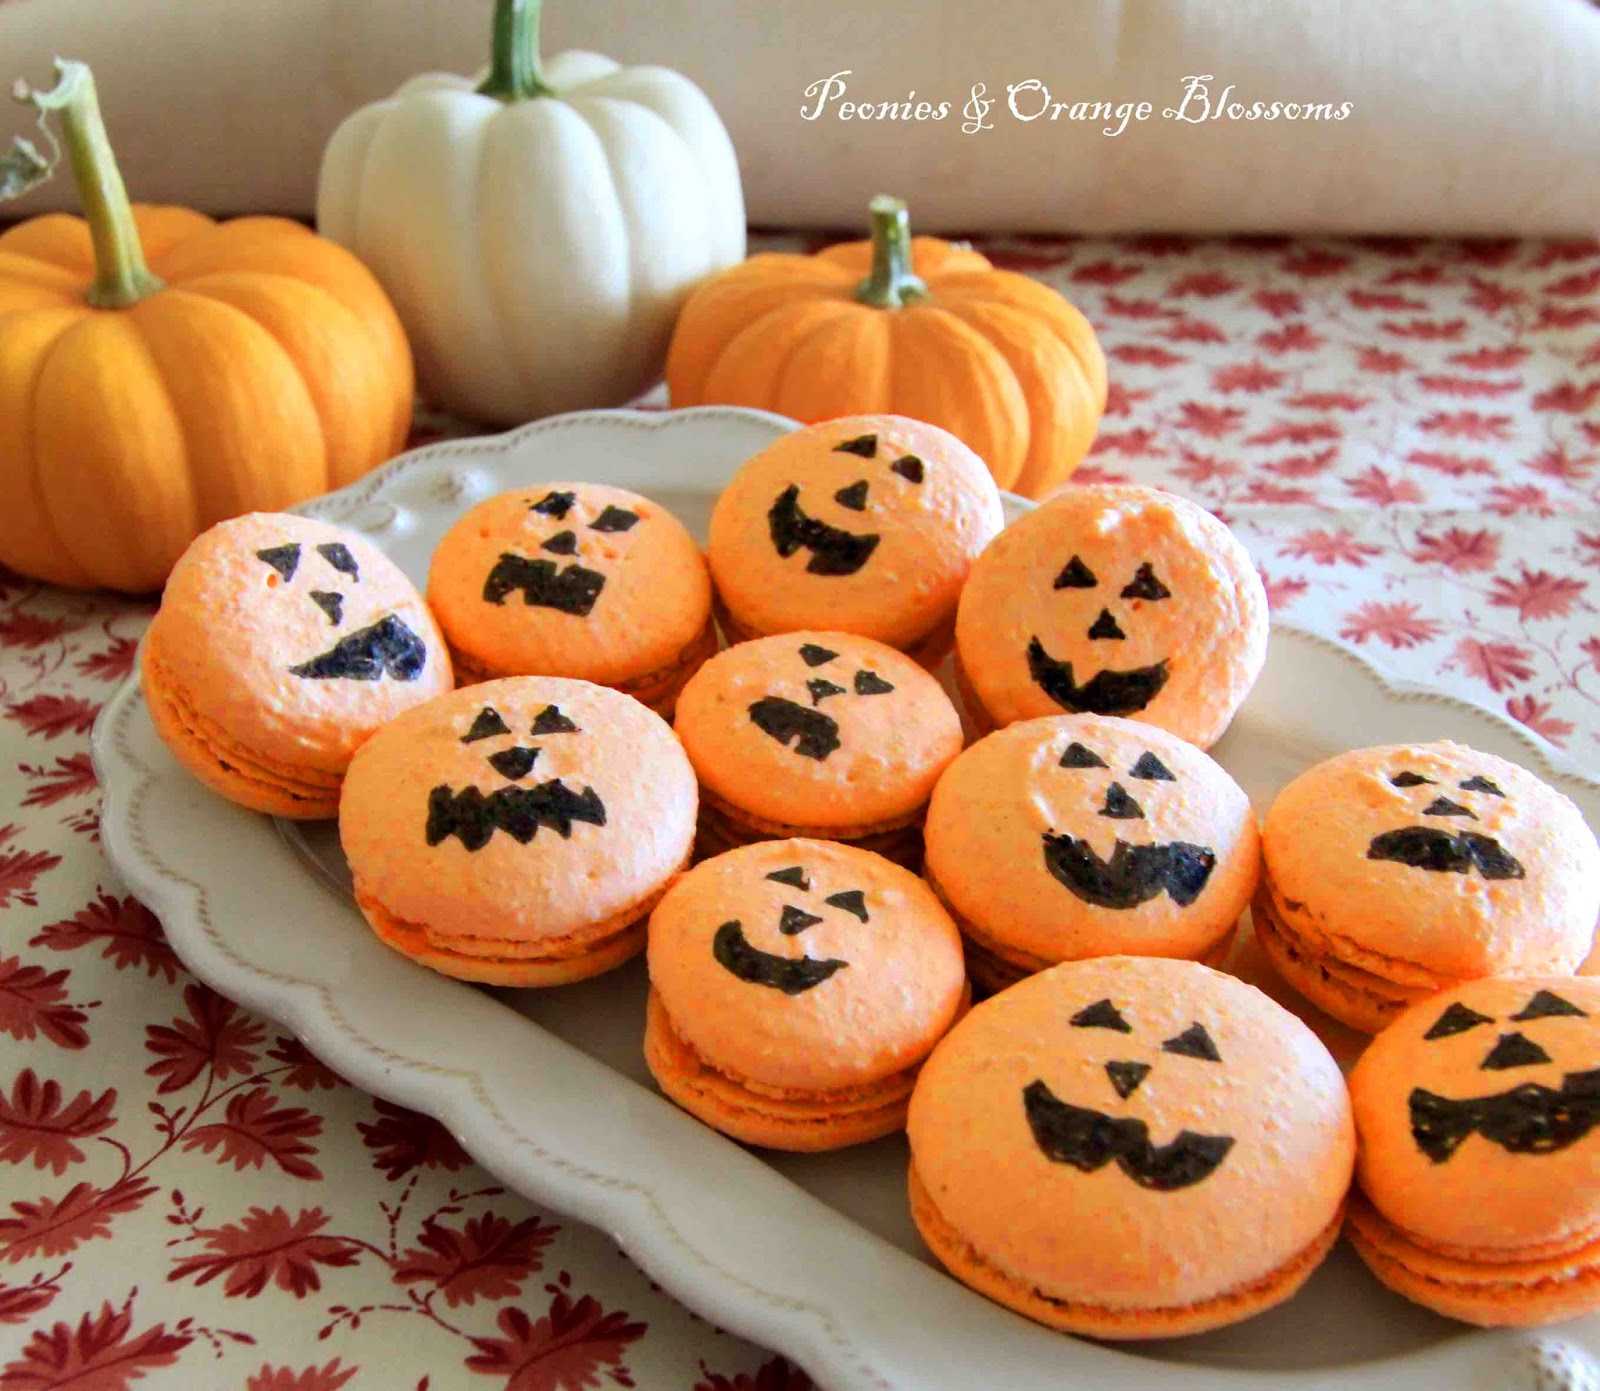
I was inspired by the pumpkin macarons in the Williams Sonoma catalog:

But at $40 for a box of 12, I thought to myself… I can make those! So I did. They obviously used a black airbrush to get the pumpkin faces onto their macarons; I used a black food marker.

Materials needed: (affiliate links are used for your convenience)

    • a food scale (yes, you need this. I use this one)
    • a piping tip and piping bag (I like the ateco #806, I use these tips and piping bag)
    • Food coloring (the gels or dry powder works best, not the liquid store stuff)
    • A macaron template
    • food processor (I use this one)

PRINTABLE RECIPE HERE

Macarons Recipe – adapted from Laduree

275g ground almonds

250g powdered sugar

210g egg whites

210g granulated sugar

1/2 tsp pumpkin pie spice


1.  Mix almond meal and the powdered sugar in a food processor. Be careful not to grind too long, otherwise it will form a paste.

2. Sift the almonds, pumpkin pie spice, and powdered sugar. Set aside. (I admit I did not do this step this time and that is why mine are a little bumpy!)

3. Weigh out granulated sugar.

4. Weigh the egg whites.  Beat them slowly on a low speed until foamy. SLOWLY add the granulated sugar to the egg whites as you beat.  Once all mixed, increase speed to medium and beat until a firm meringue forms.  You want a firm meringue with glossy peaks but not stiff peaks.  They should defy gravity and remain in the bowl if you turn it upside down.  If you tilt your bowl to the side and they are sliding out, keep beating.

5. Add the food coloring gel and mix.

6. Then fold in 1/3rd of the almond/sugar mixture into the meringue with a silicone spatula.  Once combined, add another third of the almond mixture. Add last bit.  This batter requires more deflation during this step since it creates such a poofy meringue.

7. Add the batter to a piping bag.  Pipe in rows using your template onto parchment paper.

8. Pick up the pan and beat until the counter.  The cookies need to rest on the counter between 30-60 minutes.  They are ready to go in the oven when they are dry to touch (the shell shouldn’t stick to your finger)

9.  Set the oven to 300F.

10. Bake the cookies for 13-15 minutes, one sheet at a time. They are done when they look kind of matte and seem firm when you lightly tap on them.  You can always rescue a slightly overcooked one with the maturation process that comes later, but you cannot rescue an undercooked one!!

11. Remove from paper once completely cool. If they stick to the paper, they aren’t cool yet. Or you undercooked them.

Pumpkin Spice Filling – adapted from Sweet and Savory by Shinee

•3 tbsp unsalted butter, softened

•1 cup powdered sugar

•1 tbsp pure pumpkin puree (not pumpkin pie filling!)

•1 tsp heavy cream

•1/8 tsp salt

•1/8 tsp ground cinnamon

•1/8 tsp pumpkin pie spice


1Cream the butter using a wire mixer on your mixing machine. Cream until light and fluffy.

2Add all of the other ingredients. Beat until well combined.

3Pipe or spread your filling onto the macaron shells!


HINTS! The macarons taste better if enjoyed the next day. Spread your filling onto the shells, then store in an air tight container in the fridge overnight. You can store in an airtight container in the fridge for up to 4 days. You can store in an airtight container in the freezer for several months (HINT HINT bake some now for Thanksgiving later!)

Have you tried the Williams Sonoma pumpkin macarons?


SaveSave

Follow:

Pistachio Salted Caramel Macaron Recipe

We use affiliate links in our posts and our site. This means if you make a purchase using these links, we may earn a small commission. You don’t pay a cent more than you would otherwise! Our full disclosure is available under About.

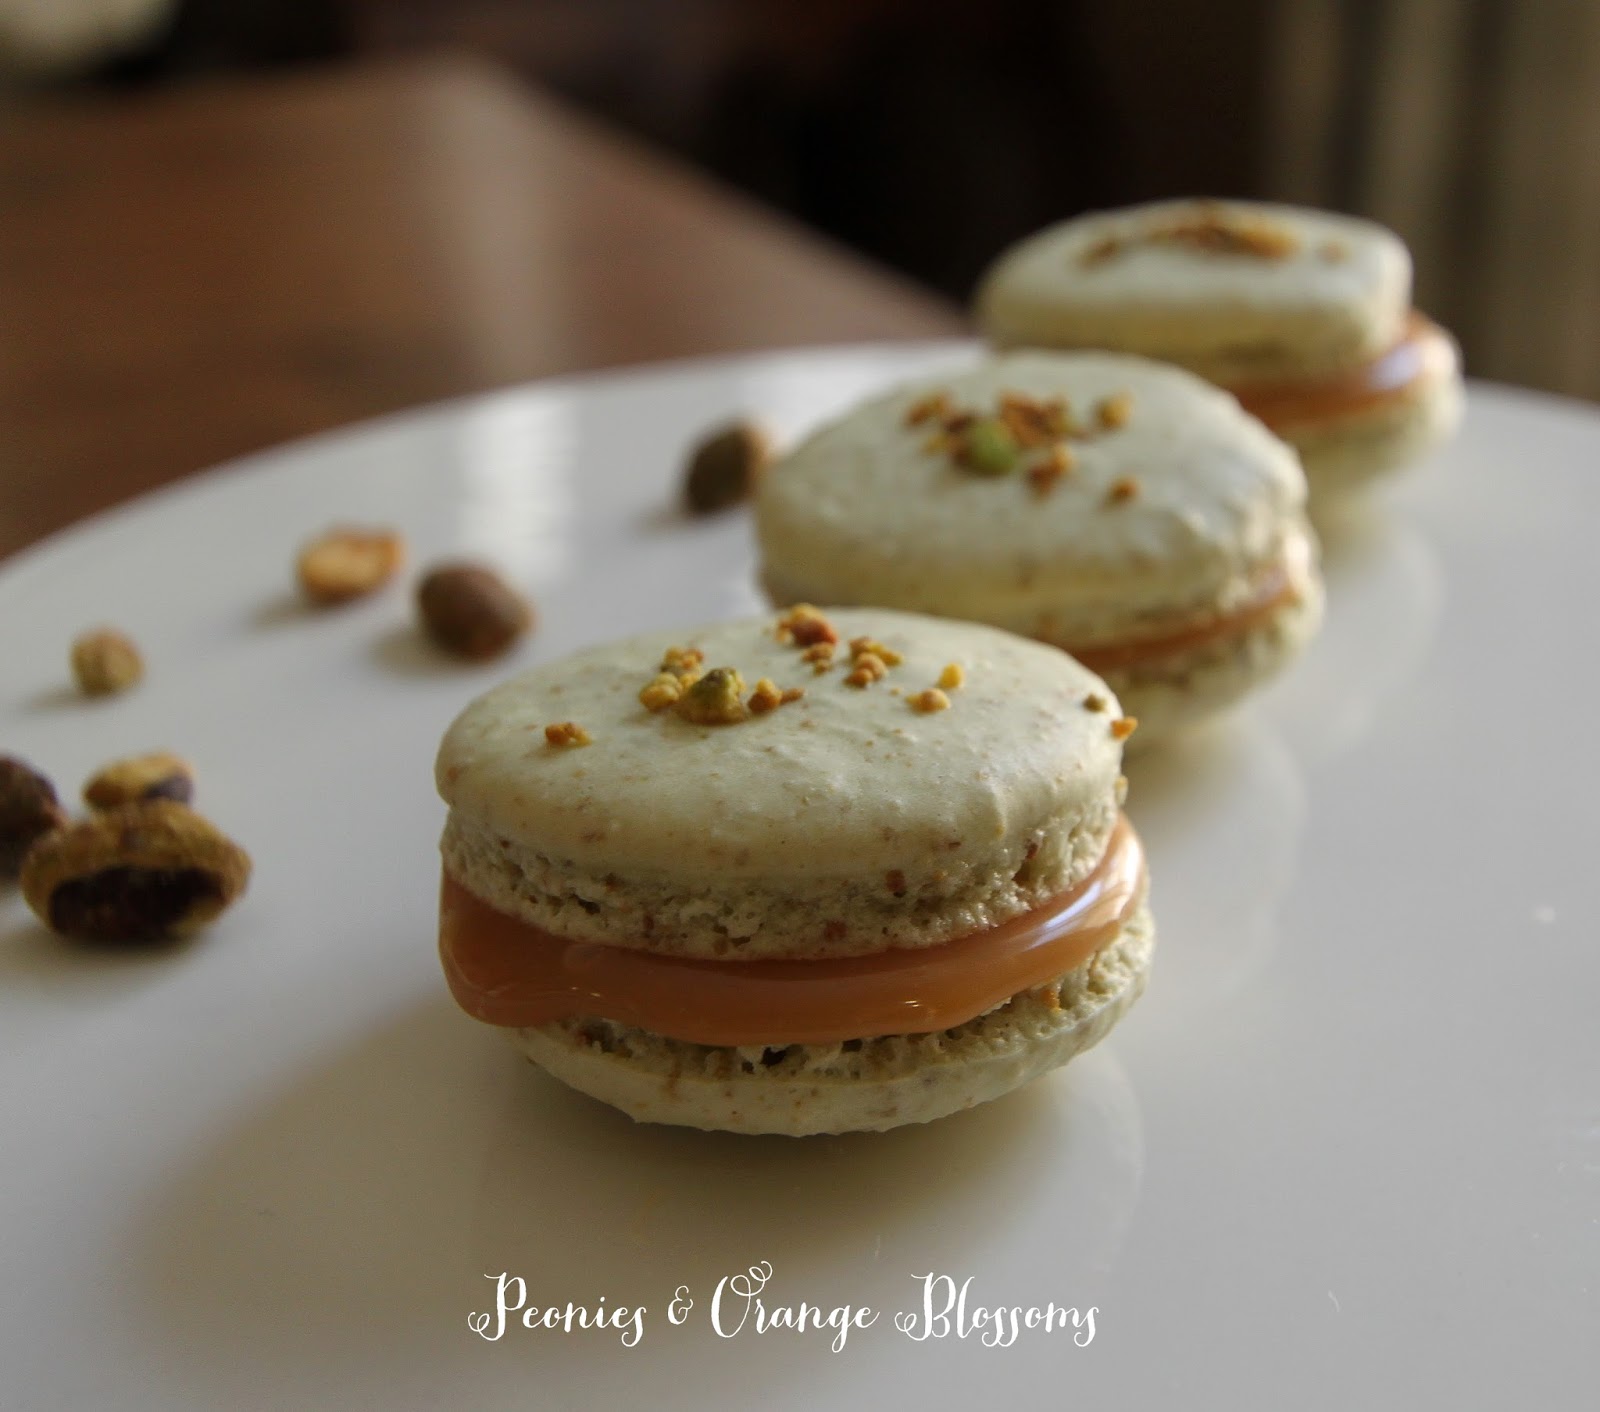
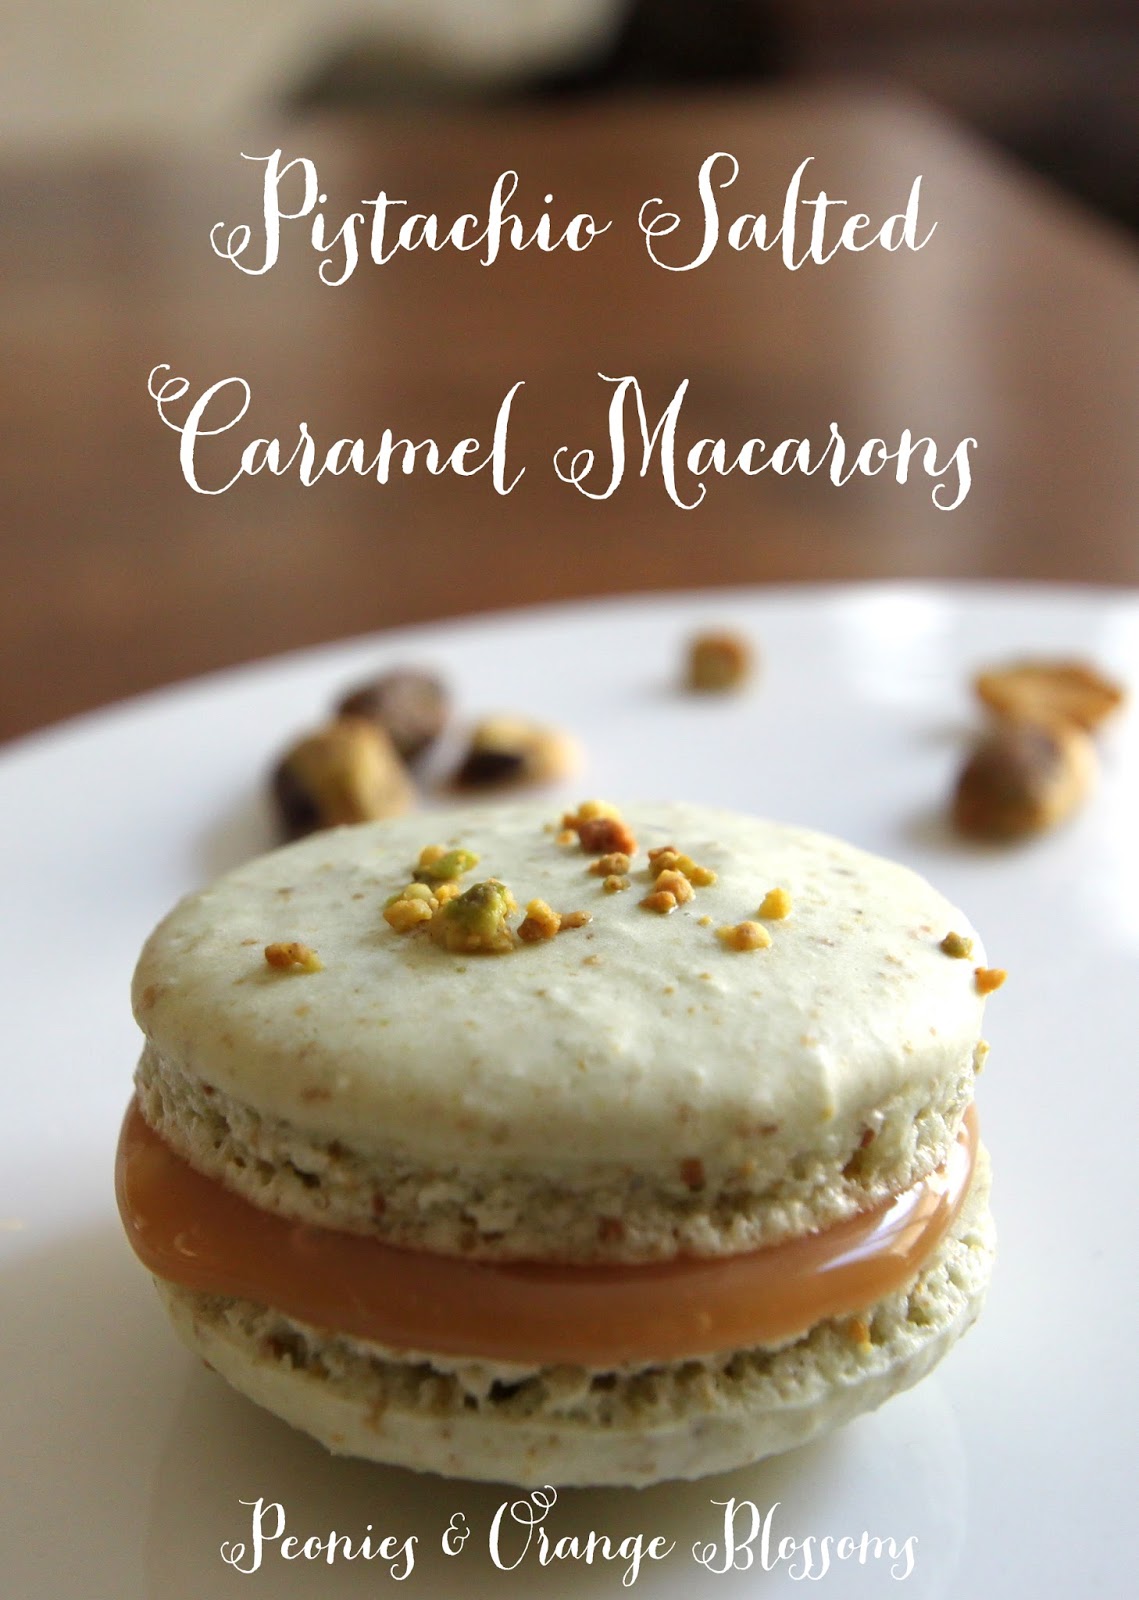
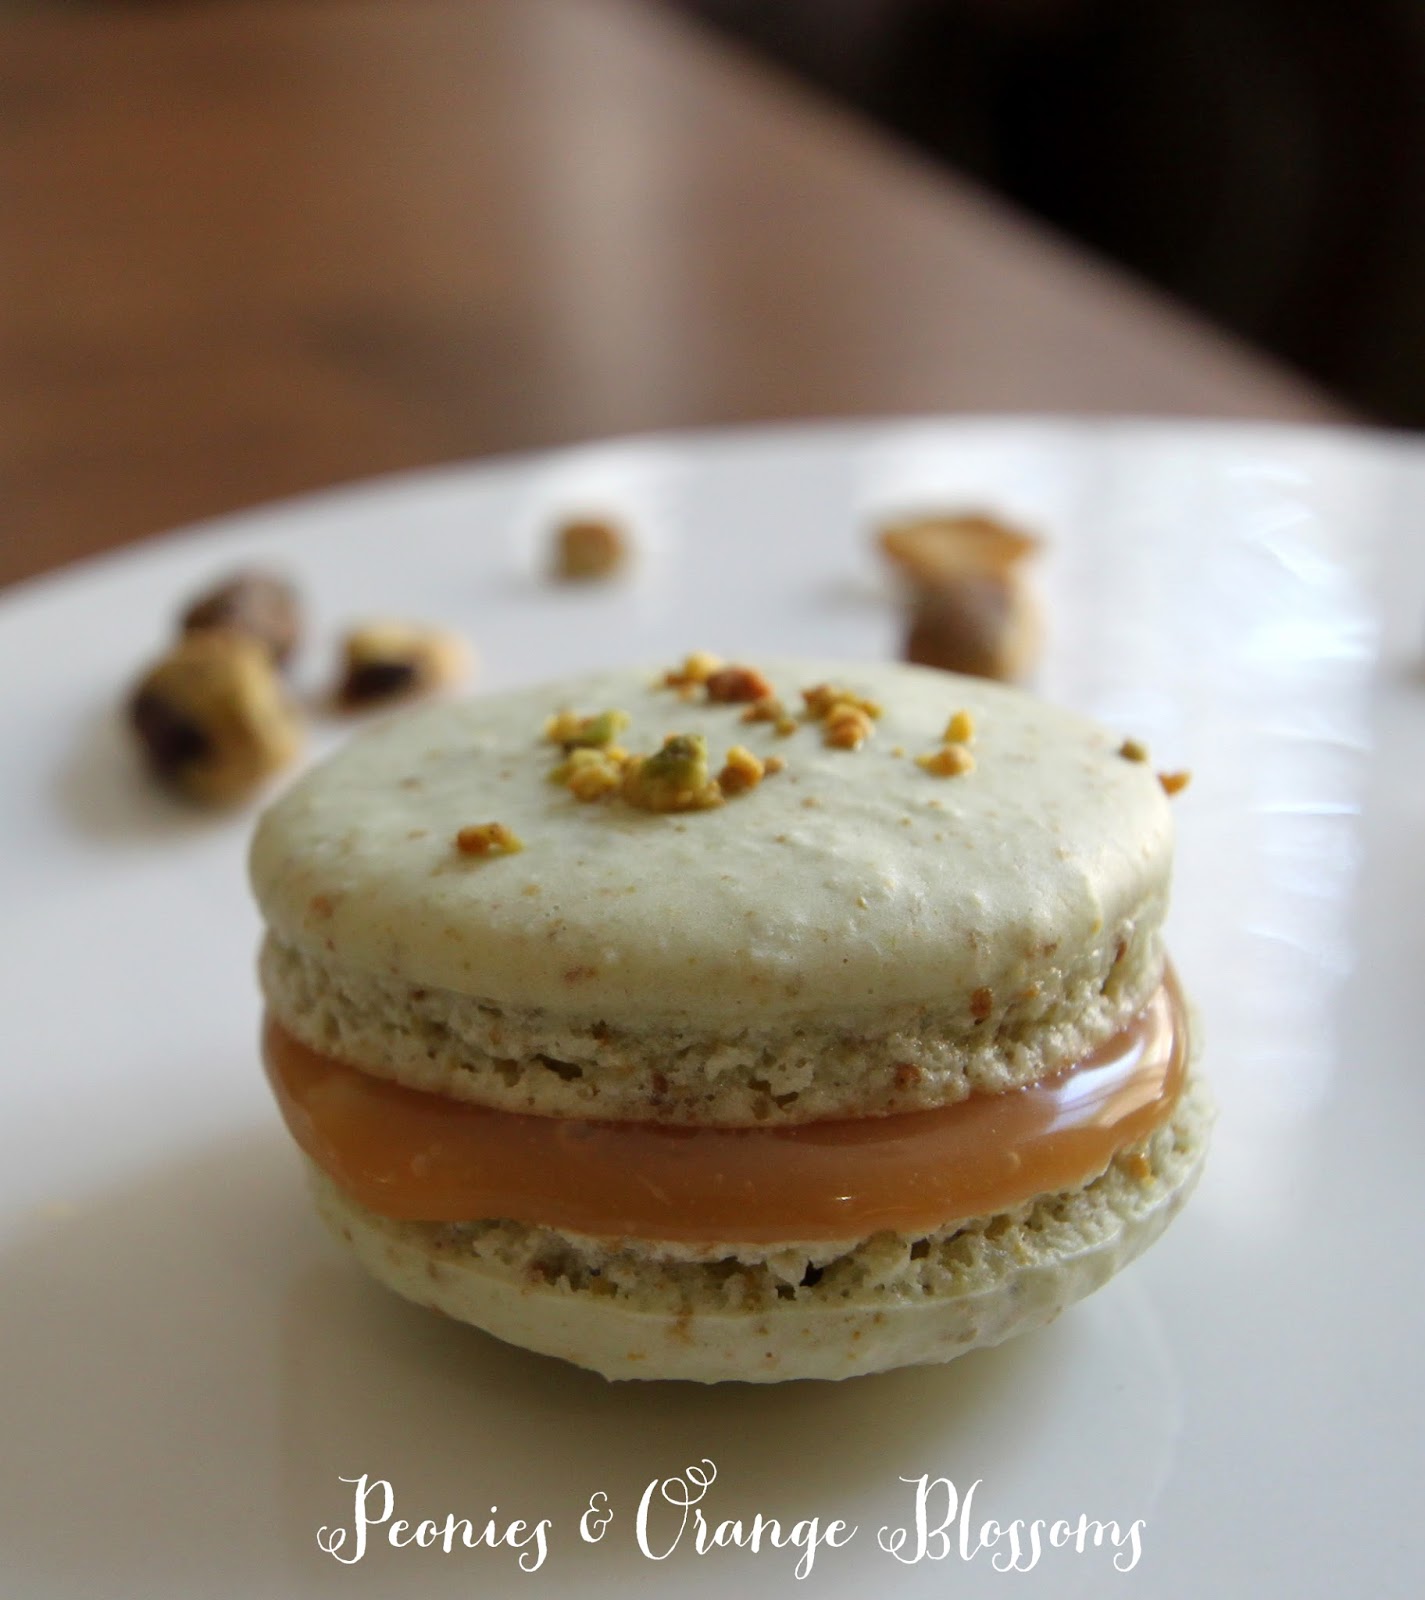
I have been busying baking macarons and I thought, why don’t I combine two of my favorites: Pistachio & Salted Caramel?  So I did.  And it was good.
This post may contain affiliate links. 

Pistachio Salted Caramel Macarons

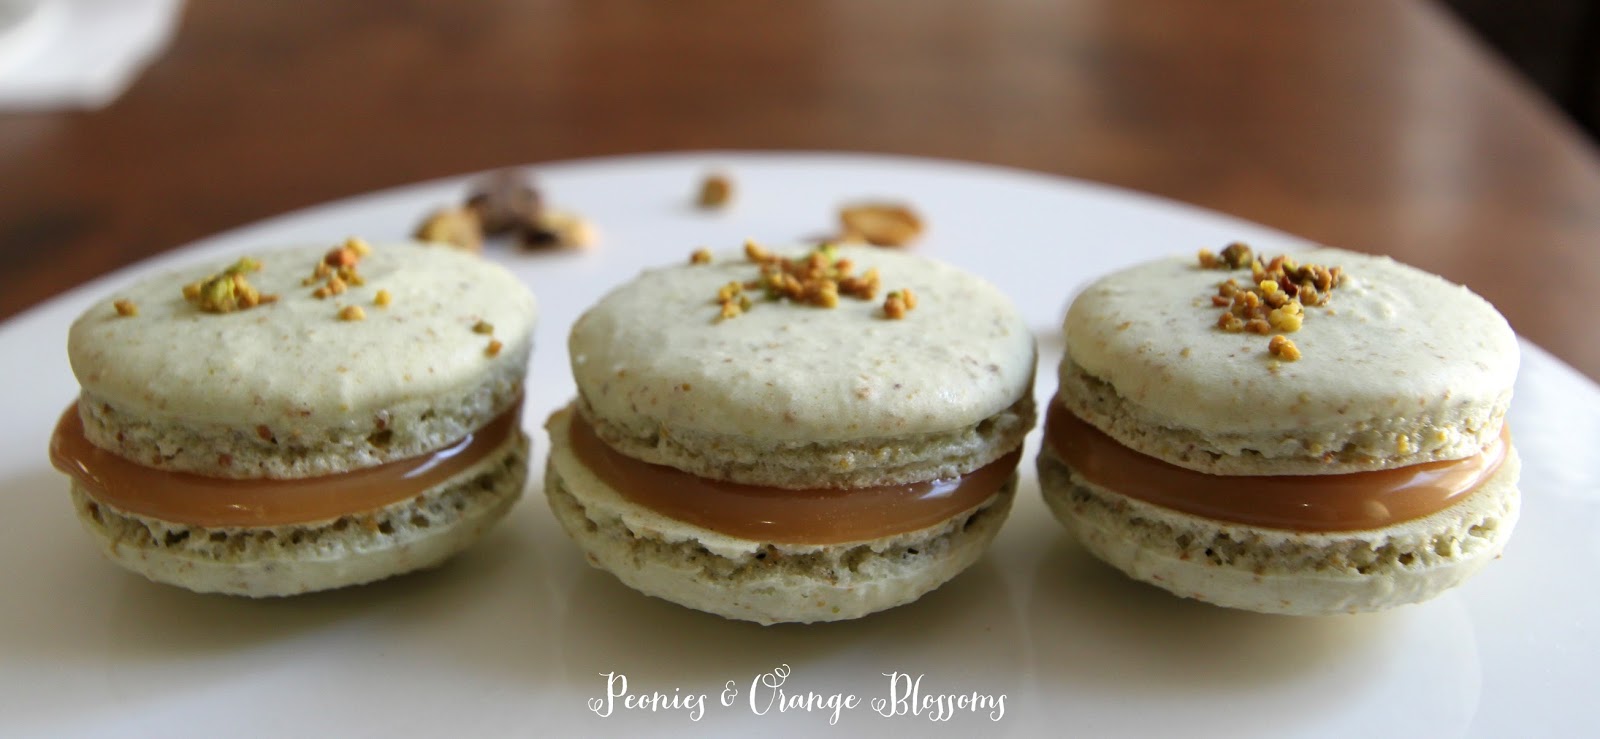
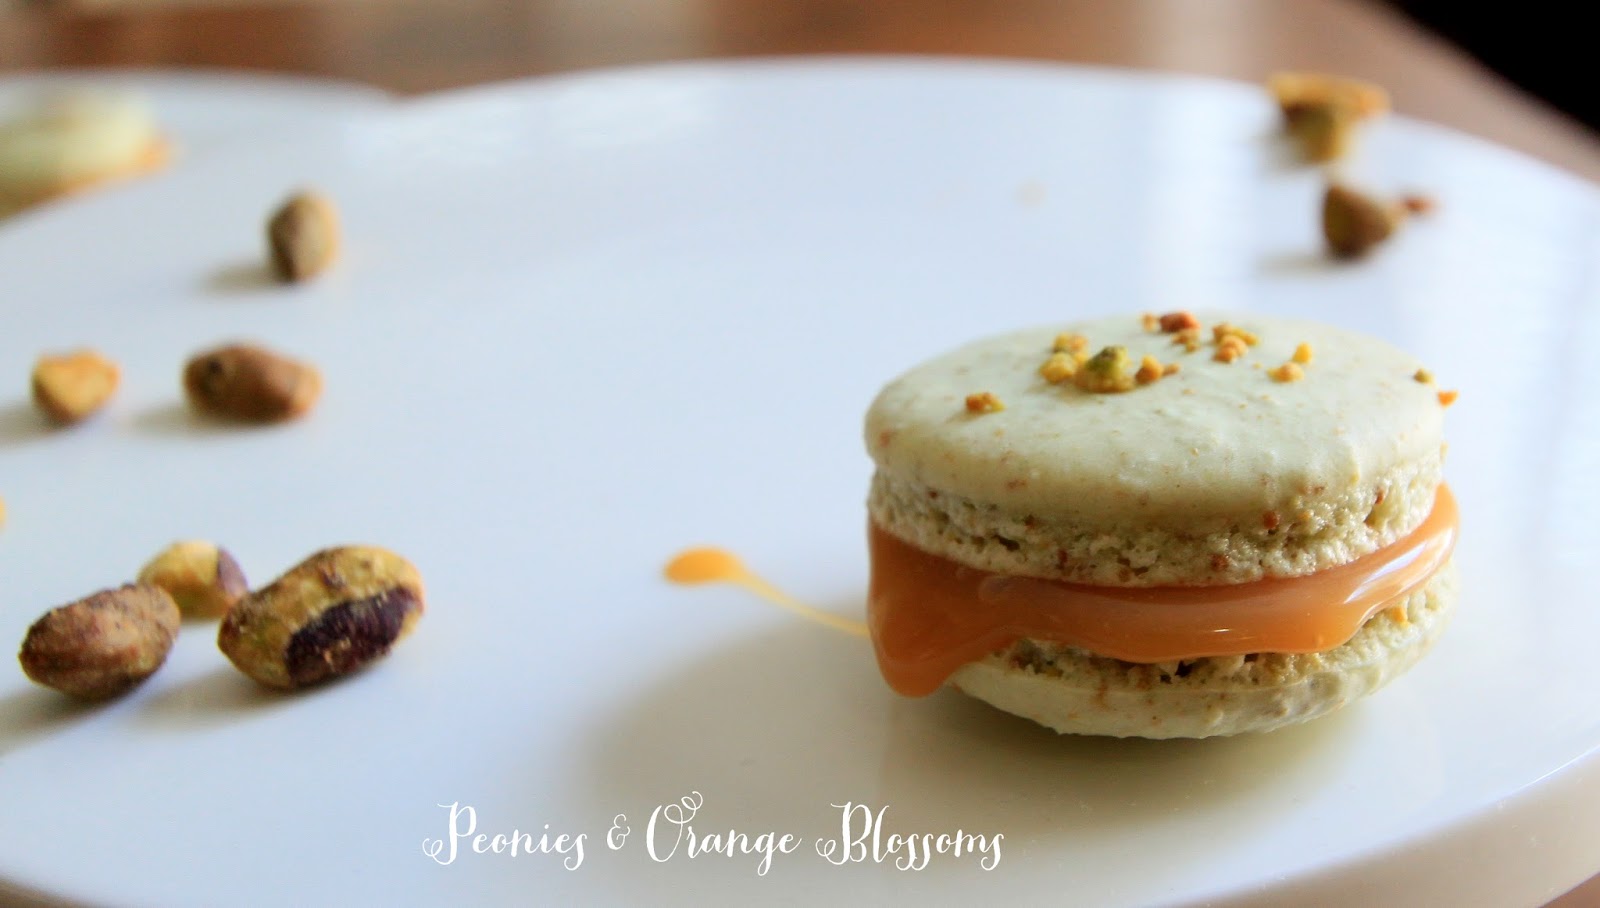
Don’t they look good??  The caramel is oozing out of the cookies and just begging to be eaten!

Pistachio Salted Caramel Macarons

Pistachio Salted Caramel Macarons (Get the printable recipe here)

Materials needed: (affiliate links are used for your convenience)

    • a food scale (yes, you need this. I use this one)
    • a piping tip and piping bag (I like the ateco #806, I use these tips and piping bag)
    • Food coloring (the gels or dry powder works best, not the liquid store stuff)
    • A macaron template
    • food processor (I use this one)

Pistachio Macaron Shell Recipe

• 200g almond flour

• 75g pistachio flour (step 1)

• 250g powdered sugar

• 210g granulated sugar

• 6 egg whites (room-temperature)

• 1/8 cup chopped pistachios

• food coloring (green is traditional color for this cookie)


1 Grind your unshelled pistachios (salted or unsalted, I prefer the salted) using a food processor. Be careful not to turn it into a paste.

2 Sift almond flour, pistachio flour, and powdered sugar through a fine mesh screen into a bowl.

3 Whisk or using a beater, turn 6 egg whites to a foam.  Slowly add the granulated sugar to the egg whites as you beat.  Whip until the meringue has firm glossy peaks but not super stiff peaks. They should defy gravity and remain in the bowl if you turn it upside down.  If you tilt your bowl to the side and the meringue started to slide, keep beating.

4 Add your food coloring.

5 Then fold in 1/3rd of the almond/pistachio/sugar mixture into the meringue with a silicone spatula.  Once combined, add another third of the almond mixture. Then the last third.

6 Add the batter to the piping bag.  Pipe in rows using your template onto parchment paper.

7 Pick up the pan and beat onto the counter.  Now sprinkle pistachio nuts on half of the cookies as a garnishment.

8 Preheat oven to 300 degrees.  The cookies need to rest on the counter between 30-60 minutes. They are ready to go into the oven when they are dry to the touch.  The shell shouldn’t stick to your fingers.

9 Bake the cookies for 13-15 minutes, one sheet at a time.  They are done when they look kind of matte and seem firm if you tap on them.  You can always rescue an overcooked cookie with the maturation process that comes later, but you cannot rescue an undercooked one!

10 Remove from the paper once completely cool.  If they stick to the paper, they either aren’t cool yet or you undercooked them.

11 Fill the cookies when cool with the filling below.

12 Refrigerate overnight for best results.


Pistachio Salted Caramel Macarons

Salted Caramel Filling Recipe

(makes 1.5 cups of caramel)

1 cup of cream

1.5 cups of granulated sugar

2 tsp coarse salt (or 1tsp for a less salty flavor)

1 cup unsalted butter


Instructions:

1. Chop butter into small cubes and set aside.

2. Pour cream into the pan and add the salt. Bring to a low boil while stirring and remove immediately. Do not scald the cream.

3. Place the sugar into a new pan. Cook over medium hit while stirring constantly.

4. Stir until sugar is melted and has caramelized into a rich color. Remove from heat.  Do not burn the sugar.  If your caramel starts to burn, throw it away. You cannot rescue it.

5. Pour and stir the hot cream into the caramel mixture. BE CAREFUL!!! Add the cream VERY SLOWLY.  The caramel will spit and boil up, so stir while incorporating the cream into the caramel.

6. Let the caramel cool to 115 degrees (about 5 minutes later).

7. Whisk in the cubes of butter into the mixture until melted and mixed.

8. Pour caramel into a shatter proof bowl and refrigerate until cold.


To use the caramel:

1. Remove from the fridge.

2. Whisk the caramel mixture to stiffen to more of a butter/cream consistency. Do not over-whisk as the caramel will separate.  Add the caramel to a shell and twist shell shut to close them together.

3. Once all assembled, put them in an airtight container and let them mature (yes, that’s the scientific word for this process) in the refrigerator for 24-48 hours.


Pistachio Salted Caramel Macarons

Om nom nom! These were good!

Pistachio Salted Caramel Macarons


SaveSave

SaveSave

Follow:

Fresh Fruit Frangipane Tart

We use affiliate links in our posts and our site. This means if you make a purchase using these links, we may earn a small commission. You don’t pay a cent more than you would otherwise! Our full disclosure is available under About.

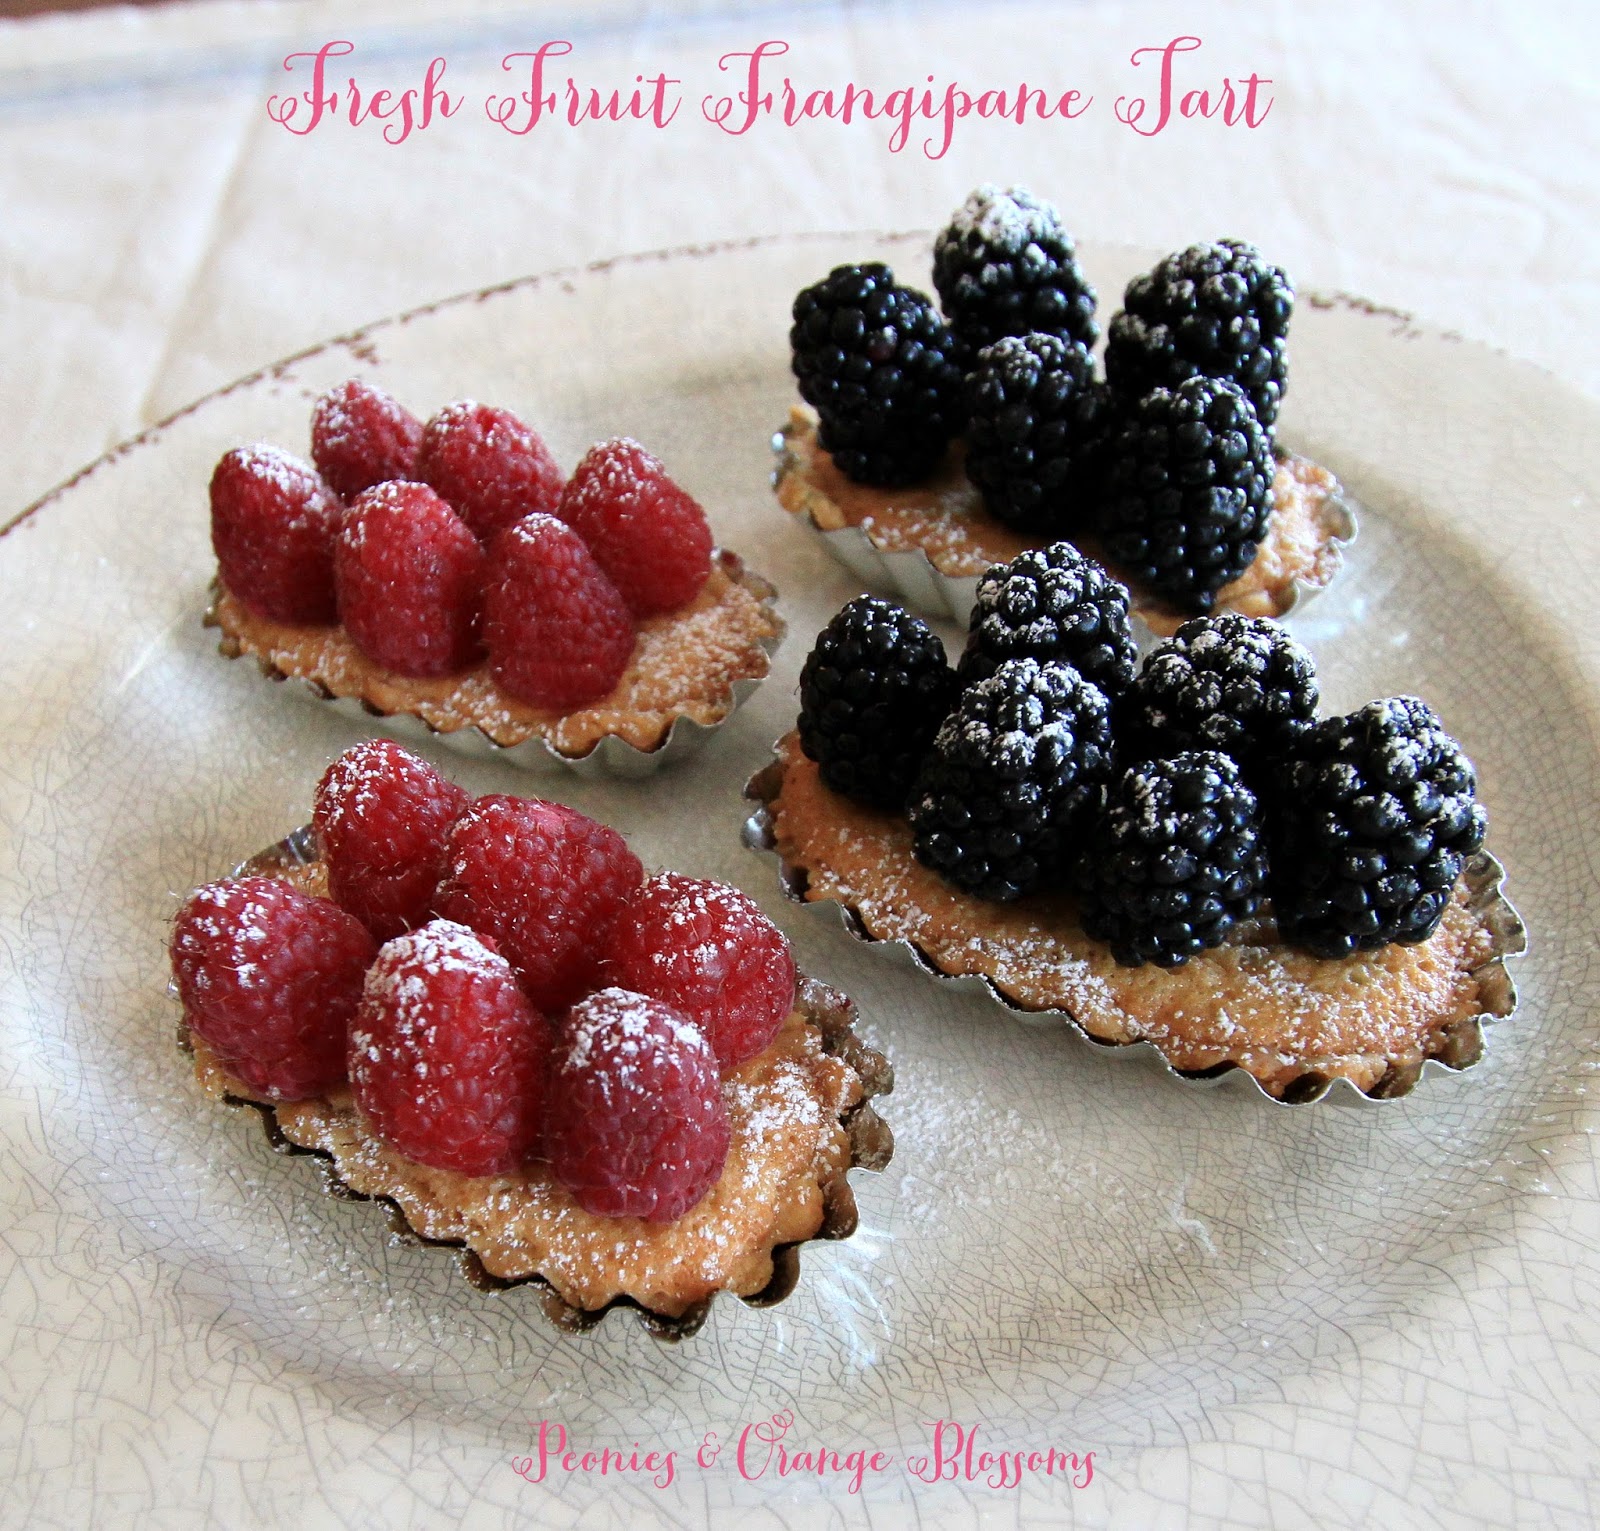
I have never tried to bake a tart before but I have always wanted to give it a shot! Well let me tell you, this was a bullseye! They were delicious!!

Fresh Fruit Frangipane Tart Recipe

 Now, I know some of you are wondering, what is “Frangipane”? Frangipane, pronounced fran-gee-pah-nee, is an almond pastry cream.  It is really good!  If you’ve ever had an almond croissant or a bear claw, it is the filling that is inside of those things!

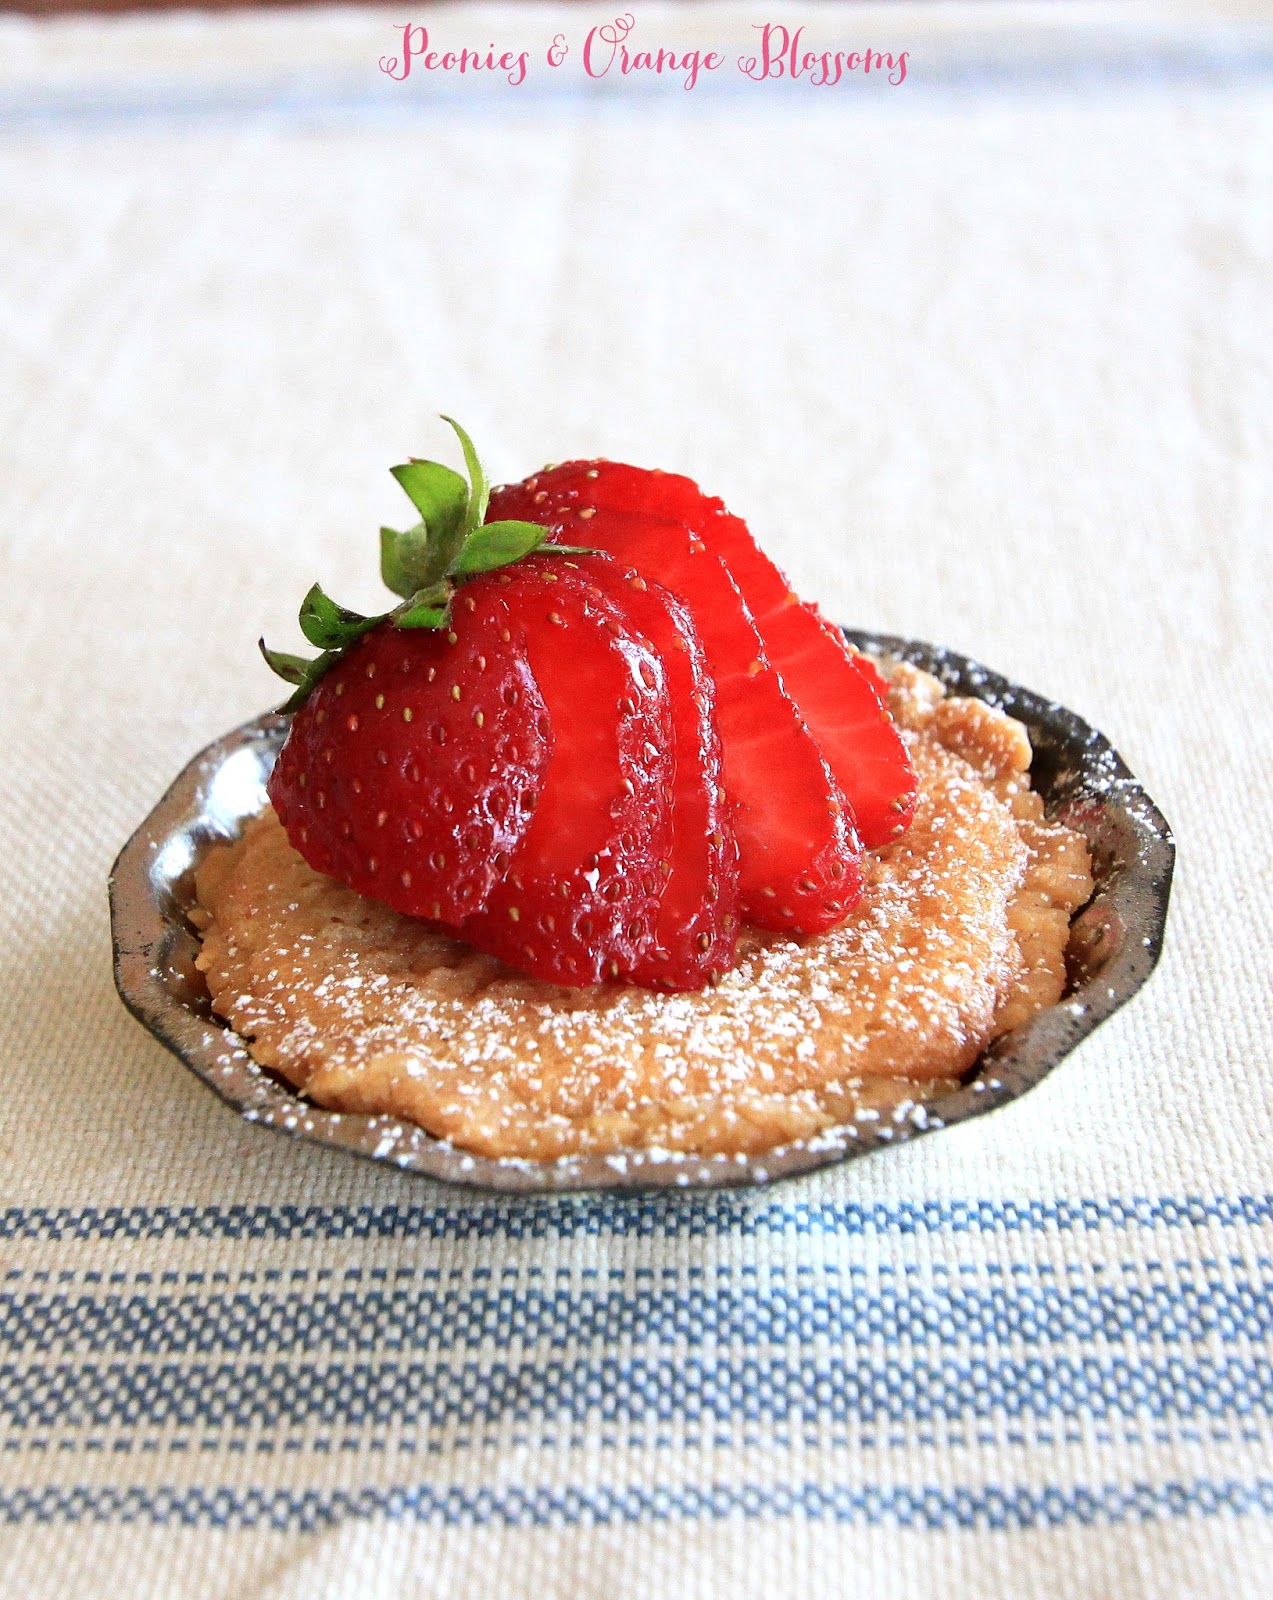
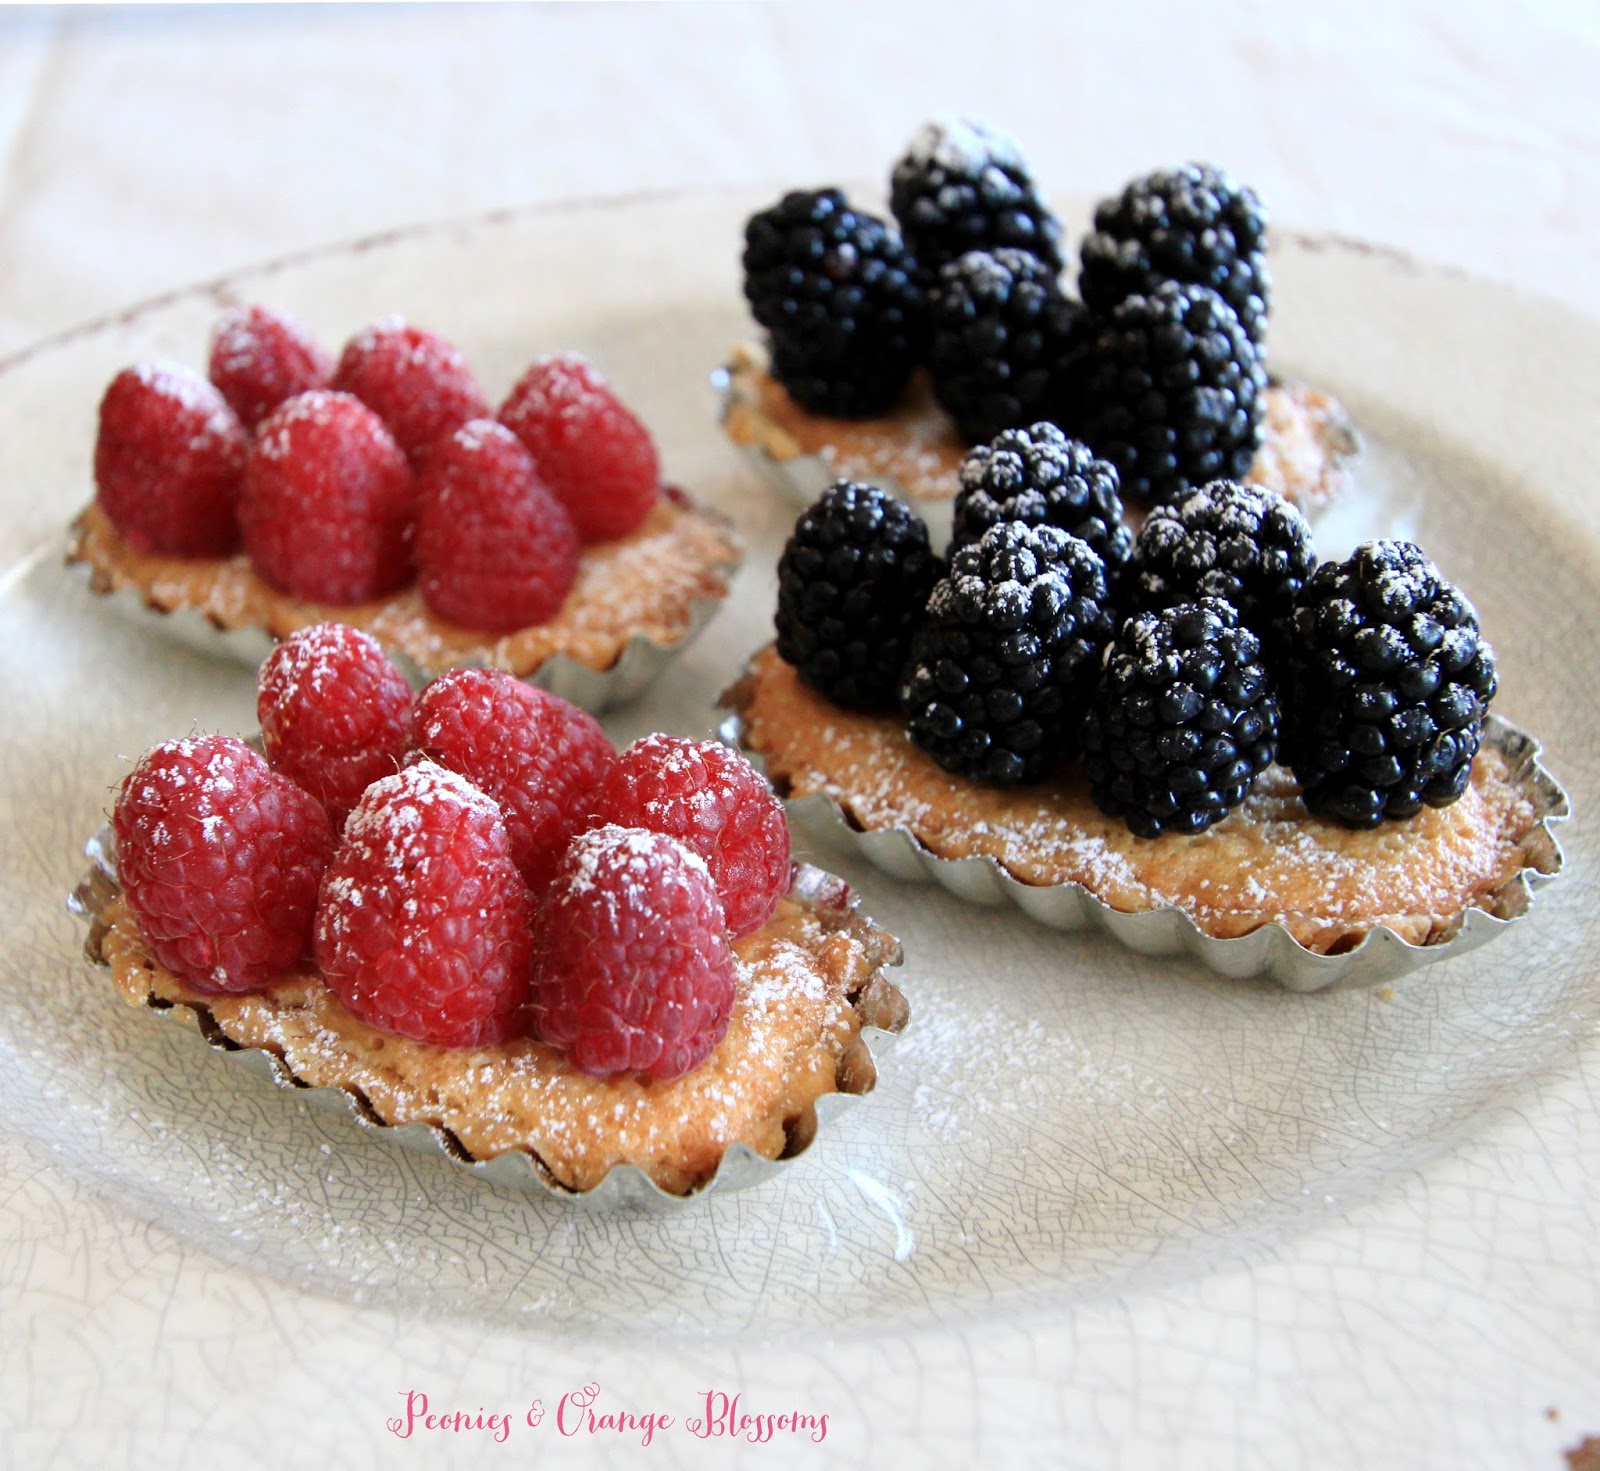
I was playing around with my tart pans and made them in two different sizes.  I also topped them with assorted fresh fruit: raspberries, blackberries, and strawberries! My husband’s favorite was raspberry and mine was strawberry.

Fresh strawberry frangipane tart recipe


Fresh Fruit Frangipane Tart Recipe get the printable version


French Pastry Tart Dough (from David Leibovitz, you really must read the recipe on his site, it is really quite entertaining!)


90 g (3 ounces) unsalted butter, cut into pieces

1 tablespoon vegetable oil 

3 tablespoons water

1 tablespoon sugar

1/8 teaspoon salt

150 g (5oz, or 1 slightly-rounded cup) flour


Preheat the oven to 410º F 

1. In a medium-sized ovenproof bowl, combine the butter, oil, water, sugar, and salt.

2. Place the bowl in the oven for 15 minutes, until the butter is bubbling and starts to brown just around the edges.

3. When done, remove the bowl from oven (and be careful, since the bowl will be hot and the mixture might sputter a bit), dump in the flour and stir it in quickly, until it comes together and forms a ball which pulls away from the sides of the bowl.

4. Transfer the dough to a 9-inch (23 cm) tart mold with a removable bottom and spread it a bit with a spatula OR transfer the dough to your mini tart pans. It doesn’t matter the size of your tart pans. Save a raspberry size piece of dough and set it aside.

5. Once the dough is cool enough to handle, pat it into the shell with the heel of your and, and use your fingers to press it up the sides of the tart mold. 

6. Prick the dough all over with the tines of a fork about ten times, then bake the tart shell in the oven at 410F for 15 minutes, or until the dough is golden brown.

7. Remove from the oven and if there are any sizable cracks, use the bit of reserved dough to fill in and patch them.

I find it best to pinch off a small amount of the reserved dough, roll it gently between your fingers to soften it, then wedge it into the cracks, smoothing it gently with your pinky.

8. Let the shell cool before filling.

Frangipane Filling 


85g (or 6tbsp) unsalted butter, soft

100g (1/2 cup) granulated sugar

75g (3/4 cup) ground almonds or almond flour

1 egg plus 1 egg white

2 tsp all purpose flour

1 tsp cornstarch

1 tsp vanilla extract

1 pinch salt

Assorted fresh fruits for garnish


Preheat the oven to 350F

1. In the bowl of your food processor, combine butter and sugar. Pulse until smooth. 

2. Add the almonds and blend until well combined. Then add the flour and cornstarch and combine again.  Next, add the egg and egg white and combine. Finally, add the vanilla and salt and combine. 

3. Spread the frangipane into the cooled tart shells.  You will likely have frangipane left over depending on how full you filled your tarts.

4. You can either garnish your tart now and bake the fresh fruit in the oven, or garnish with fresh fruit once cooked. Up to you!

5. Place the tart or tartlets onto a baking sheet. Bake until the tart crust and frangipane are golden and set, approximately 20-30 minutes for tartlets or 45-50 minutes for a 9 inch tart. 

6. Cool on a wire rack. If you hadn’t garnished with fruit and baked them, now add your fresh fruit. Dust with powdered sugar and serve.

raspberry frangipane tart recipe; blackberry frangipane tart recipe

Now, I photographed these still sitting in their tart pan because they were still slightly warm and popping them out of the pan made a bit of a mess.

Making the tart dough is usually the most daunting task for a tart – and David Leibovitz’s version was really easy. REALLY.

Written at http://peoniesandorangeblossoms.blogspot.com
linking up at: amaze me monday The Scoop!  2 Bees in a Pod,  Metamorphosis Monday’s Inspire Me Tuesday Wow us Wednesdays! Creative Ways  Share Your Style Thursday Favorite ThingsTablescape Thursday’s Your Turn to Shine The inspiration gallery Home Sweet Home Feathered Nest Fridays Best of the Weekend Foodie Friday & Everything Else Sunday’s Down Under

Follow:

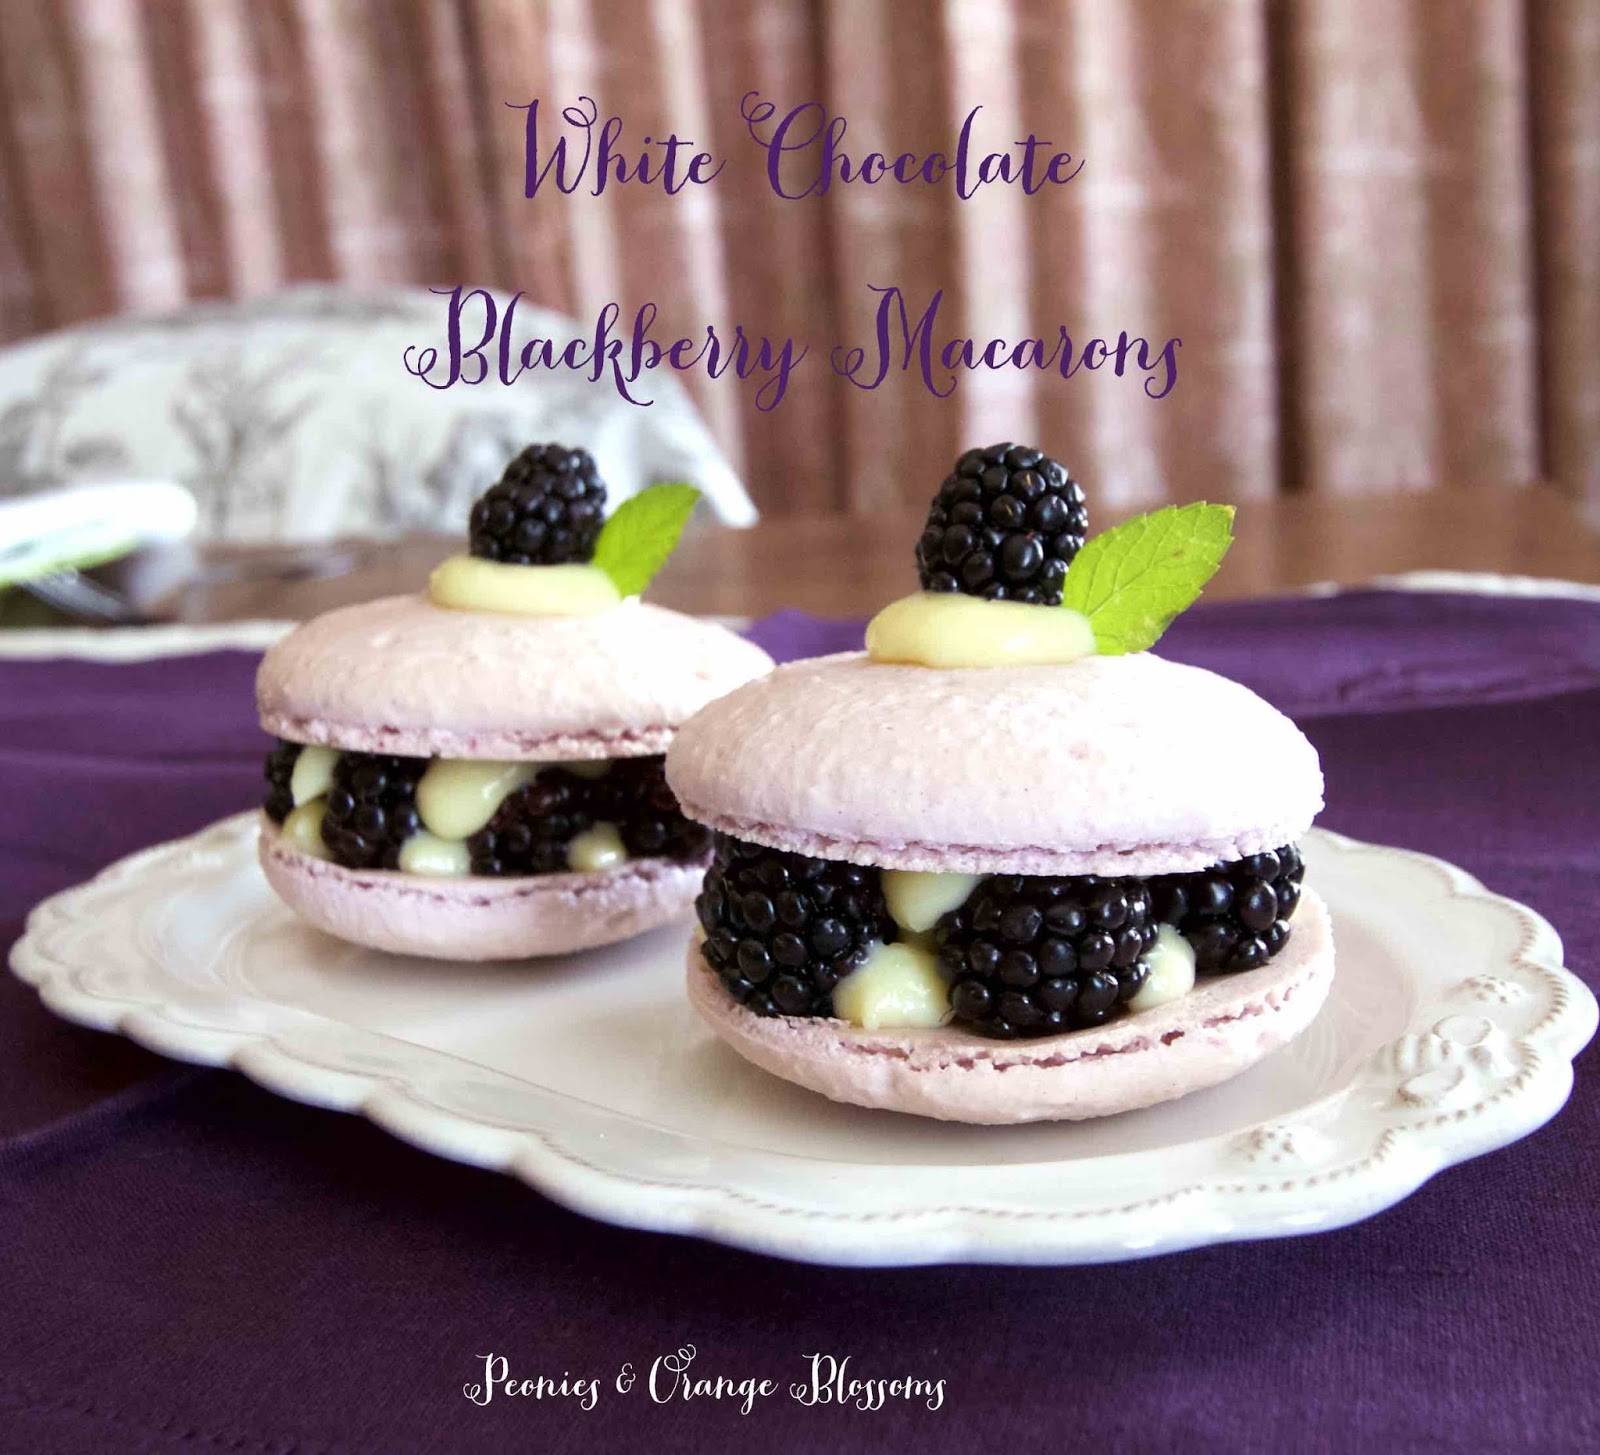
White Chocolate Blackberry Macarons

We use affiliate links in our posts and our site. This means if you make a purchase using these links, we may earn a small commission. You don’t pay a cent more than you would otherwise! Our full disclosure is available under About.

I’ve been back in the kitchen baking again.  You will love what I came up with! I was inspired ball of the pretty french pastries I saw in Paris! White chocolate blackberry macarons!
This post may contain affiliate links.

White Chocolate Blackberry Macarons – printable recipe here

We will need 2 cups of fresh blackberries, but will not use them until the very end.

Materials needed: (affiliate links are used for your convenience)

    • a food scale (yes, you need this. I use this one)
    • a piping tip and piping bag (I like the ateco #806, I use these tips and piping bag)
    • Food coloring (the gels or dry powder works best, not the liquid store stuff)
    • A macaron template
    • food processor (I use this one)


Macaron Shell Recipe (from Laduree)

275g ground almonds

250g powdered sugar

210g egg whites

210g granulated sugar


1.  Mix almond meal and the powdered sugar in a food processor. Be careful not to grind too long, otherwise it will form a paste.

2. Sift the almonds and powdered sugar. Set aside.

3. Weigh out granulated sugar.

4. Weigh the egg whites.  Beat them slowly on a low speed until foamy. SLOWLY add the granulated sugar to the egg whites as you beat.  Once all mixed, increase speed to medium and beat until a firm meringue forms.  You want a firm meringue with glossy peaks but not stiff peaks.  They should defy gravity and remain in the bowl if you turn it upside down.  If you tilt your bowl to the side and they are sliding out, keep beating.

5. Add the food coloring gel and mix.

6. Then fold in 1/3rd of the almond/sugar mixture into the meringue with a silicone spatula.  Once combined, add another third of the almond mixture. Add last bit.  This batter requires more deflation during this step since it creates such a poofy meringue.

7. Add the batter to a piping bag.  Pipe in rows using your template onto parchment paper.  These macarons are a bit bigger than your usual macarons – 7cm in diameter.  To make my template I found a round glass that measured 7cm and drew around it.

8. Pick up the pan and beat until the counter.  The cookies need to rest on the counter between 30-60 minutes.  They are ready to go in the oven when they are dry to touch (the shell shouldn’t stick to your finger)

9.  Set the oven to 300F.

10. Bake the cookies for 15-20 minutes, one sheet at a time. They are done when they look kind of matte and seem firm when you lightly tap on them.  You can always rescue a slightly overcooked one with the maturation process that comes later, but you cannot rescue an undercooked one!!   The cooking time really depends on your oven.

11. Remove from paper once completely cool. If they stick to the paper, they aren’t cool yet. Or you undercooked them.

miam miam

White Chocolate Cream Filling

  • 1 large egg + 1 egg yolk
  • 85g granulated sugar (about 1/4 cup + 2tbsp)
  • 1 cup milk (doesn’t matter whole milk vs nonfat, I used 1%)
  • 29g cornstarch (3tbsp)
  • 119g white chocolate (4ounces)
  • 28g butter (2tbsp)
  1. Beat the egg, egg yolk, and the 1/4 cup of sugar together in a mixer until pale yellow and thick. This takes about 4 minutes.
  2. Add the cornstarch, mix on medium-low until mixed in.
  3. Mix the milk and the remaining 2 tbsp of sugar on a saucier pan over heat.  Bring it to a boil.
  4. Once boiling, pour half of the milk slowly into the egg mixture and whisk constantly.
  5. Then pour the entire mixture back into the remaining milk in the saucepan.  Bring up to a boil to thicken on low.
  6. You must whisk continuously to make sure that it doesn’t burn on the bottom, This takes several minutes.  If it burns, you must throw away and start over.
  7. The pastry cream will suddenly thicken.  Once it thickens, add the white chocolate and mix together thoroughly until chocolate is melted.  Remember we are only melting the chocolate, not cooking it!
  8. Put a piece of saran wrap directly onto the surface of your cream and place it in the refrigerator.  Let cool for 1-2 hours before using.


Assembling the macarons!


On one shell, form a ring of blackberries on the edge.  Using a piping bag, pipe the white chocolate cream into the center of the blackberry ring.Then put another macaron shell on top to make a sandwich.  For looks, pipe a little dollop around each blackberry so it appears to be sandwiched between white chocolate cream.

For garnish, pipe a little dollop of cream on top, add a blackberry, and sprig of fresh mint. Voila! You, too, are a pastry chef!

Below is a picture of what I mean by putting the blackberries on the edge and adding the cream to the center.  As you can see, my recipe was inspired by a raspberry rose version I had in Paris.  Except… I never saw a blackberry one there! So I came up with my own!

this is what I mean by putting a ring of berries on the edge and piping cream into the center!

These were really very good.  I struggled with piping the larger 7cm macaron shells. The oven here is super crappy, in fact, we are getting a new one. I had the oven set at 300 and it ranged from 250-350F!  You just have to practice. I had some trays of flops… and some trays of nice ones!  I am very happy that these turned up with feet and I got the perfect flat top too!


SaveSave

Follow:

Pistachio Macaron Recipe Version 2

We use affiliate links in our posts and our site. This means if you make a purchase using these links, we may earn a small commission. You don’t pay a cent more than you would otherwise! Our full disclosure is available under About.

As you may or may not know, I have a recipe on this site for pistachio macarons.  I went back a year later to try to make those macarons, and I realized that I don’t have a candy thermometer.  So when I tried to make the filling, it was a fail. And then another fail.  So I searched high and low and came up with another pistachio filling recipe that I love.  AND no candy thermometer is needed!  I wrote this post a little bit ago, but decided to share it now while I’m buying myself time while I am busy with the move!
This post may contain affiliate links.

This new recipe tastes exactly like the other one.  It uses the same recipe for the shells.  The only thing that changed is my filling.

Pistachio Macaron Recipe Version 2 – printable version here

Materials needed: (affiliate links are used for your convenience)

    • a food scale (yes, you need this. I use this one)
    • a piping tip and piping bag (I like the ateco #806, I use these tips and piping bag)
    • Food coloring (the gels or dry powder works best, not the liquid store stuff)
    • A macaron template
    • food processor (I use this one)

Pistachio Macaron Shell Recipe

• 200g almond flour

• 75g pistachio flour (step 1)

• 250g powdered sugar

• 210g granulated sugar

• 6 egg whites (room-temperature)

• 1/8 cup chopped pistachios

• food coloring (green is traditional color for this cookie)


1 Grind your unshelled pistachios (salted or unsalted, I prefer the salted) using a food processor. Be careful not to turn it into a paste.

2 Sift almond flour, pistachio flour, and powdered sugar through a fine mesh screen into a bowl.

3 Whisk or using a beater, turn 6 egg whites to a foam.  Slowly add the granulated sugar to the egg whites as you beat.  Whip until the meringue has firm glossy peaks but not super stiff peaks. They should defy gravity and remain in the bowl if you turn it upside down.  If you tilt your bowl to the side and the meringue started to slide, keep beating.

4 Add your food coloring.

5 Then fold in 1/3rd of the almond/pistachio/sugar mixture into the meringue with a silicone spatula.  Once combined, add another third of the almond mixture. Then the last third.

6 Add the batter to the piping bag.  Pipe in rows using your template onto parchment paper.

7 Pick up the pan and beat onto the counter.  Now sprinkle pistachio nuts on half of the cookies as a garnishment.

8 Preheat oven to 300 degrees.  The cookies need to rest on the counter between 30-60 minutes. They are ready to go into the oven when they are dry to the touch.  The shell shouldn’t stick to your fingers.

9 Bake the cookies for 13-15 minutes, one sheet at a time.  They are done when they look kind of matte and seem firm if you tap on them.  You can always rescue an overcooked cookie with the maturation process that comes later, but you cannot rescue an undercooked one!

10 Remove from the paper once completely cool.  If they stick to the paper, they either aren’t cool yet or you undercooked them.


For the pistachio buttercream:

•75g butter, at room temperature

•75g powdered sugar

•50g finely ground pistachios (just grind some up in the food processor)

•1/4 teaspoon vanilla extract (optional)

•1 tablespoon whipping cream


Preparing the pistachio buttercream:

1Cream together the butter and icing sugar on low speed using the paddle attachment, if you’re using a stand mixer. Or mix by hand.

2Add the ground pistachios and beat on medium speed for approx. three minutes.

3Pour in the whipping cream and beat for one minute on medium speed.

4       Optional, add the vanilla and then mix together.  (I added only a few drops, as this enhanced the taste a little).

5      Add the buttercream to a piping bag, and pipe the buttercream onto the shells that do not have the extra pistachio sprinkled on top.

6      Store overnight in an airtight container in the refrigerator.  They taste better the next day, promise!


Don’t these macarons look pretty?  When I look at my old ones I get so embarrassed by them.  Granted, they tasted exactly the same. But still! They didn’t have perfectly little flat tops and didn’t all have nice little feet!


If you look below, this is how the macarons should look when you lift them up from the silpat or parchment paper… perfectly flat feet.  If they are sticking to the paper or silpat, let them cool a little bit longer and they will lift right up!

Don’t worry about yours if they don’t turn out perfect the first time you make them.  Mine obviously didn’t look perfect if you look at my old recipe, but they still tasted really good!

Some tips:
If they are puffy like little ice cream cones when you pipe them (like my old recipe, you can see the pictures of them) you need to do some more folding.  They need to be a little bit runnier.  That way when you pipe them they’ll spread out.  However, if you fold them too much, they will be too runny and will be ruined.  It’s an art.  I’ve been practicing for a while.  With time, you’ll learn. Just don’t give up. Giving up is for quitters and we don’t quit!

I will say, even when I make the macarons.  My first tray I pipe is always a little bit poofier than the last tray I pipe.  By the time I get to the last tray, I’ve stirred the batter a few more times and gravity has started to work on deflating the meringue some.  Just things I’ve noticed as I’ve been making these for a while.


I was having fun taking food pictures with my camera… an old grimey baking sheet makes a nice food backdrop.


SaveSave

SaveSave

Follow:

Blackberry and Peach Galette with Cinnamon Ice Cream Recipe

We use affiliate links in our posts and our site. This means if you make a purchase using these links, we may earn a small commission. You don’t pay a cent more than you would otherwise! Our full disclosure is available under About.

It’s that time of year when we have peaches coming out of our ears!  We have so many peach trees here out on the farm I decided to bake a galette for the first time.  A Galette (pronounced GAL-ette) is a type of free-form French tart.  It’s nice because there is no tart pan needed!  Now this isn’t to be confused with the Breton Galette, which is the buckwheat pancake.

Blackberry Peach Galette

While the traditional French tart has every piece of fruit and dough molded to perfection, the galette is much less fussy and closer to the American pie in taste.

Blackberry Peach Galette (get the printable recipe here.)


Ingredients

  • 1 premade pie crust
  • 5 peaches, peeled, pitted, and sliced
  • 1/3 cup fresh blackberries
  • 1/4 cup brown sugar
  • 2 tbsp honey
  • 1/2 tsp cinnamon
  • 1/2 tsp nutmeg
  • 2 tsp vanilla
  • 2 1/4 tbsp all-purpose flour
  • 1 egg 
  • turbinado sugar for dusting
  • sliced almonds for the crust

Directions

  1. Line a baking sheet with parchment paper.
  2. If you used a pre-made store pie crust, take it out from the freezer and let it thaw. (It should still be cold).  Remove from the pie pan and flatten into a circle on the parchment paper.  Don’t worry about it looking perfectly pretty, galettes are not perfect!
  3. In a bowl, combine peaches and vanilla.
  4. In a separate bowl, combine brown sugar, cinnamon, nutmeg, and flour.  Mix well to combine.
  5. Add the dry mixture to the peaches.  
  6. Pour in the honey and stir.
  7. Fold in the blackberries.
  8. Pour the fruit filling into the center of the crust, leaving a 2 inch border.  Now, working around the galette, fold the edges of the dough over the fruit.
  9. Place the galette into the freezer for 15 minutes.
  10. Preheat oven to 350F.
  11. Remove galette from freezer.
  12. Brush the folded edge of dough with the egg wash.
  13. Sprinkle the dough edge with slivered almonds and turbinado sugar.
  14. Bake for 30min to 1 hour.  The crush should be golden brown and the fruit insides should be bubbling when done.  
  15. Serve warm or cold, I suggest with ice cream.

I adopted the recipe from this website, tidy mom.

the fruit juices leak onto the paper while cooking… that’s okay and expected!

Want to know what this tastes good with? Cinnamon ice cream!!  I use an ice cream maker to make my own ice cream.  You could just serve it up with store bought vanilla too!

Easy Blackberry Peach galette with homemade cinnamon ice cream!

Cinnamon Ice Cream Recipe (printable recipe here)


Ingredients

  • 1 3/4 cups whipping cream
  • 1 1/4 cup whole milk
  • 1 tsp vanilla
  • 2 tsp ground cinnamon
  • 3/4 cup granulated sugar
  • *optional: 1/4 tsp xanthan gum (makes it a little thicker, optional ingredient)

Directions

  1. Add the cream and milk together and stir in the sugar.  Stir until the sugar dissolves.  This should be hand-stirred, if you use a mixer you could end up with butter.
  2. Add the vanilla.
  3. Slowly pour in the cinnamon so you don’t end up with cinnamon chunks.  If you are using the xanthan gum, slowly add it in as well so you don’t have chunks.
  4. Pour your mixture into your ice cream mixer and wait.
  5. When the ice cream mixer is done, either serve immediately or store in a freezer air-tight container.  To help decrease ice crystals, put some saran wrap directly on the ice cream and then close the lid.  This helps decrease the ice crystals that form!

Blackberry Peach Galette

Yum yum, doesn’t it look delicious? Well let me tell you… it was!  The four of us gobbled it up and left only one piece… for someone’s breakfast the next day.  Dessert for breakfast? I know you do that too, don’t lie 😉

You can also follow me by clicking on these: bloglovin, instagramtwitterpinterest, and google plus.


linking up at: amaze me monday The Scoop!  2 Bees in a Pod,  Metamorphosis Monday’s Inspire Me Tuesday Moonlight and Mason Jars Wow us Wednesdays! Creative Ways  Share Your Style Thursday Favorite ThingsYour Turn to Shine The Inspiration Gallery My Romantic Home  Home Sweet Home Feathered Nest Fridays Foodie Friday & Everything Else  Sunday’s Down Under Share it One More Time

Follow:

Pierre Herme Macarons Review

We use affiliate links in our posts and our site. This means if you make a purchase using these links, we may earn a small commission. You don’t pay a cent more than you would otherwise! Our full disclosure is available under About.

As you all know, I have a love for macarons.  Naturally, on my trip to Paris, one of my main missions was macaron tasting.

Before I left, I read loads and loads of reviews of Pierre Hermé macarons and pastries.  Imagine my excitement when I finally made it to the patisserie!

a review of Pierre Hermé

When you walk into the store, you are greeted with a sight of this…

French Macarons

and this… ooh, la la!  There were a lot more pretty pastries at the counter but they only allowed us to take pics of the macarons.


We were on a mission: try as many macarons as possible!

French Macarons

In fact, we *may* have gone there a few times and tried different flavors…

french macarons

Before I start reviewing each individual macaron flavor, I NEED to talk about the best pastry I’ve ever had. EVER. #bestpastryever.

See this below. Yeah, that croissant. Yeah yeah, it looks like a croissant with bacon sprinkled on it. This is NO ordinary croissant.  It is the ROSE ISPAHAN CROISSANT!!! (yes I’m yelling with excitement!)

So what is it?  It is a buttery croissant that is perfectly baked with a crunchy outside and a buttery inside. The outside is covered in a rose-flavored almond cream with candied rose petals sprinkled on top.  The inside is filled with a raspberry flavored litchi pate.

Before I went I wasn’t *too* excited about this croissant.  I don’t like rose flavored stuff and I am not a fan of litchi.  But when I tried it, it was like a little piece of heaven from the pastry gods.  It is really just so good, I can’t sing enough praise.  Here’s a hint: get one before noon because 1. they sell out and 2. the shelf life of a croissant is only 4 hours after it is baked.

the famous Rose Ispahan croissant from Pierre Herme

Ok, moving on to the macarons…  All of his macaron shells are perfectly baked.  They have a smooth top with perfect feet. They have the perfect crunch when you bite into them and then a little chewy in the center.


The Mosaic macaron… 

It is a pistachio, cinnamon, and cherry macaron and I LOVED it.

Mosaic macaron

The “Huile d’Olive a la Mandarine” aka Mandarin Olive Oil Macaron…
This was my favorite macaron.  The flavors were so interesting and really went well together.  I highly recommend trying this one.

Mandarin olive oil macaron

The Infiniment Caramel aka Salted Caramel Macaron…
This macaron was one of my family’s favorite.  The salted caramel was *perfect*.  If you are new to macarons, this one you MUST try.  Or if you’re a macaron mad like myself too.

salted caramel macaron

The infiniment Rose macaron…
this was a rose flavored macaron.  It was okay.  I’m not a huge fan of rose flavored dessert because usually it seems like I’m eating roses. I would skip on this.

rose macaron

The Envie macaron aka vanilla, violet, and blackcurrant…
This macaron was SO GOOD.  I just loved the black currant flavor with the vanilla and violets.  It is an unusual flavor and one you don’t taste very often.  I highly recommend it!

vanilla, violet, and black currant macaron

Infiniment Vanilla macaron…
This vanilla macaron was made with pure vanilla beans.  It was extremely rich in vanilla flavor.  It was the best vanilla flavored macaron I’ve ever had.

vanilla macaron

We also tried the Celeste macaron, which is a passion fruit, rhubarb, and strawberry macaron.  The picture I took of it was really blurry, so there is no picture. As far as the macaron flavor, it wasn’t my favorite.  I didn’t really like the flavor of passion fruit with the almond shell.


Okay, moving away from macarons and onto a last minute decision to try this citron tart!  When you enter the store, there is a whole row of pretty looking pastries, so this lemon tart caught our eye!

This lemon tart was SO delicious.  The lemon flavor was really strong but not in a bad way.  The candied lemon skin on top was really nice.  The crust was good.  Normally I don’t eat tart crust but I did on this one! This was just a really good lemon tart!  I highly recommend trying one!

Pierre Herme Citron tart

Okay, last patisserie we tried was the Rose Raspberry Ispahan Macaron.  It is one of the pastries that Pierre Herme and Laduree are famous for.  It is raspberry macaron with fresh raspberries with rose buttercream inside.  It is a rose petal on top as garnish.

Now, ironically, while this is the prettiest looking of all of these sweets, this one was my least favorite!  It wasn’t BAD, it just… wasn’t as good as everything else!  It sure does look pretty!

the beautiful Raspberry Rose Ispahan Macaron by Pierre Herme

My FINAL review for Pierre Herme:

All of his creations were absolutely delicious.  The macarons were perfection.  His flavors were interesting but really good.  When going to his store, I HIGHLY recommend the rose ispahan croissant, followed by a macaron flavor of your choice.  I’m sure if you chose another patisserie it would likely be delicious as well!  I strongly recommend you stop by his shop if you are in Paris, even if you are only there for a day!

Which macarons are better? Lauder or Pierre Herme? Mystery is answered!
Macarons from Pierre Herme in Paris, go ahead and use this as a cell phone background!!

Now, time to answer the big question…
Which macarons are better, the ones from Pierre Herme or Laduree?
First of all, let’s talk about the shell:  Pierre Herme bakes his macarons using the Italian method while Laduree uses the French method. This website explains the difference.  The end result: both shells taste the same to me.  Every macaron that I tasted from both macaron houses had perfectly made shells with perfect feet.  They know how to make macarons.  The difference comes with the flavors…

The flavors are definitely different at both places.  Pierre Herme makes more intense unusual flavors like… olive oil and mandarin.  As you’re eating Pierre Herme’s macarons, they have more notes to the flavor and are more complex.  Laduree’s flavors tend to have one note to them… but that note is very good.  But when comparing the same flavor, for instance, the salted caramel macaron, it was very good at both places.  So, I would consider it a tie when comparing the same flavor.  If you are looking for more interesting complex flavors, head to Pierre Herme.  If you’re looking for more standard flavors, head to Laduree.

Now, I have to choose a winner.  I really want to say it’s a tie.  Because really, it feels like a tie.  But that’d be lame. I hate ties.  I must choose a winner… so I would say the winner is Laduree.  And this is why I choose them: I thought to myself, if I could only choose one macaron to eat and could only go to one store on a very quick trip to Paris, which one would I choose?  I would choose Laduree’s orange blossom macaron. It is just that good.  But in reality, if I go to Paris again, I would head to both stores multiple times.  However, the rose ispahan croissant at pierre herme is better than any of the macarons. so there.

HELPFUL HINT: I highly recommend bringing plastic utensils with you to Paris so that way you can enjoy your pastries in the park without making a huge mess.

If you’ve missed a Paris trip post, catch them ALL RIGHT HERE !

SaveSave

Follow:

From the Shop

I may earn a small commission if you purchase with these links

Caning Natural Tote Handbag - Universal Thread™
The Hustler High Waist Fray Hem Ankle Bootcut Jeans
Le Panier Pliage Raffia Crossbody Bag
Extra Large Le Pliage Panier Tresse Straw Tote
The Bennet Buttondown Shirt by Maeve
T Monogram Perforated Leather Bucket Bag
Mellow Stud Mule
Le Pliage Marinière Recycled Nylon Canvas Travel Bag
Unseen Sunscreen Broad Spectrum SPF 40 PA+++
Maxine Stripe Cotton Button-Up Shirt
Citizens of Humanity Charlotte High Rise Straight Jeans
Navy Equestrian Traversee M Linen Tote
Cream Carrie Blouse
Ellison Natural
Jolene High Rise Vintage Slim
Citizens of Humanity Blue Jolene Jeans
Charlotte High Rise Straight Jeans
Women's Le Pliage Filet Top Handle Bag - Ecru
Vintage cotton crewneck T-shirt
Air Heart Sunglasses
Le Pliage Torchon XS Top Handle Bag With Strap
Santorini Raffia Basket Bag
Chuck Taylor® All Star® Lift High Top Platform Sneaker
Please note that I use ShopSense, LIKETOKNOW.it, Shareasale and Amazon affiliate links on this site. This means using them for purchases won’t cost you extra but may earn me a small commission.  Our full disclosure is available for viewing under About in the disclosure policy.
All rights reserved. Our graphics, images and text are all subject to copyright protection.