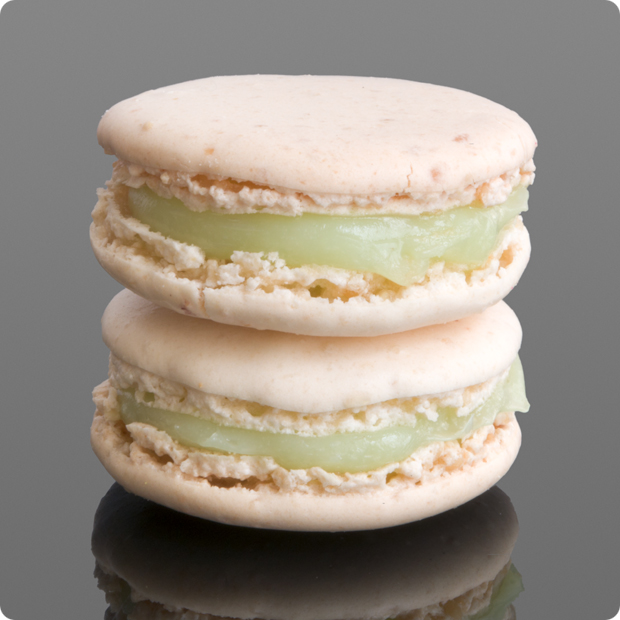
Fleur de Sel Macarons (aka Salted Caramel Macarons)
This post may contain affiliate links. See my disclosure policy.
 |
|
This is part of my Macaron Mondays feature! I hope you’ve been inspired to make some macarons! |
 |
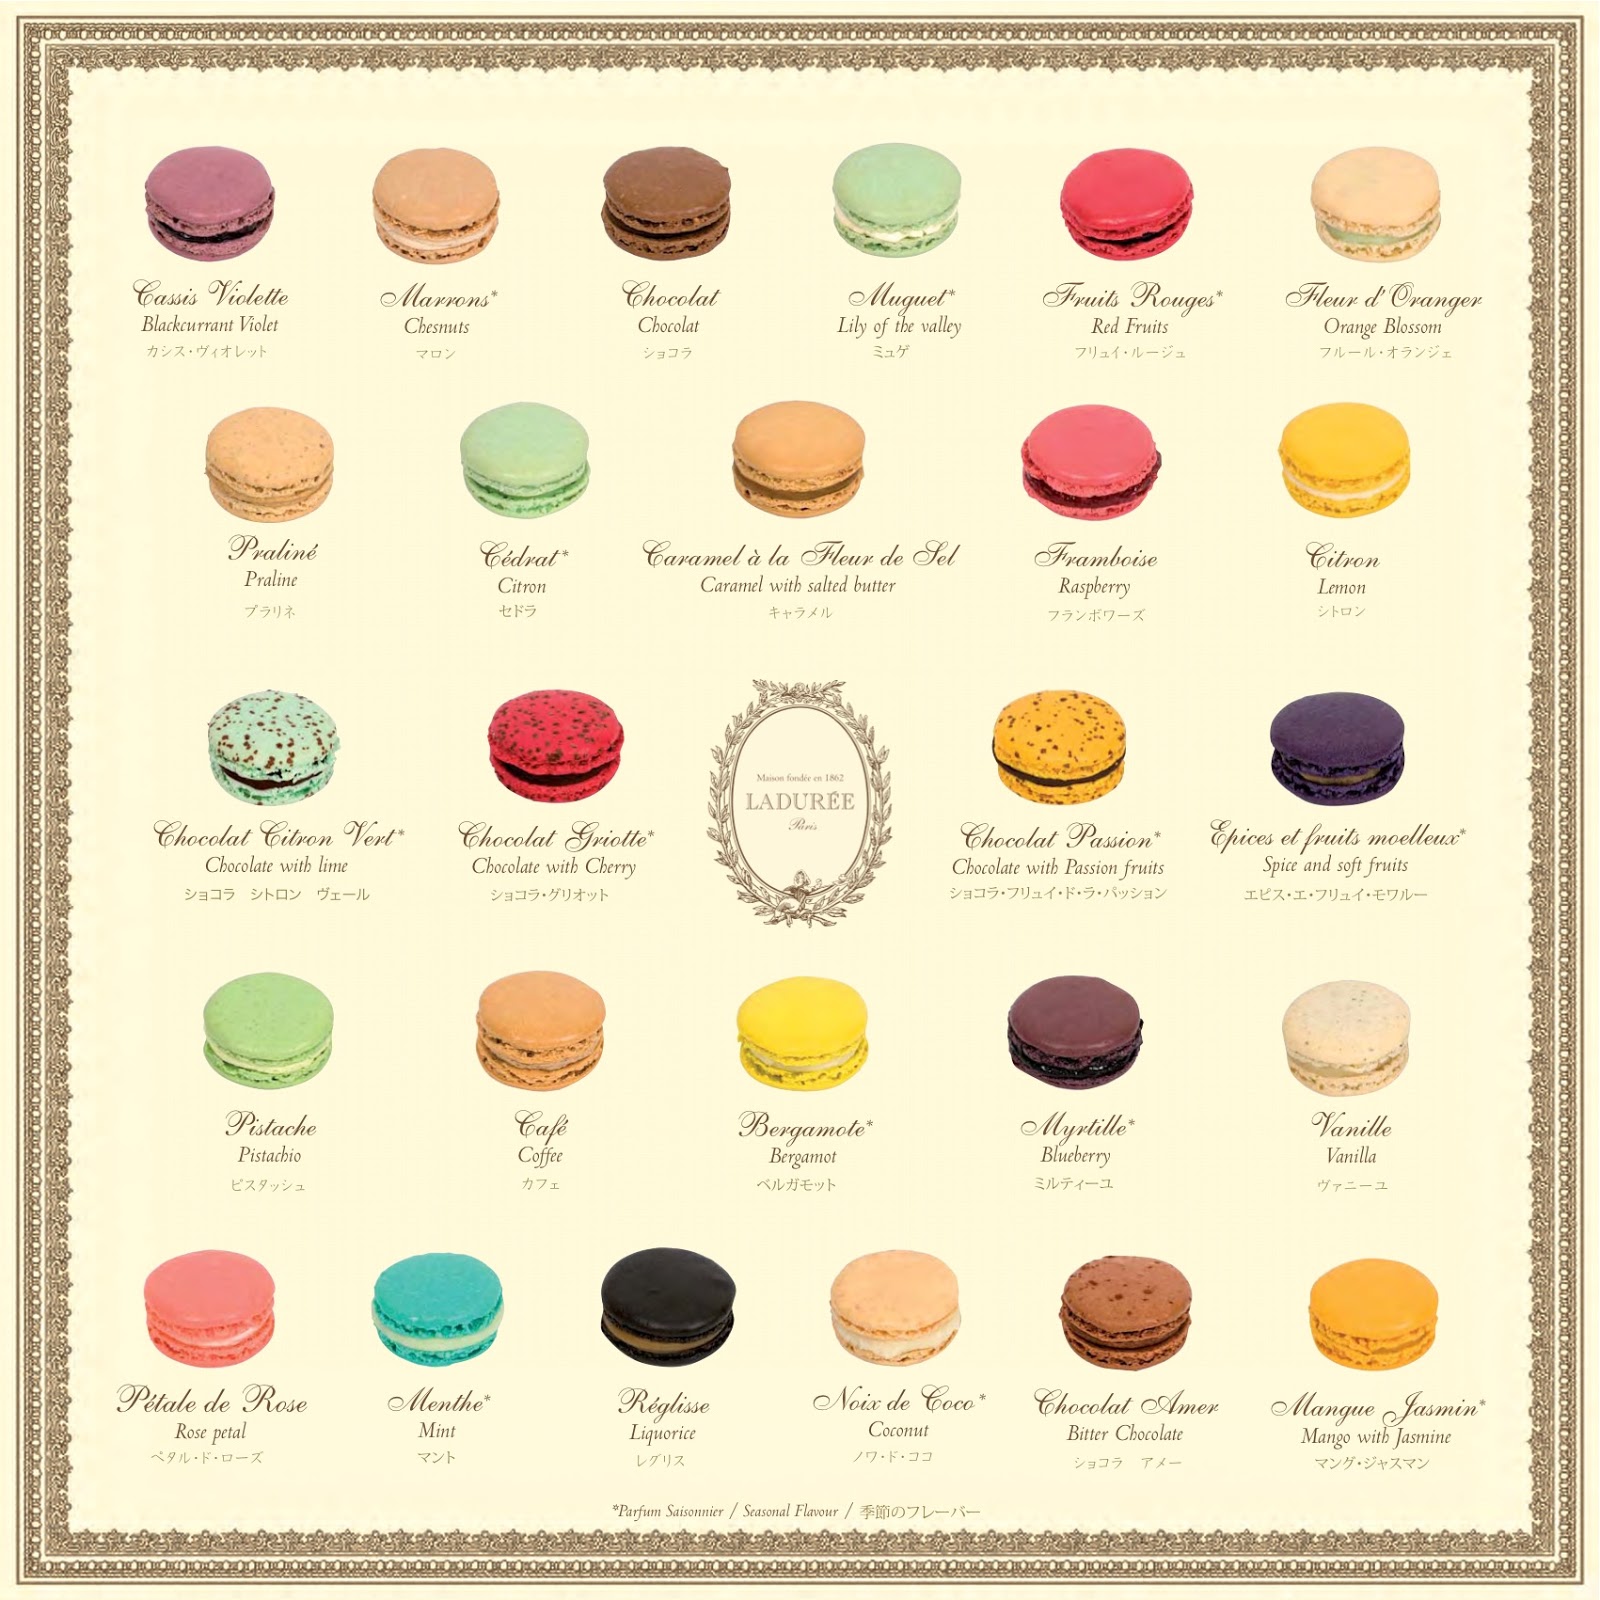
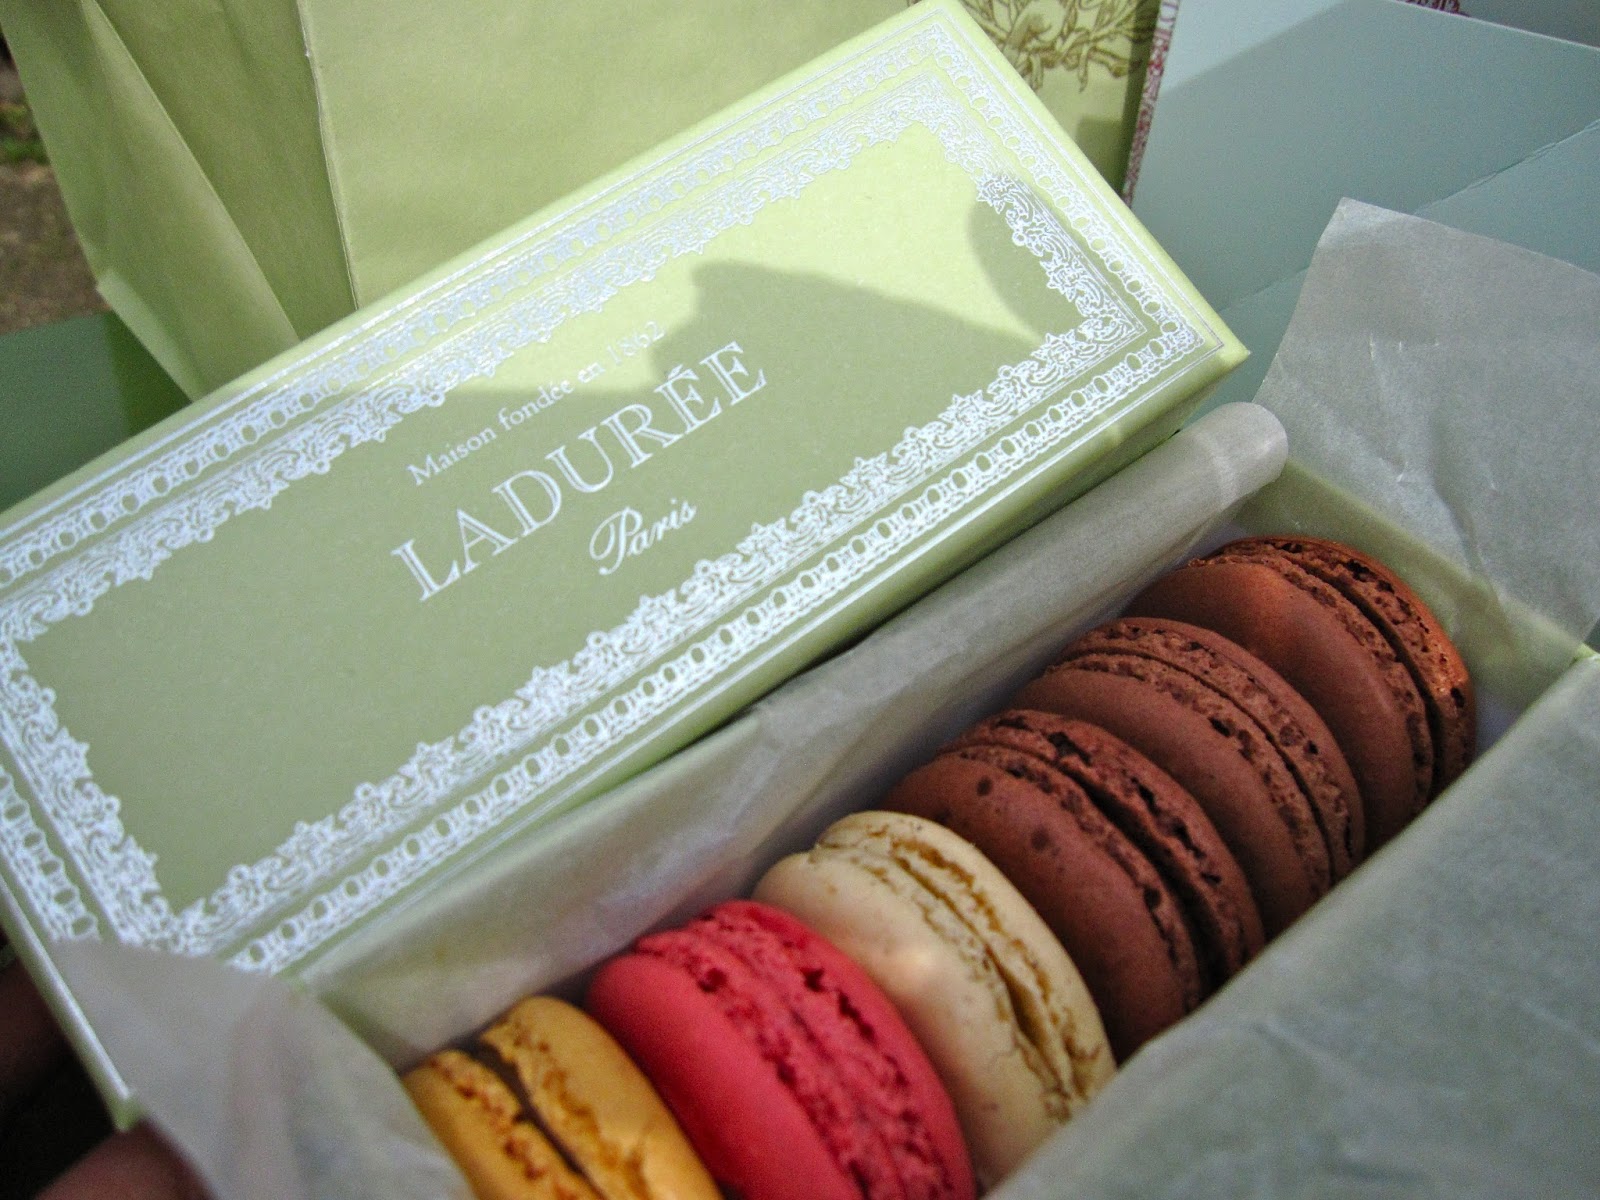
For the basic macaron recipe I use the Laduree macaron recipe.
FOR A PRINTABLE RECIPE, CLICK HERE!!
Materials needed:
- silicone spatula (I use this one)
- parchment paper or silat (I like this silpat made in France)
- electric mixer (your hand will get tired whipping the meringue, I use a Kitchenaid, I actually use this super professional one in cherry red, but the entry level model is a nice start too! )
- a food scale (yes, you need this. I use this one)
- a piping tip and piping bag (I like the ateco #806, I use these tips and piping bag)
- Food coloring (the gels or dry powder works best, not the liquid store stuff)
- A macaron template (either make one or get one here or here. It makes piping easier)
- food processor (for the cream filling, I use this one)
Laduree Macarons Recipe
275g ground almonds
250g powdered sugar
210g egg whites
210g granulated sugar
1. Mix almond meal and the powdered sugar in a food processor. Be careful not to grind too long, otherwise it will form a paste.
2. Sift the almonds and powdered sugar. Set aside.
3. Weigh out granulated sugar.
4. Weigh the egg whites. Beat them slowly on a low speed until foamy. SLOWLY add the granulated sugar to the egg whites as you beat. Once all mixed, increase speed to medium and beat until a firm meringue forms. You want a firm meringue with glossy peaks but not stiff peaks. They should defy gravity and remain in the bowl if you turn it upside down. If you tilt your bowl to the side and they are sliding out, keep beating.
5. Add the food coloring gel and mix.
6. Then fold in 1/3rd of the almond/sugar mixture into the meringue with a silicone spatula. Once combined, add another third of the almond mixture. Add last bit. This batter requires more deflation during this step since it creates such a poofy meringue.
7. Add the batter to a piping bag. Pipe in rows using your template onto parchment paper.
8. Pick up the pan and beat until the counter. The cookies need to rest on the counter between 30-60 minutes. They are ready to go in the oven when they are dry to touch (the shell shouldn’t stick to your finger)
9. Set the oven to 300F.
10. Bake the cookies for 13-15 minutes, one sheet at a time. They are done when they look kind of matte and seem firm when you lightly tap on them. You can always rescue a slightly overcooked one with the maturation process that comes later, but you cannot rescue an undercooked one!!
11. Remove from paper once completely cool. If they stick to the paper, they aren’t cool yet. Or you undercooked them.
Salted Caramel Filling Recipe
(makes 1.5 cups of caramel)
1 cup of cream
1.5 cups of granulated sugar
2 tsp coarse salt (or 1tsp for a less salty flavor)
1 cup unsalted butter
Instructions:
1. Chop butter into small cubes and set aside.
2. Pour cream into the pan and add the salt. Bring to a low boil while stirring and remove immediately. Do not scald the cream.
3. Place the sugar into a new pan. Cook over medium hit while stirring constantly.
4. Stir until sugar is melted and has caramelized into a rich color. Remove from heat. Do not burn the sugar. If your caramel starts to burn, throw it away. You cannot rescue it.
5. Pour and stir the hot cream into the caramel mixture. BE CAREFUL!!! Add the cream VERY SLOWLY. The caramel will spit and boil up, so stir while incorporating the cream into the caramel.
6. Let the caramel cool to 115 degrees (about 5 minutes later).
7. Whisk in the cubes of butter into the mixture until melted and mixed.
8. Pour caramel into a shatter proof bowl and refrigerate until cold.
To use the caramel:
1. Remove from the fridge.
2. Whisk the caramel mixture to stiffen to more of a butter/cream consistency. Do not over-whisk as the caramel will separate.
Once all assembled, put them in an airtight container and let them mature (yes, that’s the scientific word for this process) in the refrigerator for 24-48 hours.
Now, these cookies won’t be bad if you eat them immediately, they will just be amazing if you want a day. The theory is that the juices from the filling soak back into the cookie to make an AMAZING cookie.
 |
| YUM! |
This caramel tastes good on other things too, not just macarons!

For my favorite product recommendations for making such delicate cookies, check out my amazon store
I’ve linked up with:The Scoop! at Confessions of a Plate Addict/Stone Gable, Metamorphosis Monday’s at Between Naps on the Porch, Inspire Me Tuesday at a Stroll Thru Life, Do Tell Tuesday at a Vintage Zest, You’re Going to Love it Tuesday at Kathe with an E, Cottage Style Party at Lavender Garden Cottage Wow us Wednesdays! at Savvy Southern Style, What’s it Wednesdays at Ivy & Elephants, Centerpiece Wednesdays at The Style Sisters Tablescape Thursday at Between Naps on the Porch, Oh the places I have been at the Tablescaper, Treasure Hunt Thursday at From My Front Porch To Yours, Feathered Nest Fridays at French Country Cottage, Seasonal Sundays at the Tablescaper, Sunday Best Showcase at Twigg Studios. Be sure to check out all of these fabulous blogging parties! A big thank you to all of the wonderful hosts!
Written at http://peoniesandorangeblossoms.blogspot.com


 . Let’s get started.


