Owls have landed for the Fall

We use affiliate links in our posts and our site. This means if you make a purchase using these links, we may earn a small commission. You don’t pay a cent more than you would otherwise! Our full disclosure is available under About.

I love these owls made of natural material.  I have very slowly built this collection of owls.  This is several years in the making! 

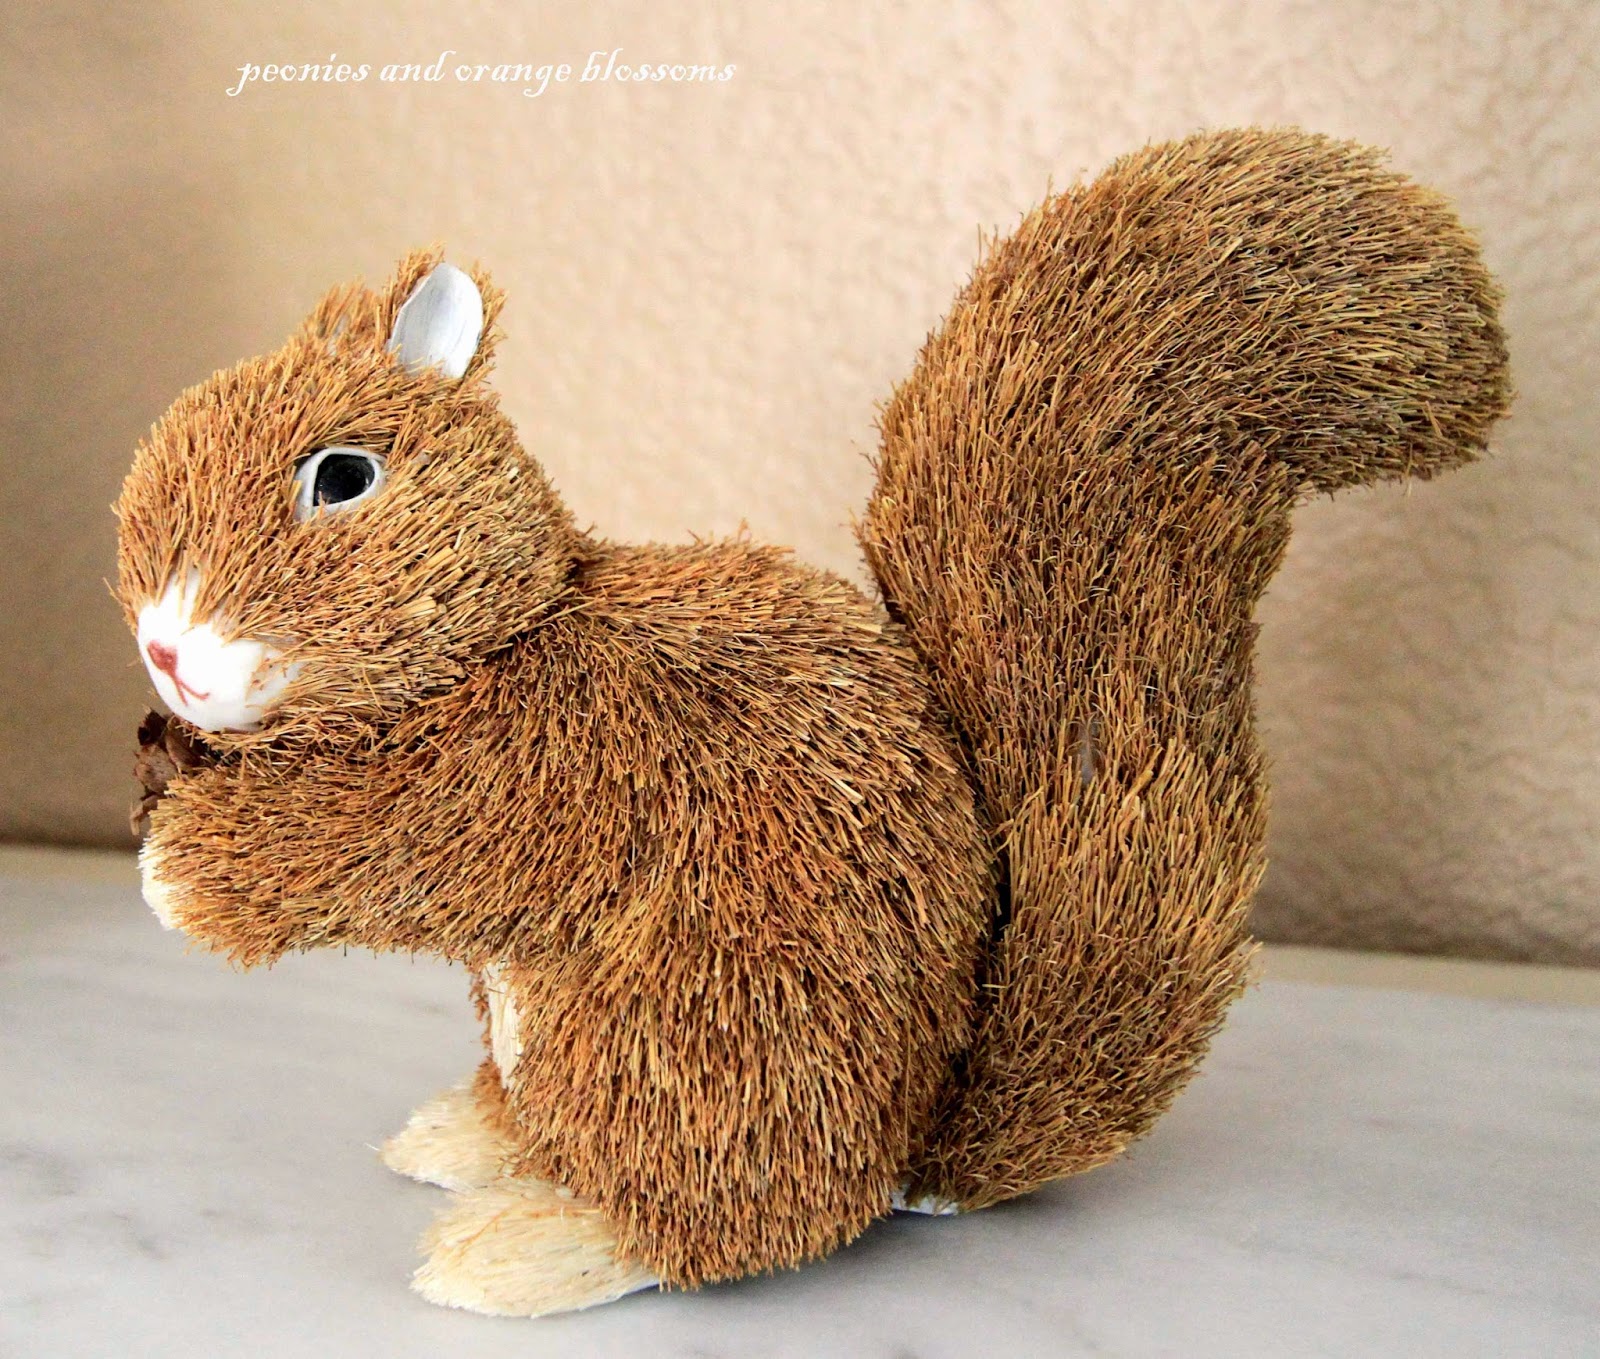
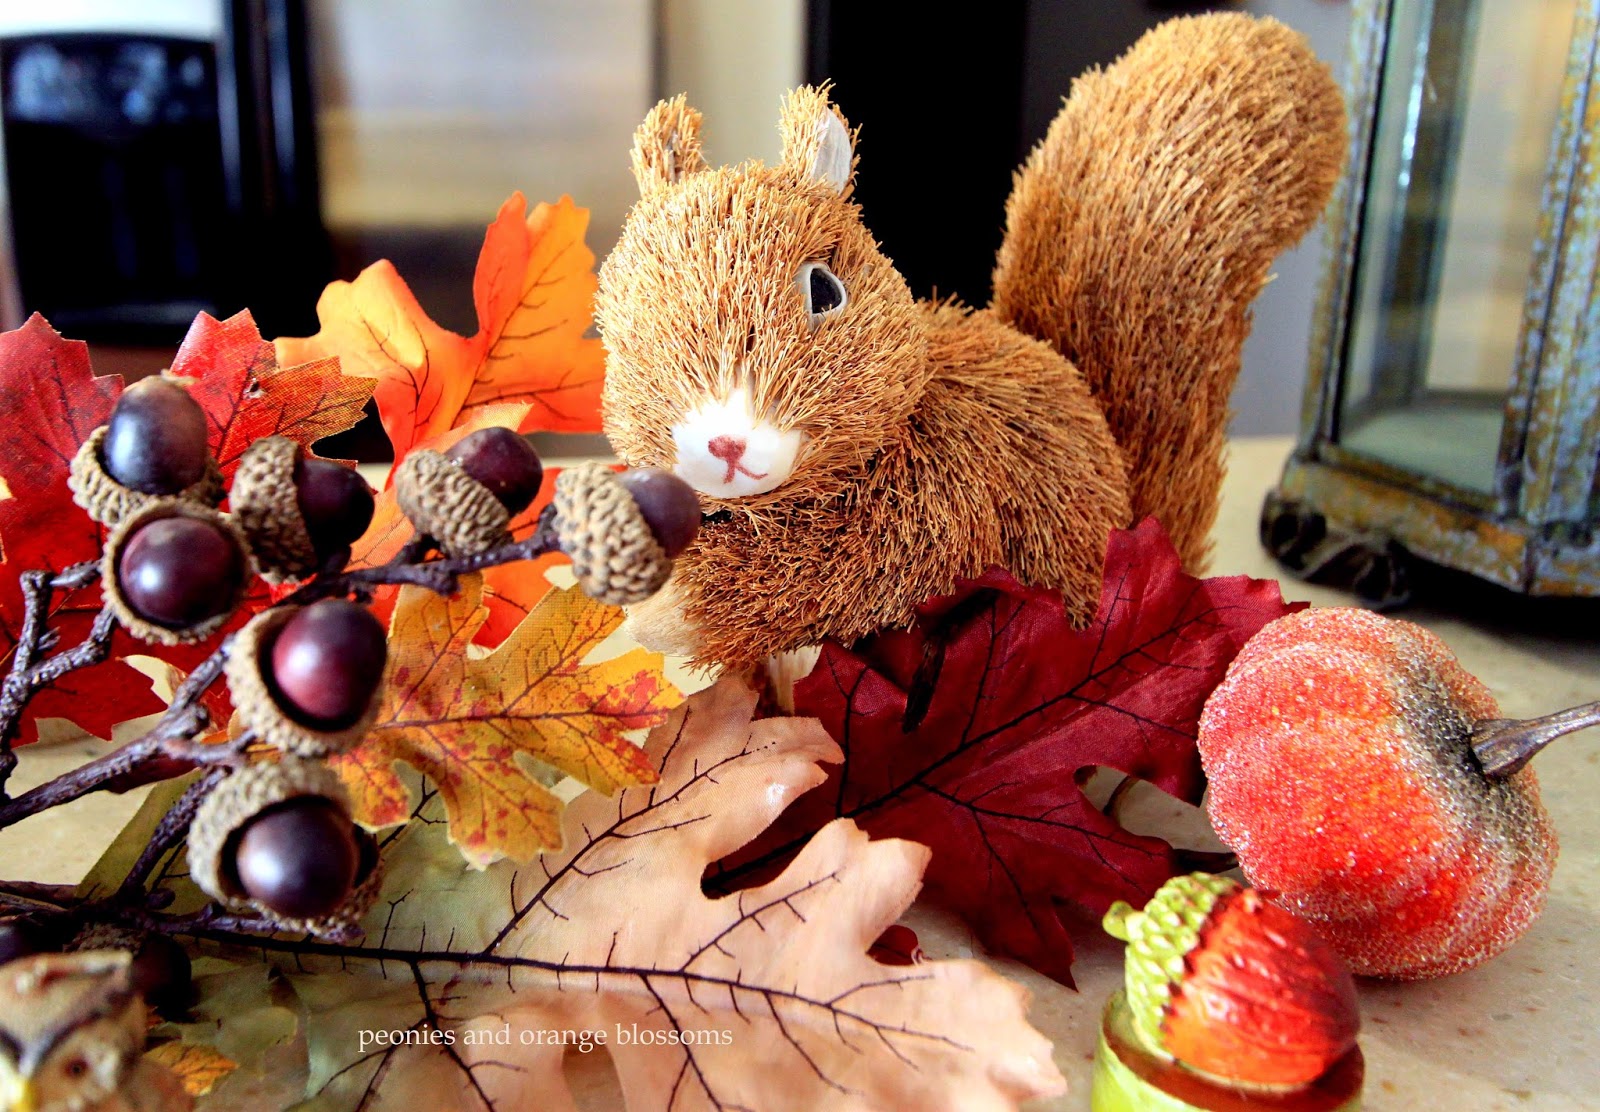
This year though, I found the owls a new friend… a squirrel.  Of course there should be a squirrel searching for acorns in the “tree” that the owls are sitting on.

I think the owls are just the cutest.  I also like how they are not very in-your-face which is what I find a lot of Fall decor to be.

You can see now the squirrel sits at the end of the leaf branch.  

Linking up with these fabulous link parties: The Scoop! Inspire Me Tuesday, Wow us Wednesdays! What’s it WednesdaysCenterpiece WednesdaysCreative Ways,Tablescape ThursdayTreasure Hunt ThursdayHome Sweet Home Feathered Nest Fridays,G’day Saturdays,


Written at http://peoniesandorangeblossoms.blogspot.com/

Follow:

A look back at Fall from last year

We use affiliate links in our posts and our site. This means if you make a purchase using these links, we may earn a small commission. You don’t pay a cent more than you would otherwise! Our full disclosure is available under About.

As I’ve been busy decorating for the season this year, I thought I would revisit some of my posts from last year.

Last year’s scary cat and pumpkin bear table.  

A beautifully decorated Fall doorway… just not my front door!

A look at Halloweentime at Disneyland 2013

The BEST pumpkin festival I’ve EVER been to in my whole life! Over 450,000 pumpkins!!

A Fall tablescape

I made pumpkin waffles

and a healthy Fall Harvest Salad

and I shared about antique Clapsaddle Halloween postcards.

I have other posts too, but frankly I’m a little embarrassed by my picture taking skills!  I’ve learned a lot about photography in one year, especially since I now have a Canon rebel.

Linking up with these fabulous link parties: The Scoop! Inspire Me Tuesday, Wow us Wednesdays! What’s it WednesdaysCenterpiece WednesdaysCreative Ways,Tablescape ThursdayTreasure Hunt ThursdayHome Sweet Home Feathered Nest Fridays,G’day Saturdays,

Written at http://peoniesandorangeblossoms.blogspot.com/

Follow:

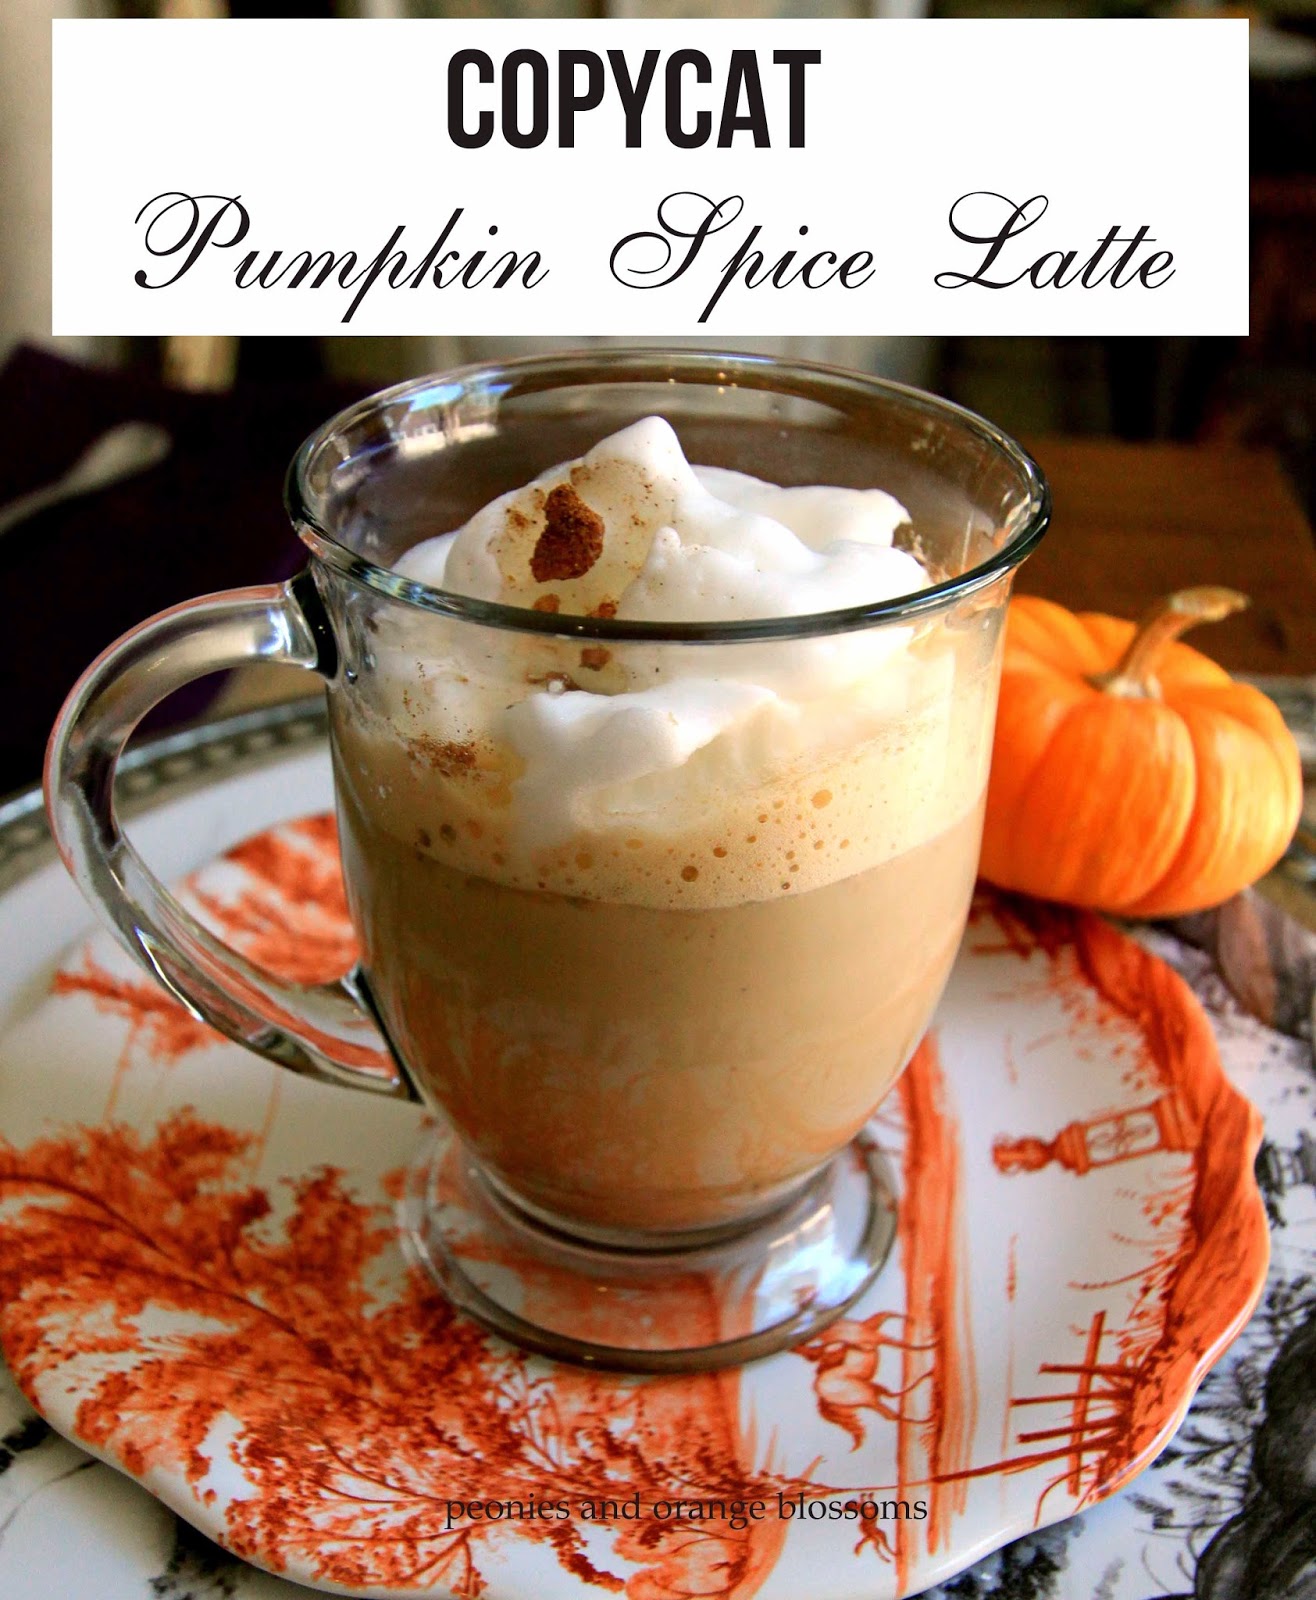
Copycat Pumpkin Spice Latte

We use affiliate links in our posts and our site. This means if you make a purchase using these links, we may earn a small commission. You don’t pay a cent more than you would otherwise! Our full disclosure is available under About.

I updated my pumpkin spice latte recipe.  I posted one last year, but after some trials through the season I’ve altered it.  I can’t keep going to Starbucks (I said that last year too!).     

copycat pumpkin spice latte recipe

Copycat Pumpkin Spice Latte

Ingredients

  • 3/4 cup fat free milk
  • 3/4 tablespoon canned pumpkin
  • 1-2 packet of sweetener or sugar
  • 1/2 tsp vanilla extract
  • 1/4 teaspoon pumpkin pie spice (or 1/2 tsp for a spicier drink)
  • 1/2 cup strongly brewed coffee (or 1 nespresso pod, either lungo or regular)
  • Whipped cream, optional

Instructions

  1. In a saucepan, whisk together milk, pumpkin, and sugar/sweetener on medium heat.
  2. Once steaming, mix in vanilla and pumpkin pie spice.  Whisk quickly so it develops a nice foam.
  3. Add to brewed coffee.
  4. Add whipped cream to the top (optional), with a dash of pumpkin pie spice.

I estimate the calories to be around 60-70 with this cup of pumpkin spice latte!

copycat pumpkin spice latte

Linking up with these fabulous link parties: The Scoop!,  Inspire Me Tuesday,Wow us Wednesdays! What’s it WednesdaysCreative Ways, Treasure Hunt ThursdayHome Sweet Home Feathered Nest Fridays,Foodie FridayG’day Saturdays,

Written at http://peoniesandorangeblossoms.blogspot.com
search terms: pumpkin spice latte recipe, copycat starbucks pumpkin spice latte recipe, DIY starbucks pumpkin spice latte, #PSL

Follow:

Floral Arrangements in the Tulipiere

We use affiliate links in our posts and our site. This means if you make a purchase using these links, we may earn a small commission. You don’t pay a cent more than you would otherwise! Our full disclosure is available under About.

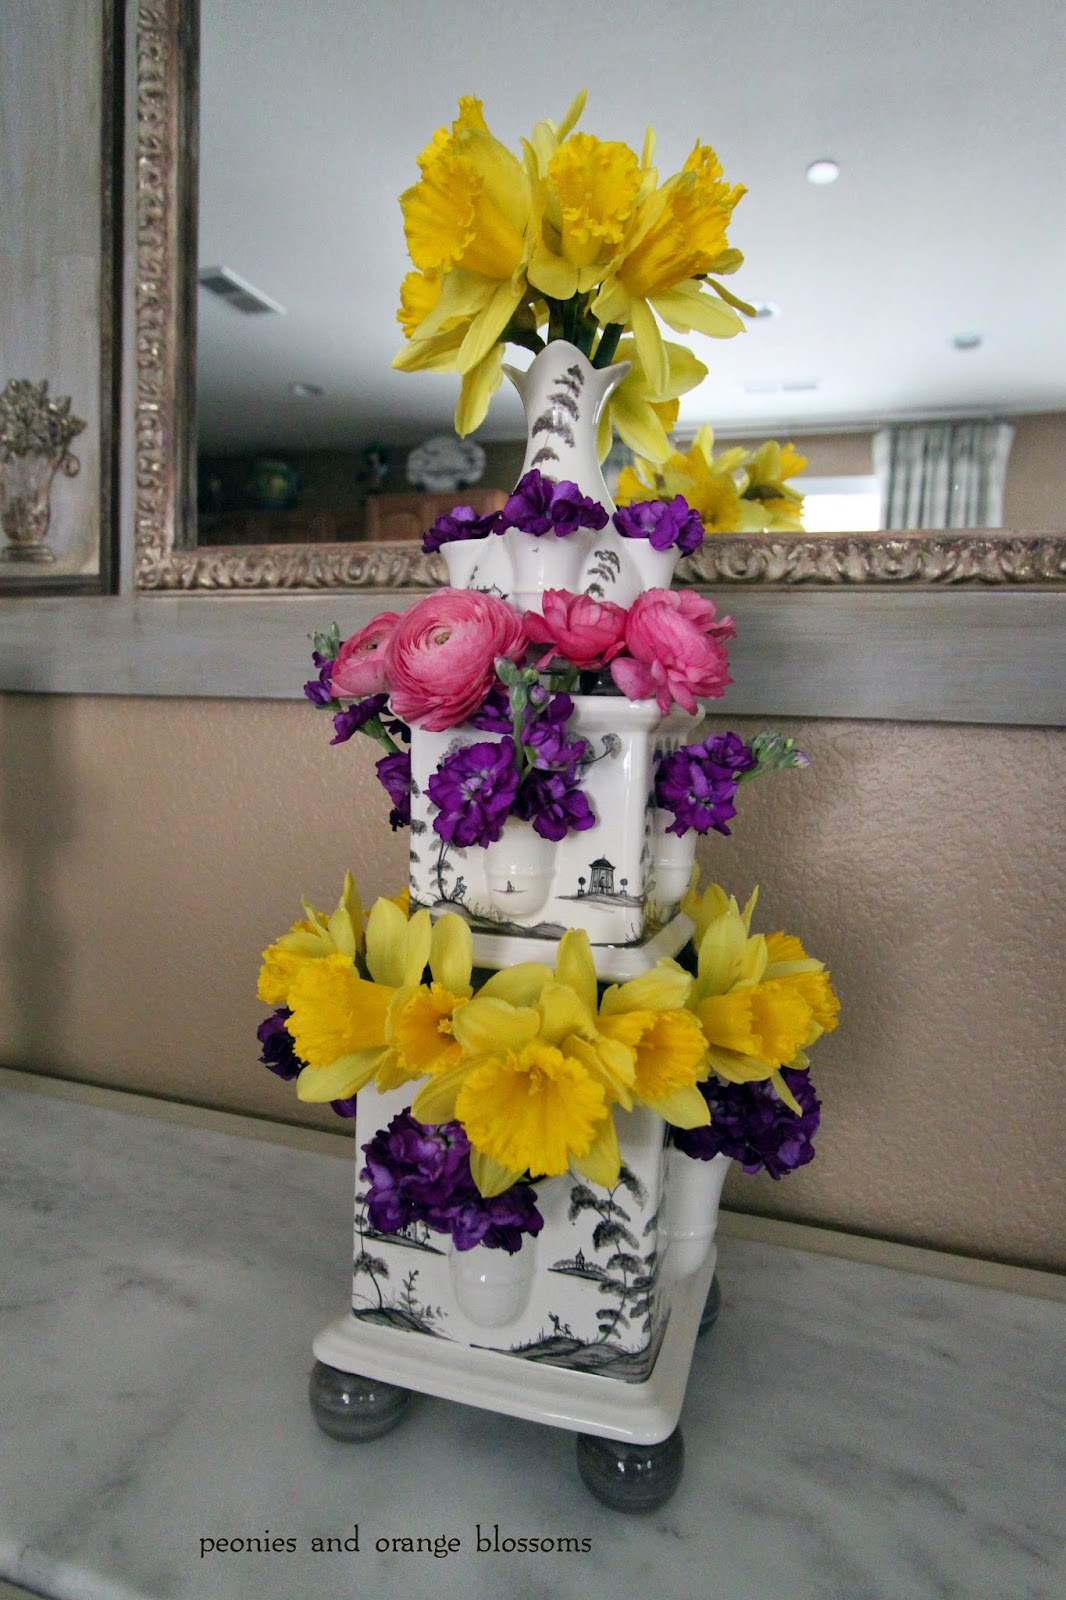
A while ago a blogged about tulipieres.  For my birthday this year I received a tulipiere from my parents!  (I think they read the blog post!).

I have enjoyed putting flowers in this wonderful vase.  You can break it down and have 3 separate vases OR you can have one tall vase!  That’s one of the reasons I love it.

Let’s take a look at some of the pictures I’ve taken through the Summer! 

tulipiere with ranunculus, daffodils, and purple stalks

I had taken better pictures of the one below but I can’t find *any* of the pictures other than this crummy one from my phone. Oh well, you get the idea… I used mums and stalks. 

The tulipiere displaying… tulips! It takes about 3 dozen flowers to fill the thing up! 

What’s so neat about this vase is that you can create a HUGE impact with it.  Below is one that my husband had waiting for me when I got home from a trip! *awwww* He did a good job, didn’t he?

The tulipiere stands at almost 3 feet tall!  I LOVE it!  I love how full this arrangement is.  

a sunflower for the end of Summer!

I hope you enjoyed looking at my pretty flowers! I enjoyed having them!

Written at http://peoniesandorangeblossoms.blogspot.com

Linking up with these fabulous link parties: The Scoop! Inspire Me Tuesday, Wow us Wednesdays! What’s it WednesdaysCenterpiece WednesdaysCreative Ways,Tablescape ThursdayTreasure Hunt ThursdayHome Sweet Home Feathered Nest Fridays,G’day Saturdays,

Follow:

Starbucks Pumpkin Scones… Recalled?!

We use affiliate links in our posts and our site. This means if you make a purchase using these links, we may earn a small commission. You don’t pay a cent more than you would otherwise! Our full disclosure is available under About.

With Starbucks introducing their famed pumpkin spice lattes this week, which I have happily sipped down, I found myself missing something with my Fall treat: their pumpkin scone.  I went to three (yes, three, and no, I’m not ashamed to admit I’ve been to Starbucks three times in 8 days) and could NOT find a pumpkin scone.

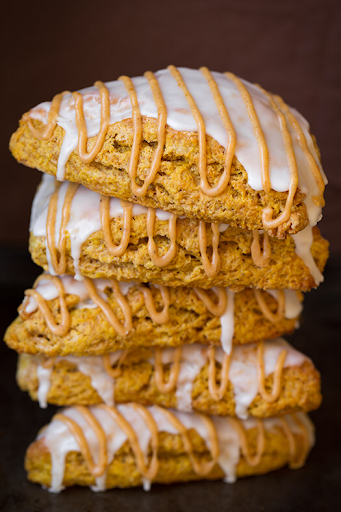
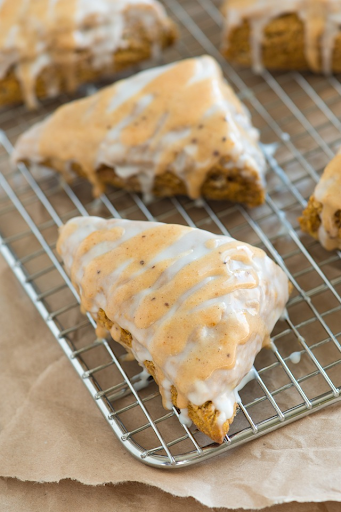
Pumpkin Scone
The new looking Starbucks “La Boulange” pumpkin scone pic source – Starbucks

…but there it was, front and center on the menu! All three times I had asked, I was met with a similar response: “we are currently out.” Finally, on the third try, I thought this was too much of a coincidence and I mentioned something to the barista. With shifty eyes, she looked around and finally whispered, “they have been recalled”.

Pumpkin Scone
the “old looking” pumpkin scone pic source -Starbucks

Recalled.  There ya have it! I KNEW something was up… because why else would a company put something front and center and then not have any product in the store? After switching to a new looking scone and likely a new recipe based on the pictures in their ads, I guess something went awry.  This scone was likely produced by their (in)famous collaboration with La Boulange Bakery.

Alas, now I must sip my pumpkin spice latte with my cereal at home.  Or, since I have been craving the scone, I will try to bake my own copycat recipe.  And hey, it will likely taste better than a new recipe produced by the Boulange bakery, if their old vs new cranberry orange scone is any indication. (Old cranberry scone = much better!).  You can spot differences in the pictures above.

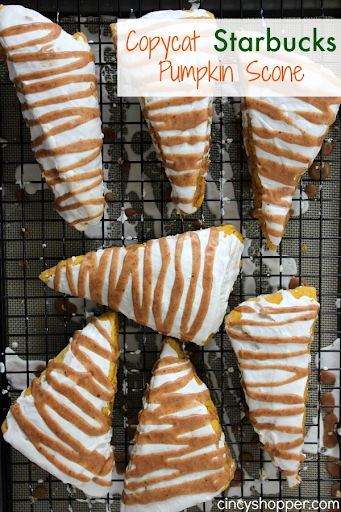
I found a few recipes for copycat Starbucks pumpkin scones. I’ve rounded them up below. Likely one will hit the spot!

Copycat Pumpkin Scone Recipe #1 

Copycat Pumpkin Scone recipe #2

Copycat Pumpkin Scone Recipe #3

An internet search as of 9/7/14 only brought up one anonymous person mentioning that there were pieces of glass or plastic in the scones and that was the reason they’ve been recalled.  I don’t know whether to believe it or not, but what I do know is that Starbucks is being silent on the manner as no official press releases are out.  I would have assumed they are recalled due to the scones causing turkey squirts or something of the like.

Either way, I will be trying one of these yummy looking copycat recipes (which are also likely healthier) to go with my morning #PSL.

And I may just have to start making my own pumpkin spice lattes like I did last year.  Check out my recipe for DIY copycat pumpkin spice lattes. 

***UPDATE*** 9/14/14
Still no official word from Starbucks.  Several people have reported here and on another message board that there has been glass/plastic as I noted previously before.  Someone else noted that when they received the scones in their store and reheated them, they were super soggy and all of the frosting melted off.  I find it hard to believe that all batches of these scones had plastic or glass in them… maybe a few, but all of them??  Usually when foods are mass produced they go through an xray to look for metal/glass but plastic would be missed on xray. While some batches of scones may have some glass or plastic in them, I think more likely when the scones were reheated they were soggy and gross.  A poor recipe would affect every single scone in the country… while a few pieces of glass or plastic would only affect a few batches.  If it were really glass or plastic, then they should have thrown those out by now and have distributed new scones…. but they haven’t.  Which makes me think it’s also a recipe problem.  My 2 cents.  Also, can’t believe I’m the only blogger that has written about this!  We wants ze scones!

These opinions are my own. Recipes and their respective pictures are from the sources in the links.
Search terms:
#PSL
Pumpkin scone recall by Starbucks
Copycat Starbucks pumpkin scone recipe
copycat Starbucks pumpkin spice latte recipe

Written at http://peoniesandorangeblossoms.blogspot.com

Follow:

Fall Preview

We use affiliate links in our posts and our site. This means if you make a purchase using these links, we may earn a small commission. You don’t pay a cent more than you would otherwise! Our full disclosure is available under About.

I’ve started setting out my decorations for Fall!  I’m pretty excited about decorating for Fall this year.  As you can tell, I’ve updated my blog design this week to go with the change of seasons.  The pictures on my new blog design are from pumpkin festival I went to last year (except the velvet pumpkins). 

Here’s a quick little preview of what’s to come…

A new squirrel found its way inside

Pumpkins are popping up around the house…

Of course, I love love love my velvet pumpkins. These were the first things out of the box!

Perhaps I have a new Autumn arrangement?

beautiful sunflower

There will also be several Oktoberfest themed posts as the Oktoberfest starts later this month.

Oktoberfest

I’ve also started cooking up some Fall recipes…

Fall recipe preview

Be sure to keep checking back as I unveil what I’ve been doing recently!!

Linking up with these fabulous link parties: The Scoop! Inspire Me Tuesday, Wow us Wednesdays! 

Http://peoniesandorangeblossoms.blogspot.com

Follow:

Buttermilk Scones with Currants Recipe

We use affiliate links in our posts and our site. This means if you make a purchase using these links, we may earn a small commission. You don’t pay a cent more than you would otherwise! Our full disclosure is available under About.

It’s starting to feel like Fall… okay. Alright, it’s actually still really hot where I’m at. But I’m ready for Fall.

One of my favorite things for breakfast is a good scone.  I’ve had a hard time finding recipes I’ve liked.  I’ve tried many on pinterest but have been disappointed.  I remember I used to have a good recipe but I have misplaced it!

This is a recipe for currant scones.  But it could easily be replaced with dried cranberries or raisins.

The recipe is from the bakery, Tartine.  Tartine is supposed to have the best croissant on the West Coast. (I was sorely disappointed). But, I will say they do have the best scone I’ve ever had on the West Coast!

For those that do not know what a currant is… it is a type of small seedless grape.  So basically a little raisin.

red currants
California raisins on the left, Zante currants on the right

Currant Buttermilk Scones (adapted from Tartine’s recipe)
Get the PRINTABLE recipe here

Ingredients

  • 3/4c Zante Currants (I found these at Von’s, but you could replace with dried cranberries, raisins.  You could also use fresh fruit but it will make the batter more moist).
  • 4 3/4c All-purpose flour
  • 1 tbsp Baking powder
  • 3/4 tsp baking soda
  • 1/2 cup granulated sugar
  • 1 1/4 tsp salt
  • 1 cup Unsalted butter, very cold
  • 1 1/2 cups buttermilk
  • zest of 1 lemon
  • large crystal sugar for topping
  • melted better for topping

Directions

  1. Preheat oven to 400F. 
  2. First, combine currants in some warm water and set aside for 10 minutes until currants are plumped. Drain well.
  3. While currants are plumping, add flour, baking powder, and baking soda into a large mixing bowl. Add the sugar and salt. Stir to mix. 
  4. Cut the butter into 1/2 inch cubes and scatter cubes over dry ingredients. Mix together. Your dough should look like a coarse mixture with pea-sized lumps of visible butter when it’s done.
  5. Then add the buttermilk, lemon zest, and plumped currants. Mix in gently, just enough until the dough holds together.
  6. Now law the dough on a floured surface, and pat until it’s about 1.5 inches thick. You can either make an 18 inch x 5 inch square, or little round circles like I did. 
  7. Brush the top with melted butter and sprinkle with sugar. 
  8. Bake the scones until the tops are lightly browned, 25-35 minutes depending on your oven.
  9. Remove and serve while hot! Don’t burn your mouth!
Here I made cranberry buttermilk scones

Now this scone recipe is DELICIOUS.  But, it’s not exactly low-calorie.  I’m still hunting for a lower calorie scone recipe.
Anyone have a lower calorie cranberry orange scone recipe they would like to share?  If so, leave it in the comments!
Linking up with these fabulous link parties: The Scoop!,  Inspire Me Tuesday,Wow us Wednesdays! What’s it WednesdaysCreative Ways, Treasure Hunt ThursdayHome Sweet Home Feathered Nest Fridays,Foodie FridayG’day Saturdays,


Written at http://peoniesandorangeblossoms.blogspot.com

Follow:

Outdoor Kitchens & Entertaining Spaces

We use affiliate links in our posts and our site. This means if you make a purchase using these links, we may earn a small commission. You don’t pay a cent more than you would otherwise! Our full disclosure is available under About.

I’m sure now that Summer is almost over, you’ve had time to reflect over what you WISH you had built in your backyard. Yeah, me too!

On my recent trip to the Northwest, I had the opportunity to visit some home shows and look at the newest and greatest trends in housing design.  

What I really had my eye on was the outdoor kitchens and entertaining spaces!  I thought I’d share them with you. (I apologize for the picture quality, these were taken with my cellphone!)

I liked this whole covered area along with the fireplace and the overhead fan.  Great for warmer Summer nights and cooler Fall nights!   

This next house had a nana door that opened up to a large covered area.  In the picture below, this was the grill and food prep area.

…which then if you turned around from the grill you were facing this seating area with a fire place and tv.  You can see on the right the big open wall which can be enclosed with the nana door.  The ceiling had ceiling fans which help keep the flies away!

Another house had this pizza oven.  Love it!  

What I liked about this next house below is the outdoor brick fireplace.  You don’t see brick fireplaces too frequently nowadays, so I’m kind of hoping it may make a comeback.  The area was also enclosed and had overhead heaters behind the seating area.

Okay, so this next picture isn’t an outdoor kitchen OR an entertaining space, but it was just too cute not to include!  How cute is this garden? Love the raised flowerbeds, hanging flower baskets on the gate, and the fence to keep pests away.

Another variation of an outdoor kitchen. Fireplace is natural gas.  This covered outdoor area actually had skylights so it felt more outdoorsy then just sitting outside with a roof over your head!

Onto our next house… it had a large covered outdoor area.  One wall had a chain-link curtain to keep bugs away.  It was really nice and large.

Now, if you turned left you would see this pass-through from the kitchen with a bar.  I would’ve moved the chairs and made it a buffet area.

This is looking in the other direction.  A nice fireplace with a cough.  you can see the chain link curtain still.

The next house had this built-in dining area… but what’s cool about it is the firepit right in the middle of the table! Perfect for those chilly nights!!  I thought of roasting marshmallow’s over it… but then thought of the mess I’d make trying to clean melted marshmallow off those glass beads!

This last house had a covered kitchen/entertaining area between their garage and house.  What was interesting about this area was this sliding barn-type door that you could slide in front of the grill, refridgerator, and prep area and lock up!  Great if you are storing things you don’t want to get stolen!  

Touring these homes certainly gave me ideas for my dream outdoor kitchen/entertaining area.  What did you wish you had outside this Summer?

What did you like?  

http://peoniesandorangeblossoms.blogspot.com

Linking up with these fabulous link parties: The Scoop!,  Metamorphosis Monday’sInspire Me Tuesday,Wow us Wednesdays! What’s it WednesdaysCreative Ways, Treasure Hunt ThursdayHome Sweet Home Feathered Nest Fridays,G’day Saturdays,

Follow:

Pupusa recipe with marinated slaw

We use affiliate links in our posts and our site. This means if you make a purchase using these links, we may earn a small commission. You don’t pay a cent more than you would otherwise! Our full disclosure is available under About.

A few years ago I was first introduced to a pupusa.  My husband was just introduced a month ago.  We both fell in love with them. Since he’s the chef, he decided we should make some!

First things first, a poo-poo-wha?  Poo-POO-sah.  Pu-PU-sa. See, it’s even fun to say! Now say it fast: pupusa

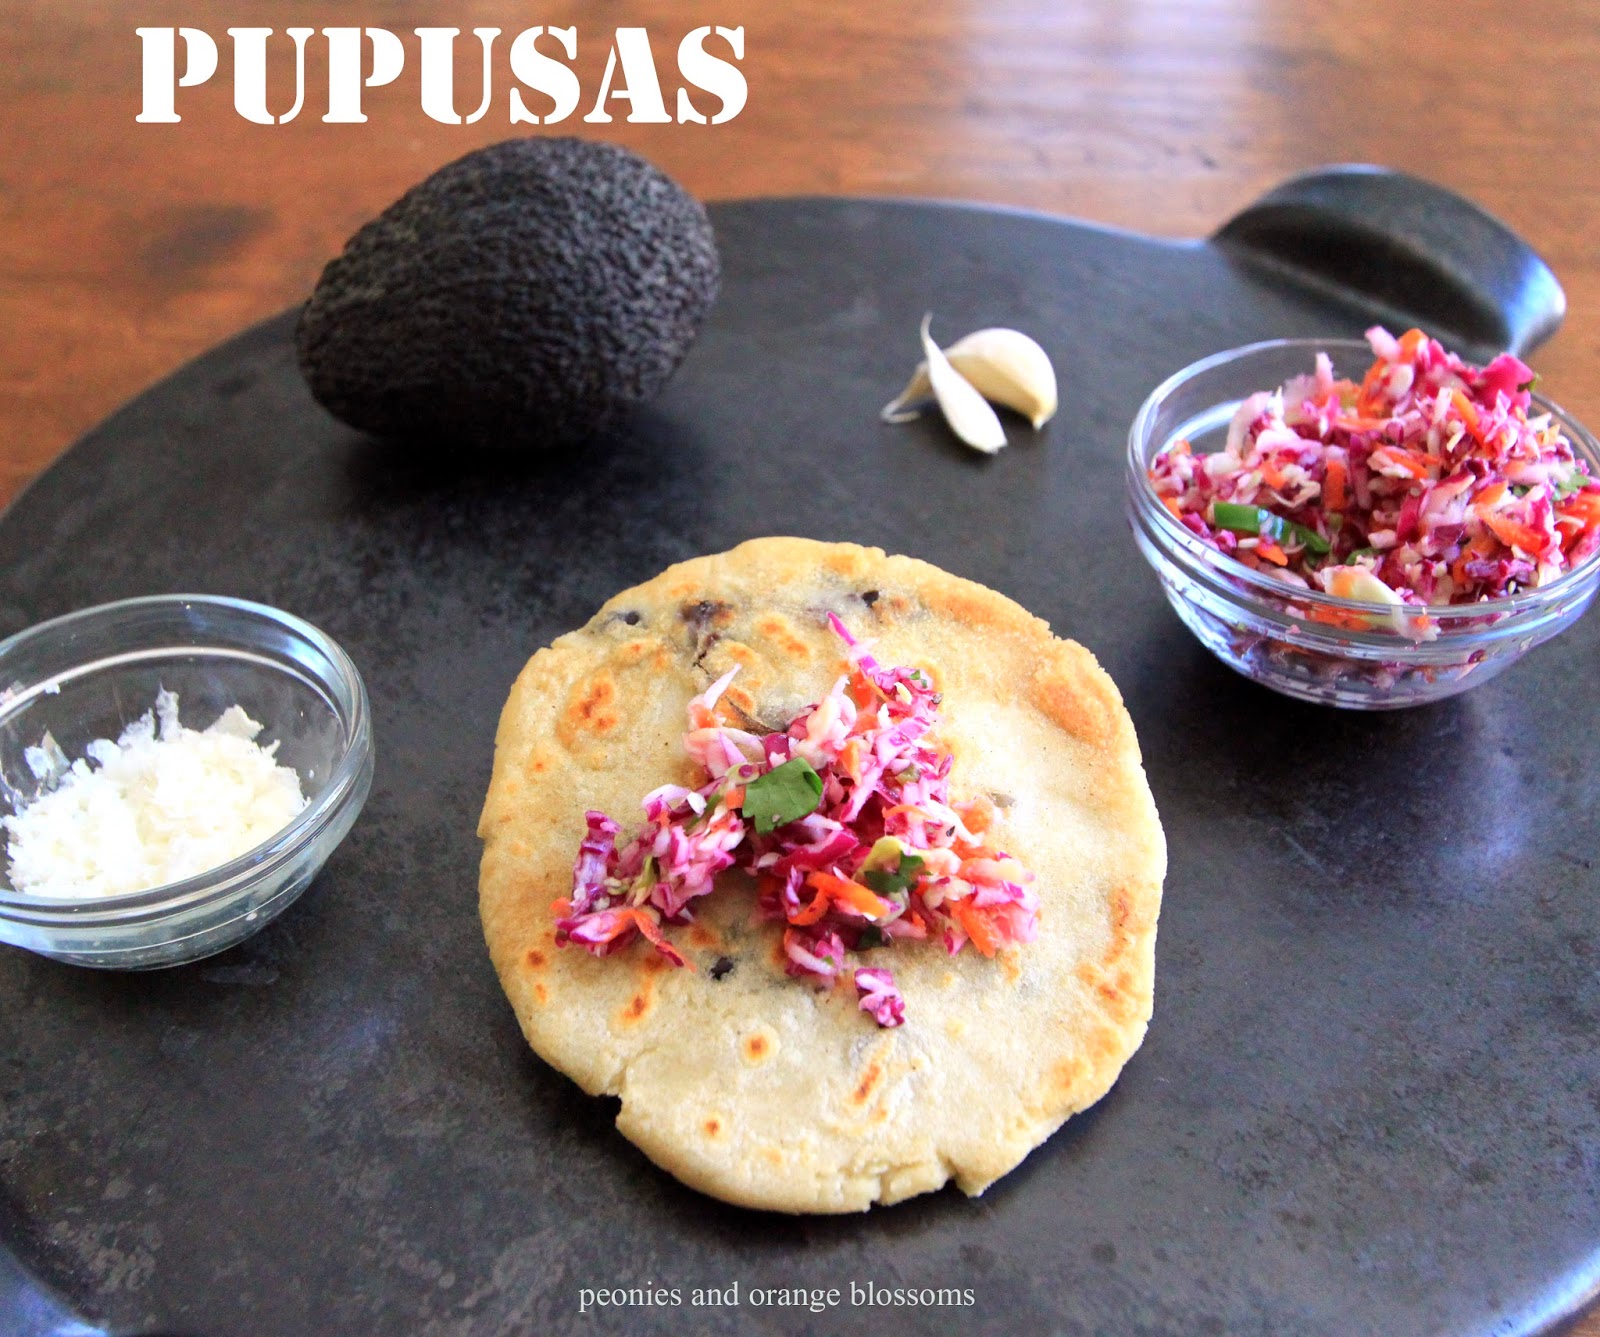
What is a pupusa?  It is a traditional food from El Salvador made from a thick, handmade corn tortilla that is filled with meats, beans, and cheese.  It’s kind of like a quesadilla.

Let’s take a look…

Pupusa recipe 

 Doesn’t it look GOOD?

pupusa recipe

Time for the recipe.  Make the slaw first, then the filling, then the masa dough.  This whole process took me TWO hours.  This pupusa recipe is adapted from Go Vegan Meow

First, make the slaw.

Marinated cabbage slaw (aka curtido) 

  • 1/2 a green cabbage, shredded
  • 1/2 a red cabbage, shredded
  • 1 jalapenos, seeded and finely chopped
  • 1 large carrot, shredded
  • 1/4 cup fresh cilantro, finely chopped
  • 1/2 Tbsp salt
  • 2 tsp dried oregano
  • 1/4 cup white vinegar

Directions

  1. The easiest way to shred the cabbage is to use a large food processor with the shredding blade.  Then I’d try a mandoline.  Slice cabbage in half, remove the core, then shred away! Now place in a separate bowl.
  2. Shred the carrots. Add to the cabbage
  3. Add all of the remaining ingredients and toss well.
  4. Place the slaw into a large reasalable plastic bag (the gallon size should work). Press out all of the air and tightly seal the bag.
  5. Store in the fridge with heavy items on top.  Let cool for approx 1 hour before serving.  If you wanted to prepare this the day ahead you could.

Black bean, cheese, and potato filling

Ingredients

  • 1 can black beans
  • 2 cloves garlic, chopped
  • 1 jalapeno, seeded and finely chopped
  • 1/4 cup water
  • 1/2 tsp ground cumin
  • 1/2 tsp dried oregano
  • 1 tbsp olive oil
  • 1 potato (russet or yukon gold)
  • shredded Mexican cheese mix or mozzarella cheese

Directions

  1. Clean the potato and cook in the microwave until done.
  2. Add the garlic and oil into a skillet and fry over medium heat until fragrant. 
  3. Add the jalapeno, black beans, cumin, water, and oregano.  Bring to a simmer.
  4. Cook for about 8 minutes, or until the water is absorbed.  The beans should still be moist.
  5. Once the potato is slightly cooled, cut into very small fine chunks (like o’brien potato size) and add to the beans. 

Masa Dough

Ingredients

  • 2 cups instant Mexican style masa harina (found it at walmart neighborhood market here)
  • 1 3/4 cups or more of warm water
  • 1/4 tsp salt

Directions

  1. In a large bowl, stir together the masa harina, warm water, and salt.  The dough should be moist and firm, not too sticky.  If it is too sticky, sprinkle with 1 tbsp masa harina at a time until you reach the right consistency.  If too dry, add more water. The dough is done with it doesn’t stick to the bowl.
  2. Grab a chunk of dough and roll it into a ball.  (picture 1)
  3. With the ball of dough in your palm, use your fingers in your other hand to form a little bowl.  (Picture 2)
  4. Now add 1.5-2 tbsp of filling to the indentation.
  5. Sprinkle some cheese on top of the filling (picture 3)
  6. Fold over the sides of the bowl like a taco. (picture 4)
  7. To shape into a flat disc, perform gentle but firm patting motions in a circular pattern.  
  8. If your pupusa cracks or some of the filling pokes out, you can smear a little more dough over the crack.  Honestly though, the filling tastes good when it fries on the pan so it’s not a big deal.  The pupusa should be about 1/4 of an inch thick. (picture 5)
  9. Prepare all of your pupusas (this recipe makes approx 8 of them)
  10. Heat a large skillet coated with some olive oil on medium-high heat.
  11. Grill a few at a time, taking about 5 minutes on each side to finish cooking.  They are done when browned with a few darker (yes even burned spots!) are on them.
  12. If you are serving them all at once, warm in some foil in the oven while the rest cook.
  13. Serve with the slaw on top!
steps for making the pupusa
finished pupusa!
Black bean, cheese and potato pupusas with marinated slaw (curtido) on the side

Delicious!  Bring on pupusa jokes!

http://peoniesandorangeblossoms.blogspot.com

Linking up with these fabulous link parties: The Scoop!,  Metamorphosis Monday’sInspire Me Tuesday,Do Tell Tuesday Wow us Wednesdays! What’s it Wednesdays,  Creative Ways, Home Sweet Home Feathered Nest Fridays,G’day Saturdays,
Follow:

Courtly Check black and white tablescape

We use affiliate links in our posts and our site. This means if you make a purchase using these links, we may earn a small commission. You don’t pay a cent more than you would otherwise! Our full disclosure is available under About.

Last week I showed you my DIY MK placemats.  Now it’s time to show you my table setting which I totally love!

Courtly check tablescape

 My napkin rings I made from another DIY project.  Check out how to make your own HERE. (Ironically I made those napkin rings a year ago!)  This platter we bought to use outside for the BBQ.  But I stole it for my centerpiece!

I love how the Juliska Country Estate plates go with the MK Courtly Check!

I had been wanting these candlesticks for a long time too.  When I made my napkin rings. I had leftover ribbon.  Since I didn’t have the candlesticks, I just tied bows around the faux-candles to get the look.  But this past Christmas DH surprised me with these candlesticks!

Love my candlesticks!

What’s been on your MK wishlist?

written at http://peoniesandorangeblossoms.blogspot.com


Linking up with these fabulous link parties: The Scoop!,  Metamorphosis Monday’sInspire Me Tuesday,Do Tell Tuesday Wow us Wednesdays! What’s it WednesdaysCenterpiece WednesdaysCreative Ways,Tablescape ThursdayTreasure Hunt ThursdayHome Sweet Home Feathered Nest Fridays,G’day Saturdays,

Follow:

Vegetable Pizza Recipe

We use affiliate links in our posts and our site. This means if you make a purchase using these links, we may earn a small commission. You don’t pay a cent more than you would otherwise! Our full disclosure is available under About.

I love all of the fresh fruits and vegetables of Summer.  I also love pizza.  One way to eat up that plethora of squash is to bake it in a pizza.

vegetable pizza

Our Basic Pizza Crust Recipe

Ingredients

  • 2 cups of regular flour (but if you want the best, use the 00 flour)
  • 1 cup of fine corn meal
  • 1 tablespoon of active dry yeast
  • 1 teaspoon salt
  • 1 tablespoon extra virgin olive oil
  • 3/4 cup plus 2 tablespoons lukewarm water
  • 2 tablespoons honey, optional

Directions

  1. Heat the water to lukewarm. Then add the olive oil. (for really yummy dough, add the 2 tbsp honey here)
  2. Dissolve the yeast in the warm water.
  3. Using your bread kneader mixing option on your mixer (we use the option on the kitchenaid), pour the yeast solution into the mixer and mix for 5 minutes.
  4. Now, add all of the dry ingredients to the mixer. Mix on low until it forms a ball.  If it does not form a ball, you need to add more flour or cornmeal.
  5. Once it has formed a ball, knead on low speed for 20 minutes.  I know this seems unnecessary, but it is the most critical part!
  6. After, cover and let the dough sit in a warm, dry place for 1 hour. This allows the dough to rise.  If you want to make your dough ahead of time, place the dough in the fridge overnight and take it out 1 hour before cooking time.
  7. Spread the dough into desired shape. This dough makes enough for two 10″ pizzas, so we separate the dough into two. This makes the shaping of the circular pizza dough a little easier!

Now choose your toppings!

Ingredients

  • zucchini, thinly sliced
  • yellow squash, thinly sliced
  • mushrooms, sliced
  • tomatoes, sliced (my tomatoes weren’t ripe yet)
  • fresh basil
  • Whatever other vegetable you want to put on… olives, onions, peppers. Or if you want to be less healthy… add some pepperoni or sausage.
  • Pizza sauce (I like Trader Joe’s)
  • Mozzarella cheese, pre-shredded is easier to use.

Directions:

  1. Preheat oven to 500F, best cooked with a pizza stone.
  2. Spread the pizza sauce over the pizza
  3. Sprinkle mozzarella (as much as desired)
  4. Place all your ingredients on the pizza, except the basil.
  5. If you use a pizza peel (as I do), sprinkle coarse cornmeal on the bottom so the pizza will easily slide off the peel onto your stone.  This is a nice trick.
  6. Place in oven and cook for 8-12 minutes, until it looks done. 
  7. Immediately after you take the pizza out of the oven, sprinkle the basil on top. 
  8. Enjoy! 
homemade vegetable pizza

Yummy!


Written at http://peoniesandorangeblossoms.blogspot.com


Linking up with these fabulous link parties:G’day Saturdays,

Follow:

DIY Mackenzie-Childs Courtly Check placemats!

We use affiliate links in our posts and our site. This means if you make a purchase using these links, we may earn a small commission. You don’t pay a cent more than you would otherwise! Our full disclosure is available under About.

I have long wanted some Mackenzie Child’s Courtly Check placemats.  But their cheapest cork back ones run at $68 for a set of four.  Whereas their fabric ones are $56 a piece! Boo!  So I had to come up with my own solution!  I’ll make my own!

Easy DIY Mackenzie Childs Courtly Check placemats!


Materials Needed

Courtly Check tissue paper (you can get this either from a previous MK purchase OR you can search eBay and purchase some).

Directions

  1. Cut out the tissue paper in the placemat size desired. Use a previous placemat as a guide.
  2. Go to kinkos and have the paper laminated. The tissue paper is too soft for the laminator, so using a regular piece of paper to back it is a good idea.  I used the biggest piece of paper that could fit in their laminator at my local kinkos. Size will vary depending on local kinkos.
  3. And there is no number three. You are already DONE!

Total project cost for making 8 placemats: $52. 

Are they as nice as the real MK placemats? NO. But now whenever I spill my salsa drips on these ones, it’s no big deal!

Easy DIY Mackenzie-childs placemats

A view from the side:

A view from the back…

Love this idea because it gives me the look for literally the price of 1 placemat!  

Now check back next week because I’ll unveil my tablescape with these wonderful placemats!

Written at http://peoniesandorangeblossoms.blogspot.com

Linking up with these fabulous link parties: The Scoop!,  Metamorphosis Monday’sInspire Me Tuesday,Wow us Wednesdays! What’s it Wednesdays,  Treasure Hunt ThursdayHome Sweet Home Feathered Nest Fridays,G’day Saturdays,

Follow:

Potato Rosemary Pizza Recipe

We use affiliate links in our posts and our site. This means if you make a purchase using these links, we may earn a small commission. You don’t pay a cent more than you would otherwise! Our full disclosure is available under About.

I love potatoes. I love pizza. How about… potato… pizza. Potato pizza!  I was first introduced to this type of pizza at Katie’s Pizzeria in St. Louis.  However, I have since moved.  But… I still want the pizza!  This pizza has been a few years in the making.  My husband and I have been trying to figure out how to make it taste like our original.  I don’t know if this tastes *exactly* like the original, but what we’ve come up with is really good!

Potato. Rosemary. Pizza? Huh? Now, don’t wrinkle your nose yet.  Let me share some pictures first.

Potato Rosemary Pizza


See, doesn’t it look good? Or if you aren’t sold, maybe another view?  Below is pizza from a different day, but it is the same thing!

Or maybe some words to sell you?  This is my FAVORITE pizza. My husband (the master chef) is the pizza maker.  Whenever he asks what type of pizza I want, I always say potato. I think he might be sick of potato pizza.  (I just asked him, he says no).

Potato Rosemary Pizza

We bake the pizza on our outdoor grill because it gets hotter than our oven (and bonus – keeps the heat outside!).  We use this pizza stone.

Okay, ready for the recipe? It’s broken down into two parts. Crust and toppings.

POTATO ROSEMARY PIZZA RECIPE: (printable recipe here)

Our Basic Pizza Crust Recipe

Ingredients

  • 2 cups of regular flour (but if you want the best, use the 00 flour)
  • 1 cup of fine corn meal
  • 1 tablespoon of active dry yeast
  • 1 teaspoon salt
  • 1 tablespoon extra virgin olive oil
  • 3/4 cup plus 2 tablespoons lukewarm water
  • 2 tablespoons honey, optional

Directions

  1. Heat the water to lukewarm. Then add the olive oil. (for really yummy dough, add the 2 tbsp honey here)
  2. Dissolve the yeast in the warm water.
  3. Using your bread kneader mixing option on your mixer (we use the option on the kitchenaid), pour the yeast solution into the mixer and mix for 5 minutes.
  4. Now, add all of the dry ingredients to the mixer. Mix on low until it forms a ball.  If it does not form a ball, you need to add more flour or cornmeal.
  5. Once it has formed a ball, knead on low speed for 20 minutes.  I know this seems unnecessary, but it is the most critical part!
  6. After, cover and let the dough sit in a warm, dry place for 1 hour. This allows the dough to rise.  If you want to make your dough ahead of time, place the dough in the fridge overnight and take it out 1 hour before cooking time.
  7. Spread the dough into desired shape. This dough makes enough for two 10″ pizzas, so we separate the dough into two. This makes the shaping of the circular pizza dough a little easier!

Potato Rosemary Pizza Toppings


Ingredients

  • 2 small potatoes or 1 large potato (russet, yukon, fingerlings, your choice)
  • 1 parsnip, thinly sliced
  • 1/2 onion (usually yellow, but red is fine too)
  • Extra virgin olive oil, to spread on dough.
  • Mozzarella cheese, pre-shredded is easiest to use
  • Parmesan reggiano cheese
  • pepper to sprinkle on top
  • Fresh rosemary

Directions

  1. Preheat oven to 500F, best cooked with a pizza stone.
  2. Cook the potato prior. (Use the microwave for fastest results. You do not want the potato to be soggy or too-baked).  Now slice the potato into *thin* slices.
  3. Slice the parsnip and onion into thin slices.  You want them to be thin enough for just a crunch. (if you slice them too thick, it will be gross).
  4. Sprinkle olive oil on top of your shaped dough and rub it to cover the area of where the toppings will be.
  5. Place parsnips, onions, and potatoes on top. The KEY to this pizza is having potato in every single bite.
  6. Sprinkle mozzarella (as much as desired), then parmesan cheese (not as much as the mozzarella).
  7. Sprinkle some pepper on top.
  8. If you use a pizza peel (as I do), sprinkle coarse cornmeal on the bottom so the pizza will easily slide off the peel onto your stone.  This is a nice trick.
  9. Place in oven and cook for 8-12 minutes, until it looks done.
  10. Immediately after you take the pizza out of the oven, sprinkle rosemary on top.
  11. Enjoy!
A few things to note: 1. How thinly sliced everything is. 2. the coarse cornmeal on the pizza peel. 3. How there is potato in every bite.

One last close look… oh yum yum. I’m going to go eat some left-over pizza for dinner now.

potato rosemary pizza

Follow:

Happy 1st Blogiversary!

We use affiliate links in our posts and our site. This means if you make a purchase using these links, we may earn a small commission. You don’t pay a cent more than you would otherwise! Our full disclosure is available under About.

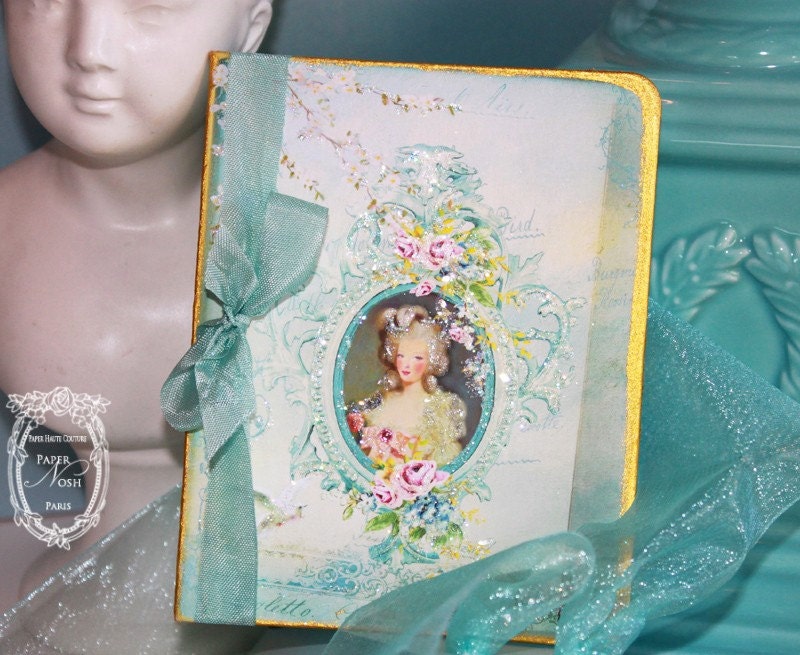
You’re invited to… My 1st Blogiversary party! 

Party invite from papernosh.com 

Now, Put on your party mask…

Marie Antoinette Party Favors
image source

And wear a fancy dress..

from the movie Marie Antoinette

So we can dine outside in a tent…

The pink and blue make for a perfect Marie party!  This will be my inspiration for the party.
image source

In front of a pretty building…

the Petit Trianon

And perhaps dine on a few French fine desserts…

these are from my wedding! seriously! 

And maybe eat a few macarons too…

Okay, and maybe these cute little bit size cupcakes…

cupcake toppers source 

 Enjoy some pretty decorations…

little cake topper source

Go for a little stroll…

Marie Antoinette’s Hamlet
Versailles

Then call it a night and take home a few party favors…

Laduree

I started writing this blog as a form of stress-relief.  I can’t believe it’s already been 1 year!  I would like to give a big THANK YOU to all of my readers! I really appreciate all of the comments you all leave me! I have long followed many blogs but had been internet-shy – hardly leaving a comment anywhere.  So, in honor of my blogivesary, stop lurking today and please leave a comment! Otherwise, you may continue to lurk… I know you’re there!

I have always wanted to throw a Marie Antoinette themed party but have never been able to!  So I had a little fun today and pretended I were throwing one!  Maybe for my big 3-0 birthday next year?

For my blog’s present, I would choose… an official Versailles candle! Yes, you can buy a candle that smells like *the* l’orangerie!  Here’s the link!  How nice would it be to blog and smell of orange blossoms? Quite nice, I daresay.

cake image source 

Now if you’re not already aware, don’t forget to follow me on other social media apps:
Visit Angelina’s profile on Pinterest.


Follow on Bloglovin

Linking up with these fabulous link parties: The Scoop!,  Inspire Me Tuesday,Wow us Wednesdays! What’s it Wednesdays,, Home Sweet Home Feathered Nest FridaysG’day Saturdays,
Written at http://peoniesandorangeblossoms.blogspot.com/

Follow:

Zoku Slushie maker!

We use affiliate links in our posts and our site. This means if you make a purchase using these links, we may earn a small commission. You don’t pay a cent more than you would otherwise! Our full disclosure is available under About.

Have you ever heard of a Zoku slushie maker?  I hadn’t either… until one day I found one at Williams-Sonoma!  I was hesitant about the product, but decided to get two and play with them at home.

Zoku Slush and Shake Maker
Zoku slush and shake maker

the verdict: I love it!

So, how does it work?

You take the inner cup and put in the freezer. It needs about 8 hours to cool down.

When you are ready to make a slushie, take it out!

Now what? Start to make your smoothe in the blender as usual. But do not add the ice!  Blend the ingredients, then pour them into the slushie cold part.  Now you wait.  Let it start to freeze, then you use the little spoon and scrape down the sides of the cup.  What happens is that the smoothies freeze, but you don’t have to add any ice to it!  It takes about 5 minutes to have everything frozen to slush consistency!

What you end up with is a much richer tasting smoothing. No ice melt to dilute it down!

best root beer float ever

I’ve used it to make:

  • Copycat Dole Whip pineapple smoothies recipe is here
  • root beer floats (the BEST root beer float I’ve ever had!)
  • iced lattes (fantastic, no ice to water down your coffee!)
  • all sorts of fruit smoothies
  • frozen yogurt
  • frozen lemonade
  • frozen orange crush vanilla floats

orange crush vanilla ice cream shake

I’ve read some of the reviews about it.  Here are some negative things that people say:

  • “The size is too small” – to which I say, you probably shouldn’t really be eating more than 8 ounces of ice cream anyway, so it’s excellent portion control.
  • “It takes too long to freeze” – to which I say, keep it in the freezer at all times. Then it’s always ready for use.
  • “This thing is pointless. You have to use a blender anyway, so why not just blend the smoothie per usual?”- to which I say, this makes more concentrated smoothies… no need for ice to water things down! The smoothies are also smoother. No ice crystals. 
Copycat Dolewhip pineapple smoothies

Now, do I NEED this product? No. But now that I have it… I absolutely love using it.  Maybe you would too.

You can purchase it at Williams-Sonoma.

Note: I did not receive any compensation in anyway for this product review. I did it all on my own.

Follow:

From the Shop

I may earn a small commission if you purchase with these links

Caning Natural Tote Handbag - Universal Thread™
The Hustler High Waist Fray Hem Ankle Bootcut Jeans
Le Panier Pliage Raffia Crossbody Bag
Extra Large Le Pliage Panier Tresse Straw Tote
The Bennet Buttondown Shirt by Maeve
T Monogram Perforated Leather Bucket Bag
Mellow Stud Mule
Le Pliage Marinière Recycled Nylon Canvas Travel Bag
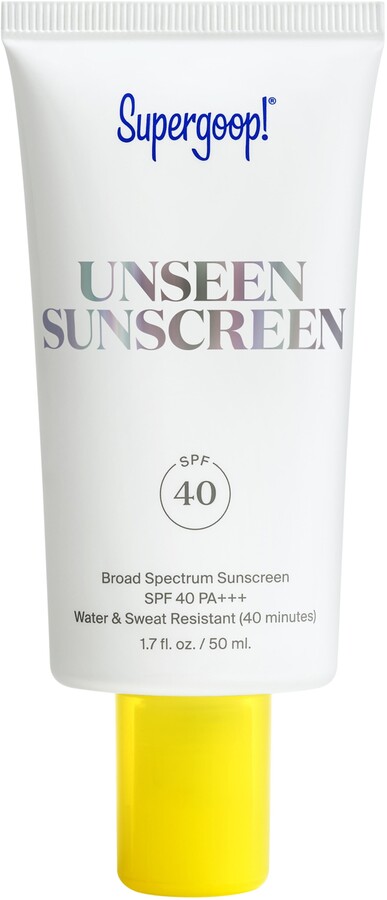
Unseen Sunscreen Broad Spectrum SPF 40 PA+++
Maxine Stripe Cotton Button-Up Shirt
Citizens of Humanity Charlotte High Rise Straight Jeans
Navy Equestrian Traversee M Linen Tote
Cream Carrie Blouse
Ellison Natural
Jolene High Rise Vintage Slim
Citizens of Humanity Blue Jolene Jeans
Charlotte High Rise Straight Jeans
Women's Le Pliage Filet Top Handle Bag - Ecru
Vintage cotton crewneck T-shirt
Air Heart Sunglasses
Le Pliage Torchon XS Top Handle Bag With Strap
Santorini Raffia Basket Bag
Chuck Taylor® All Star® Lift High Top Platform Sneaker
Please note that I use ShopSense, LIKETOKNOW.it, Shareasale and Amazon affiliate links on this site. This means using them for purchases won’t cost you extra but may earn me a small commission.  Our full disclosure is available for viewing under About in the disclosure policy.
All rights reserved. Our graphics, images and text are all subject to copyright protection.